Leaderboard
Popular Content
Showing content with the highest reputation since 01/21/2026 in all areas
-
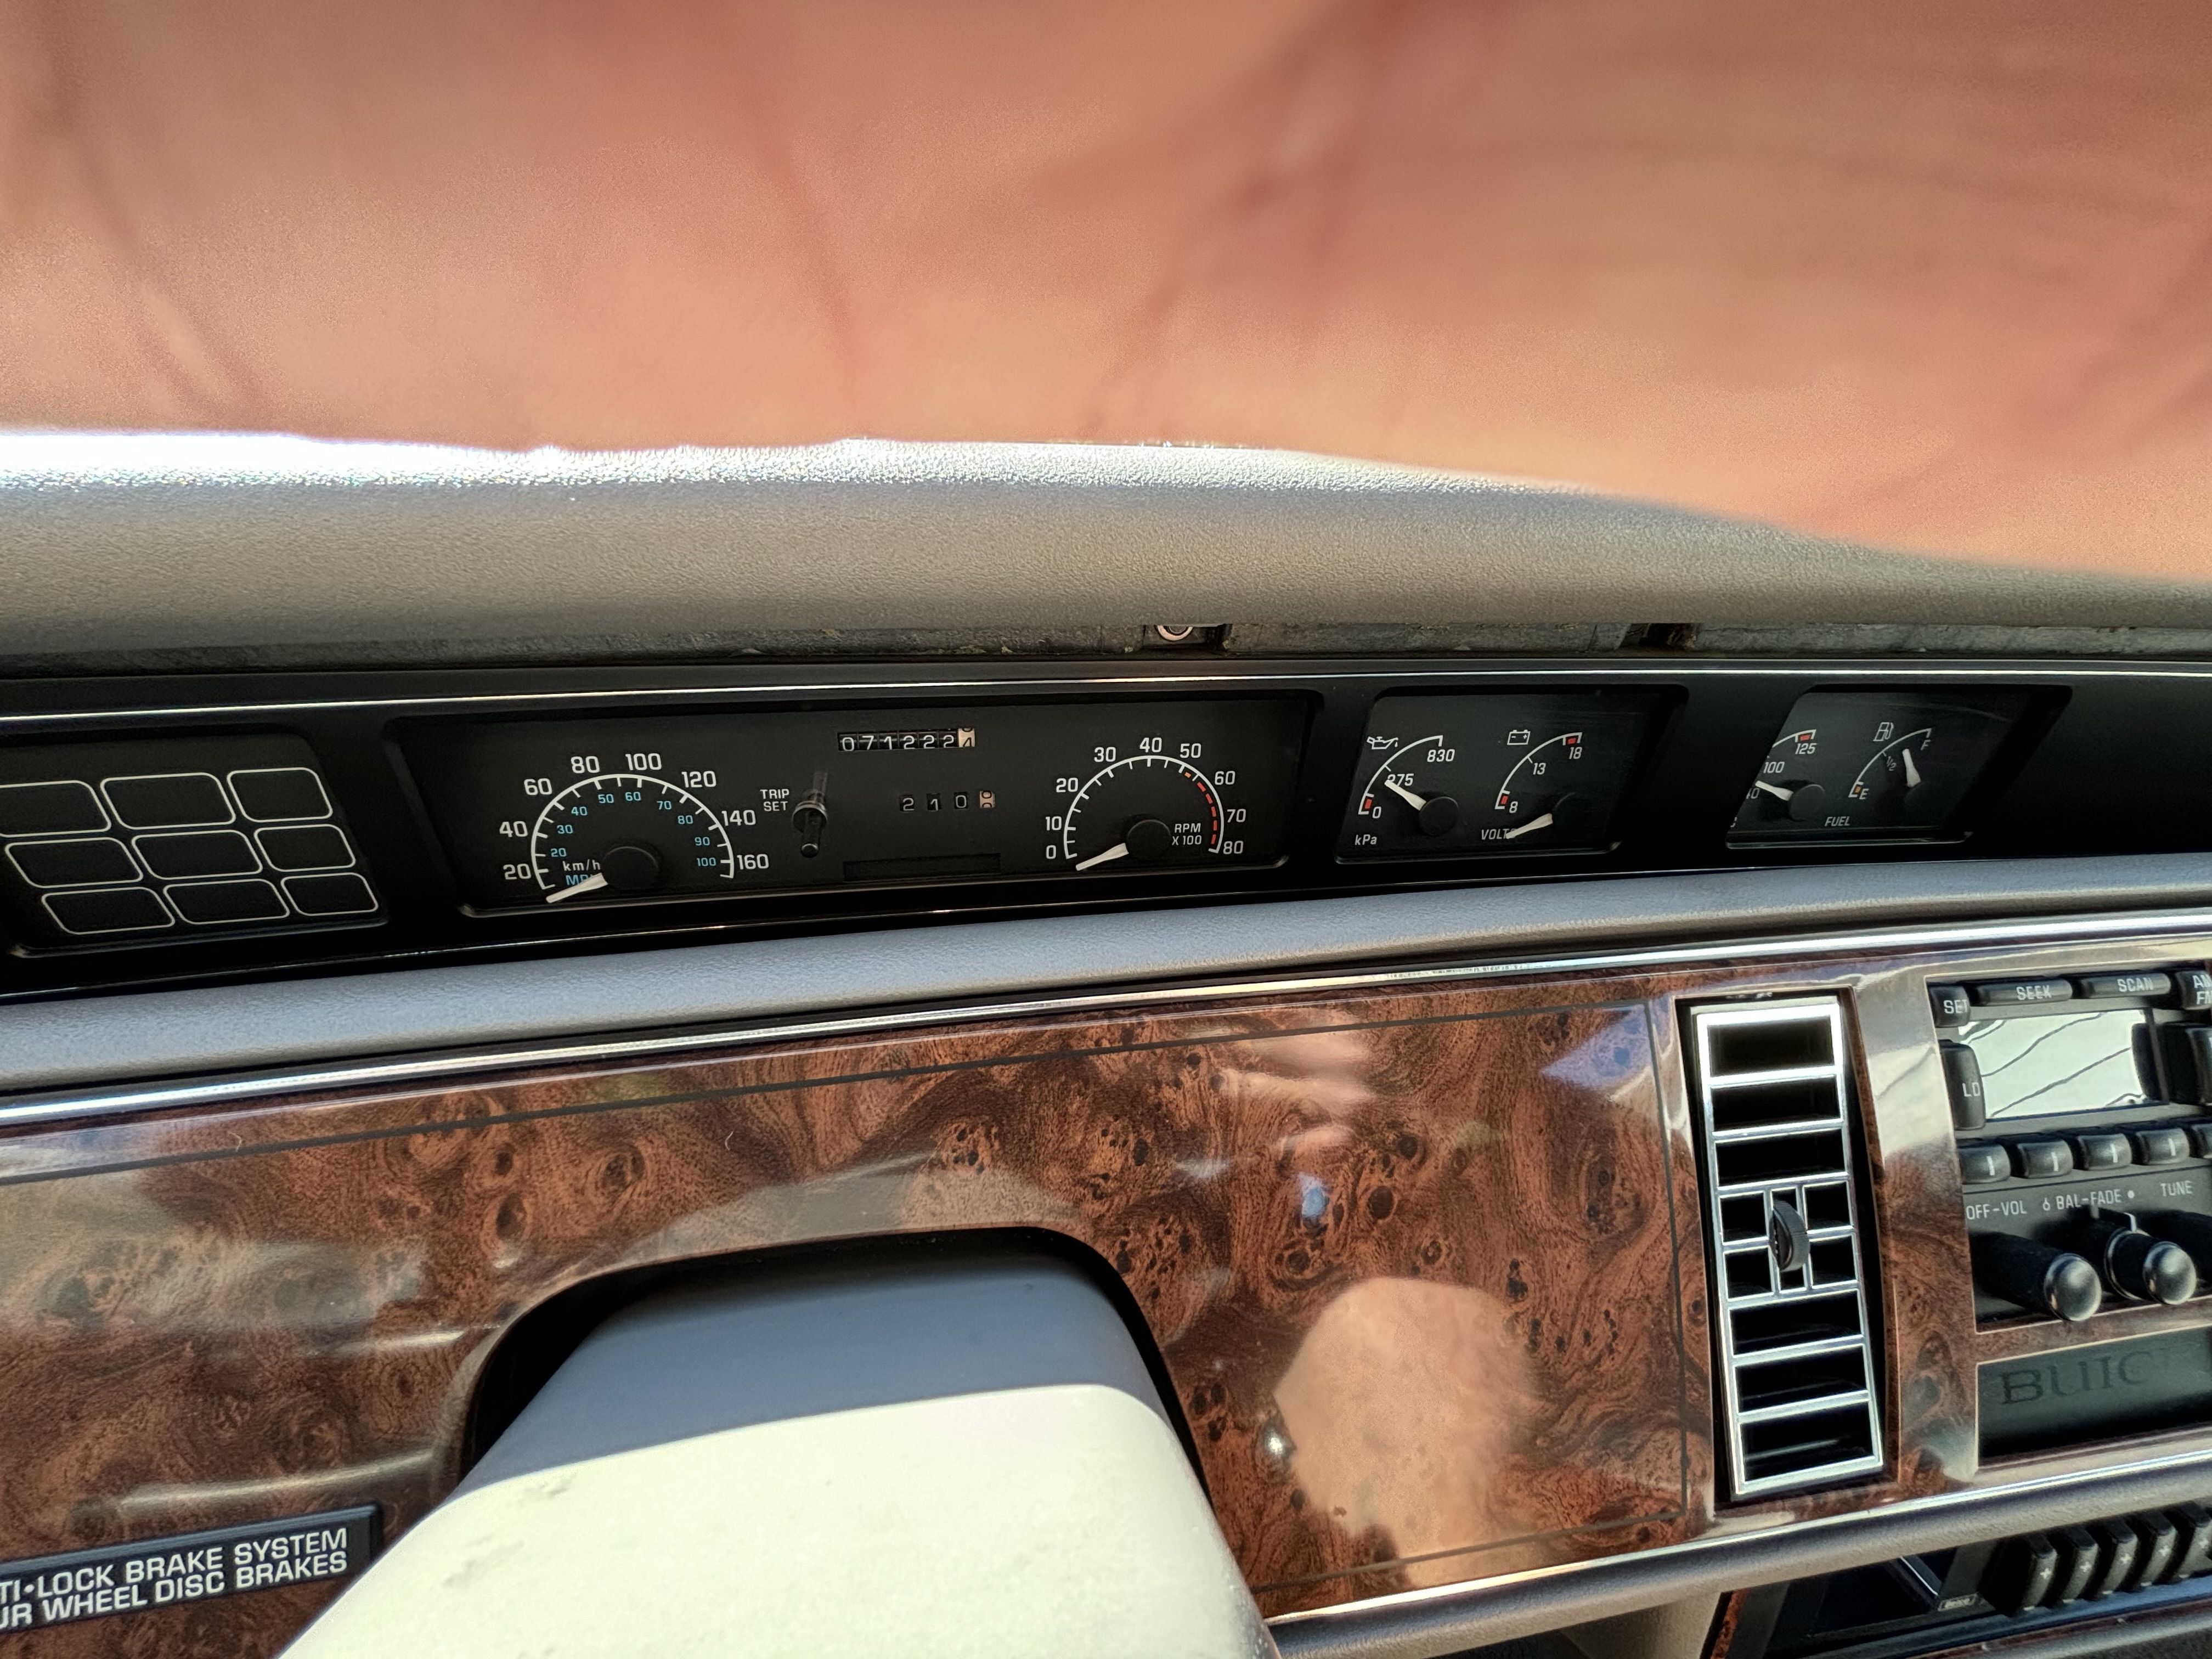
TOM ( SUPERBUICK)
Psych0matt and 7 others reacted to SuperBuick for a topic
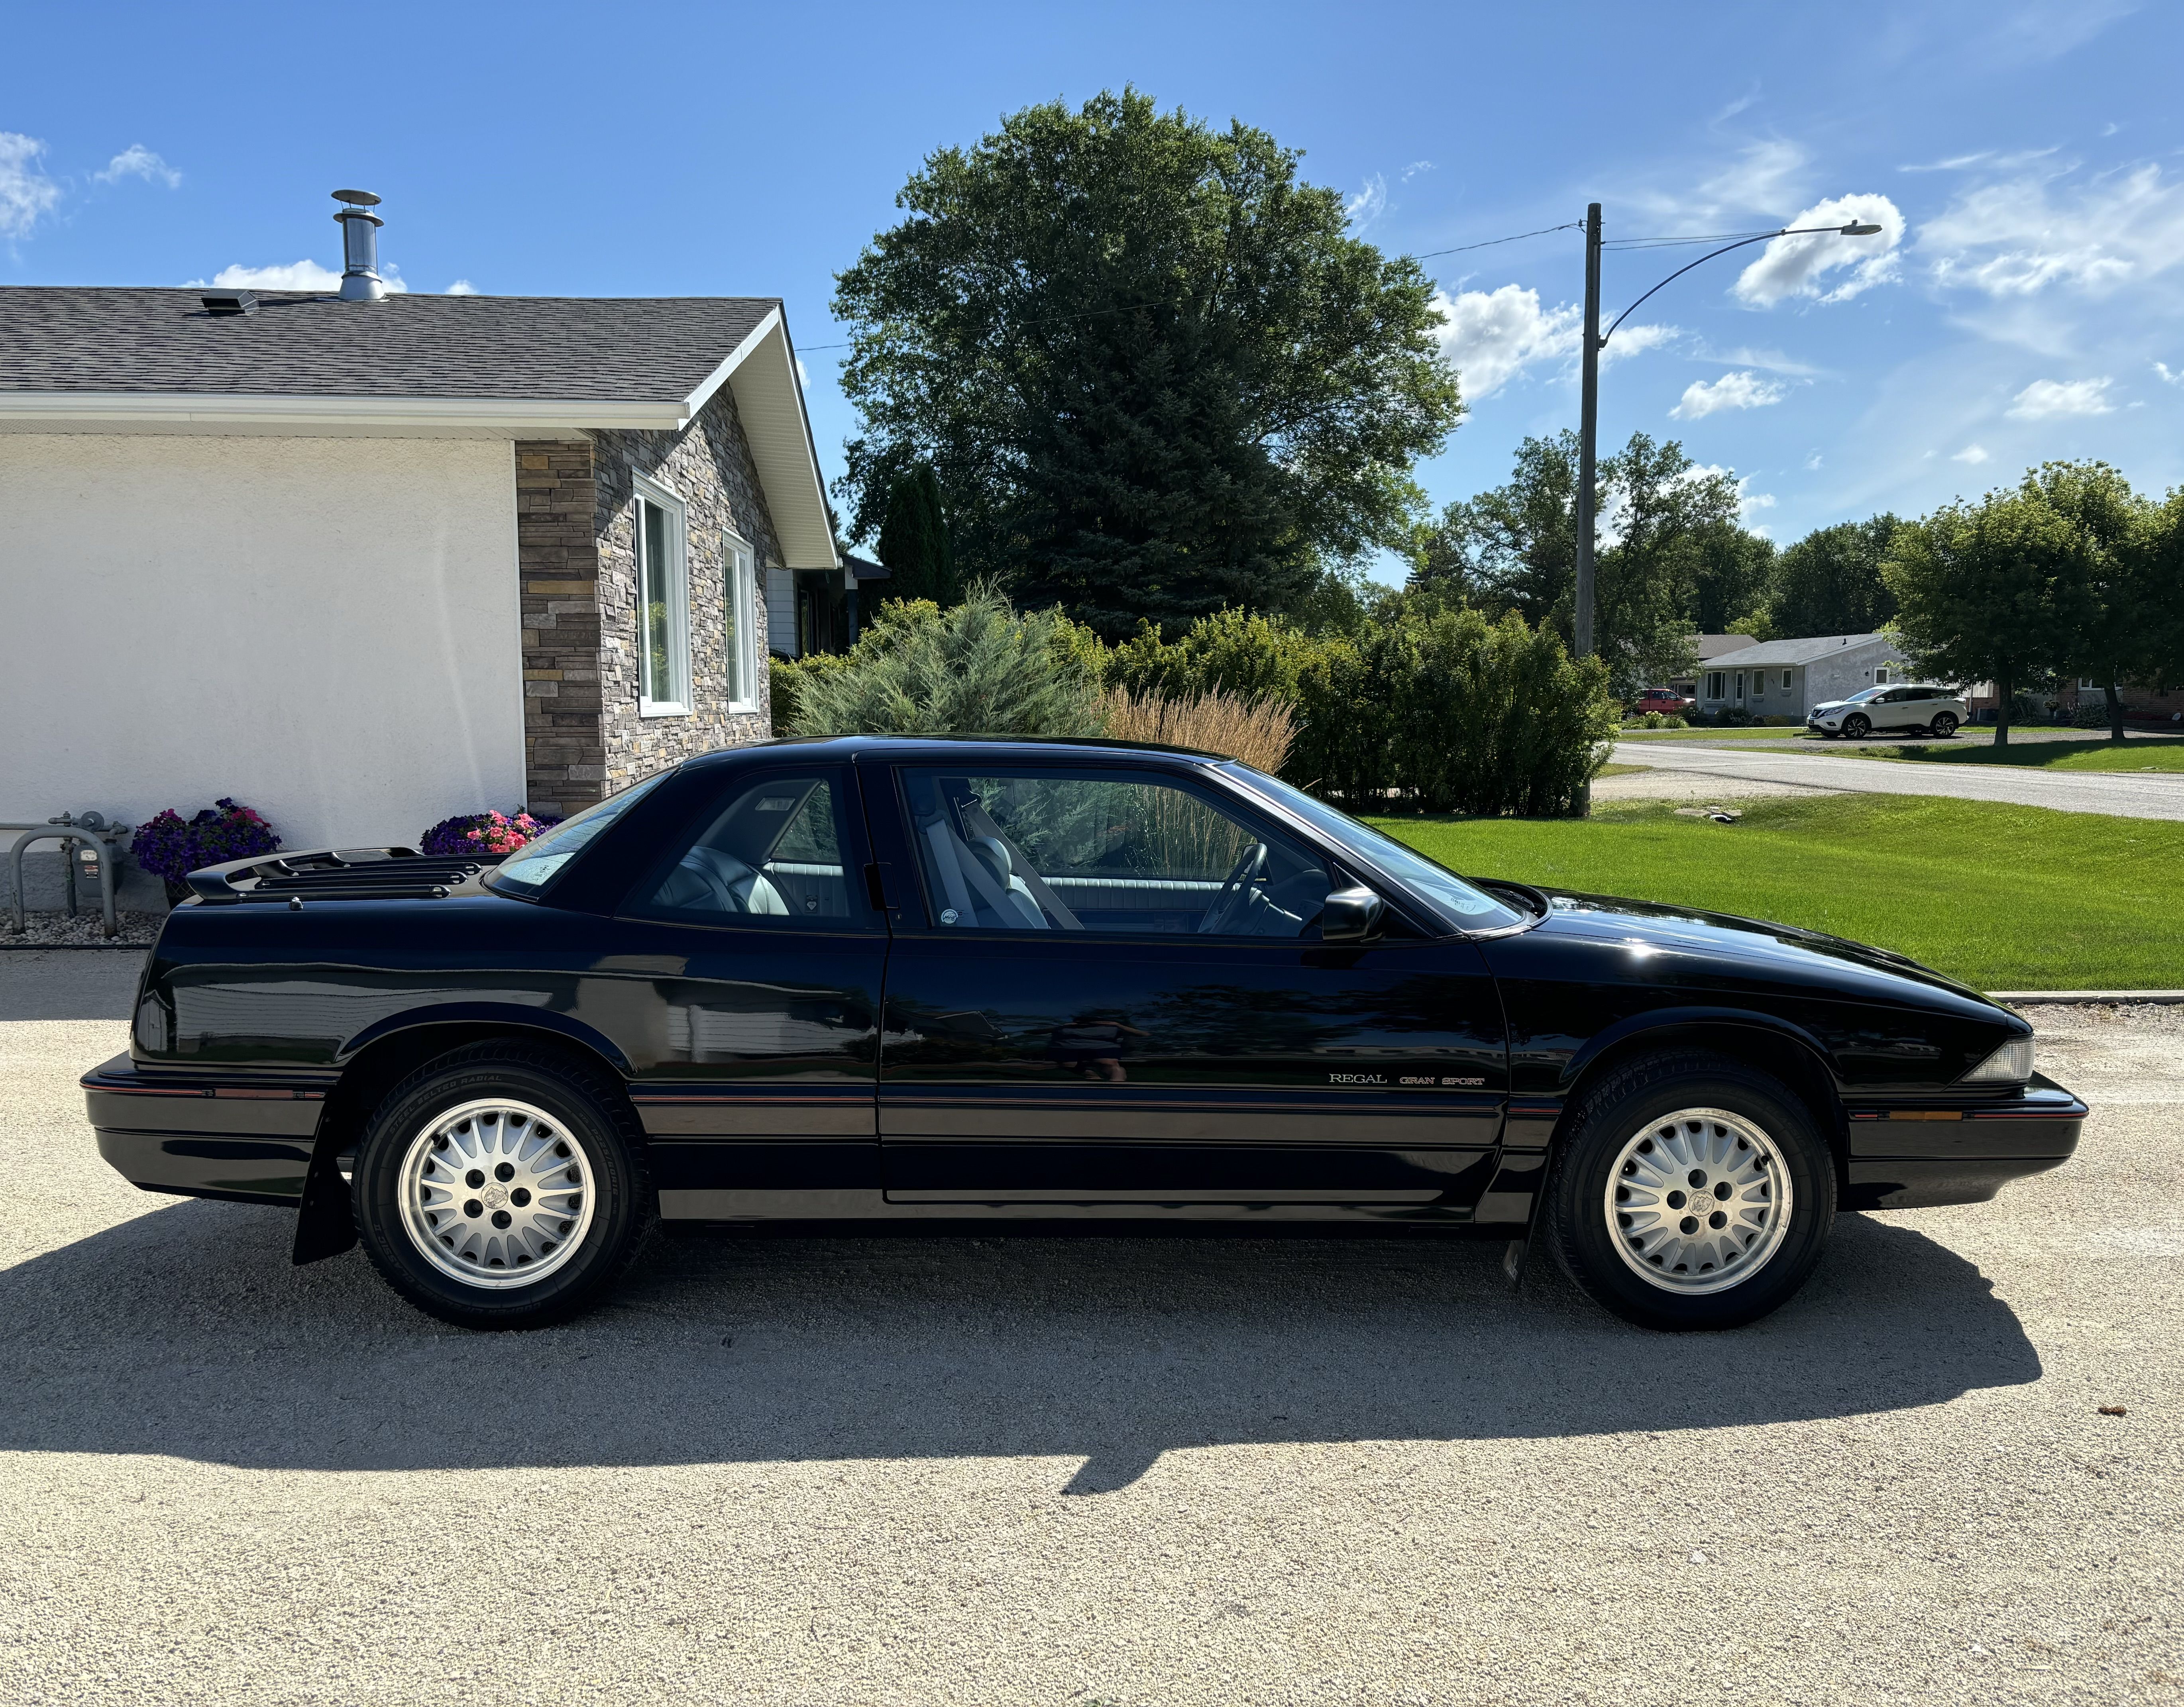
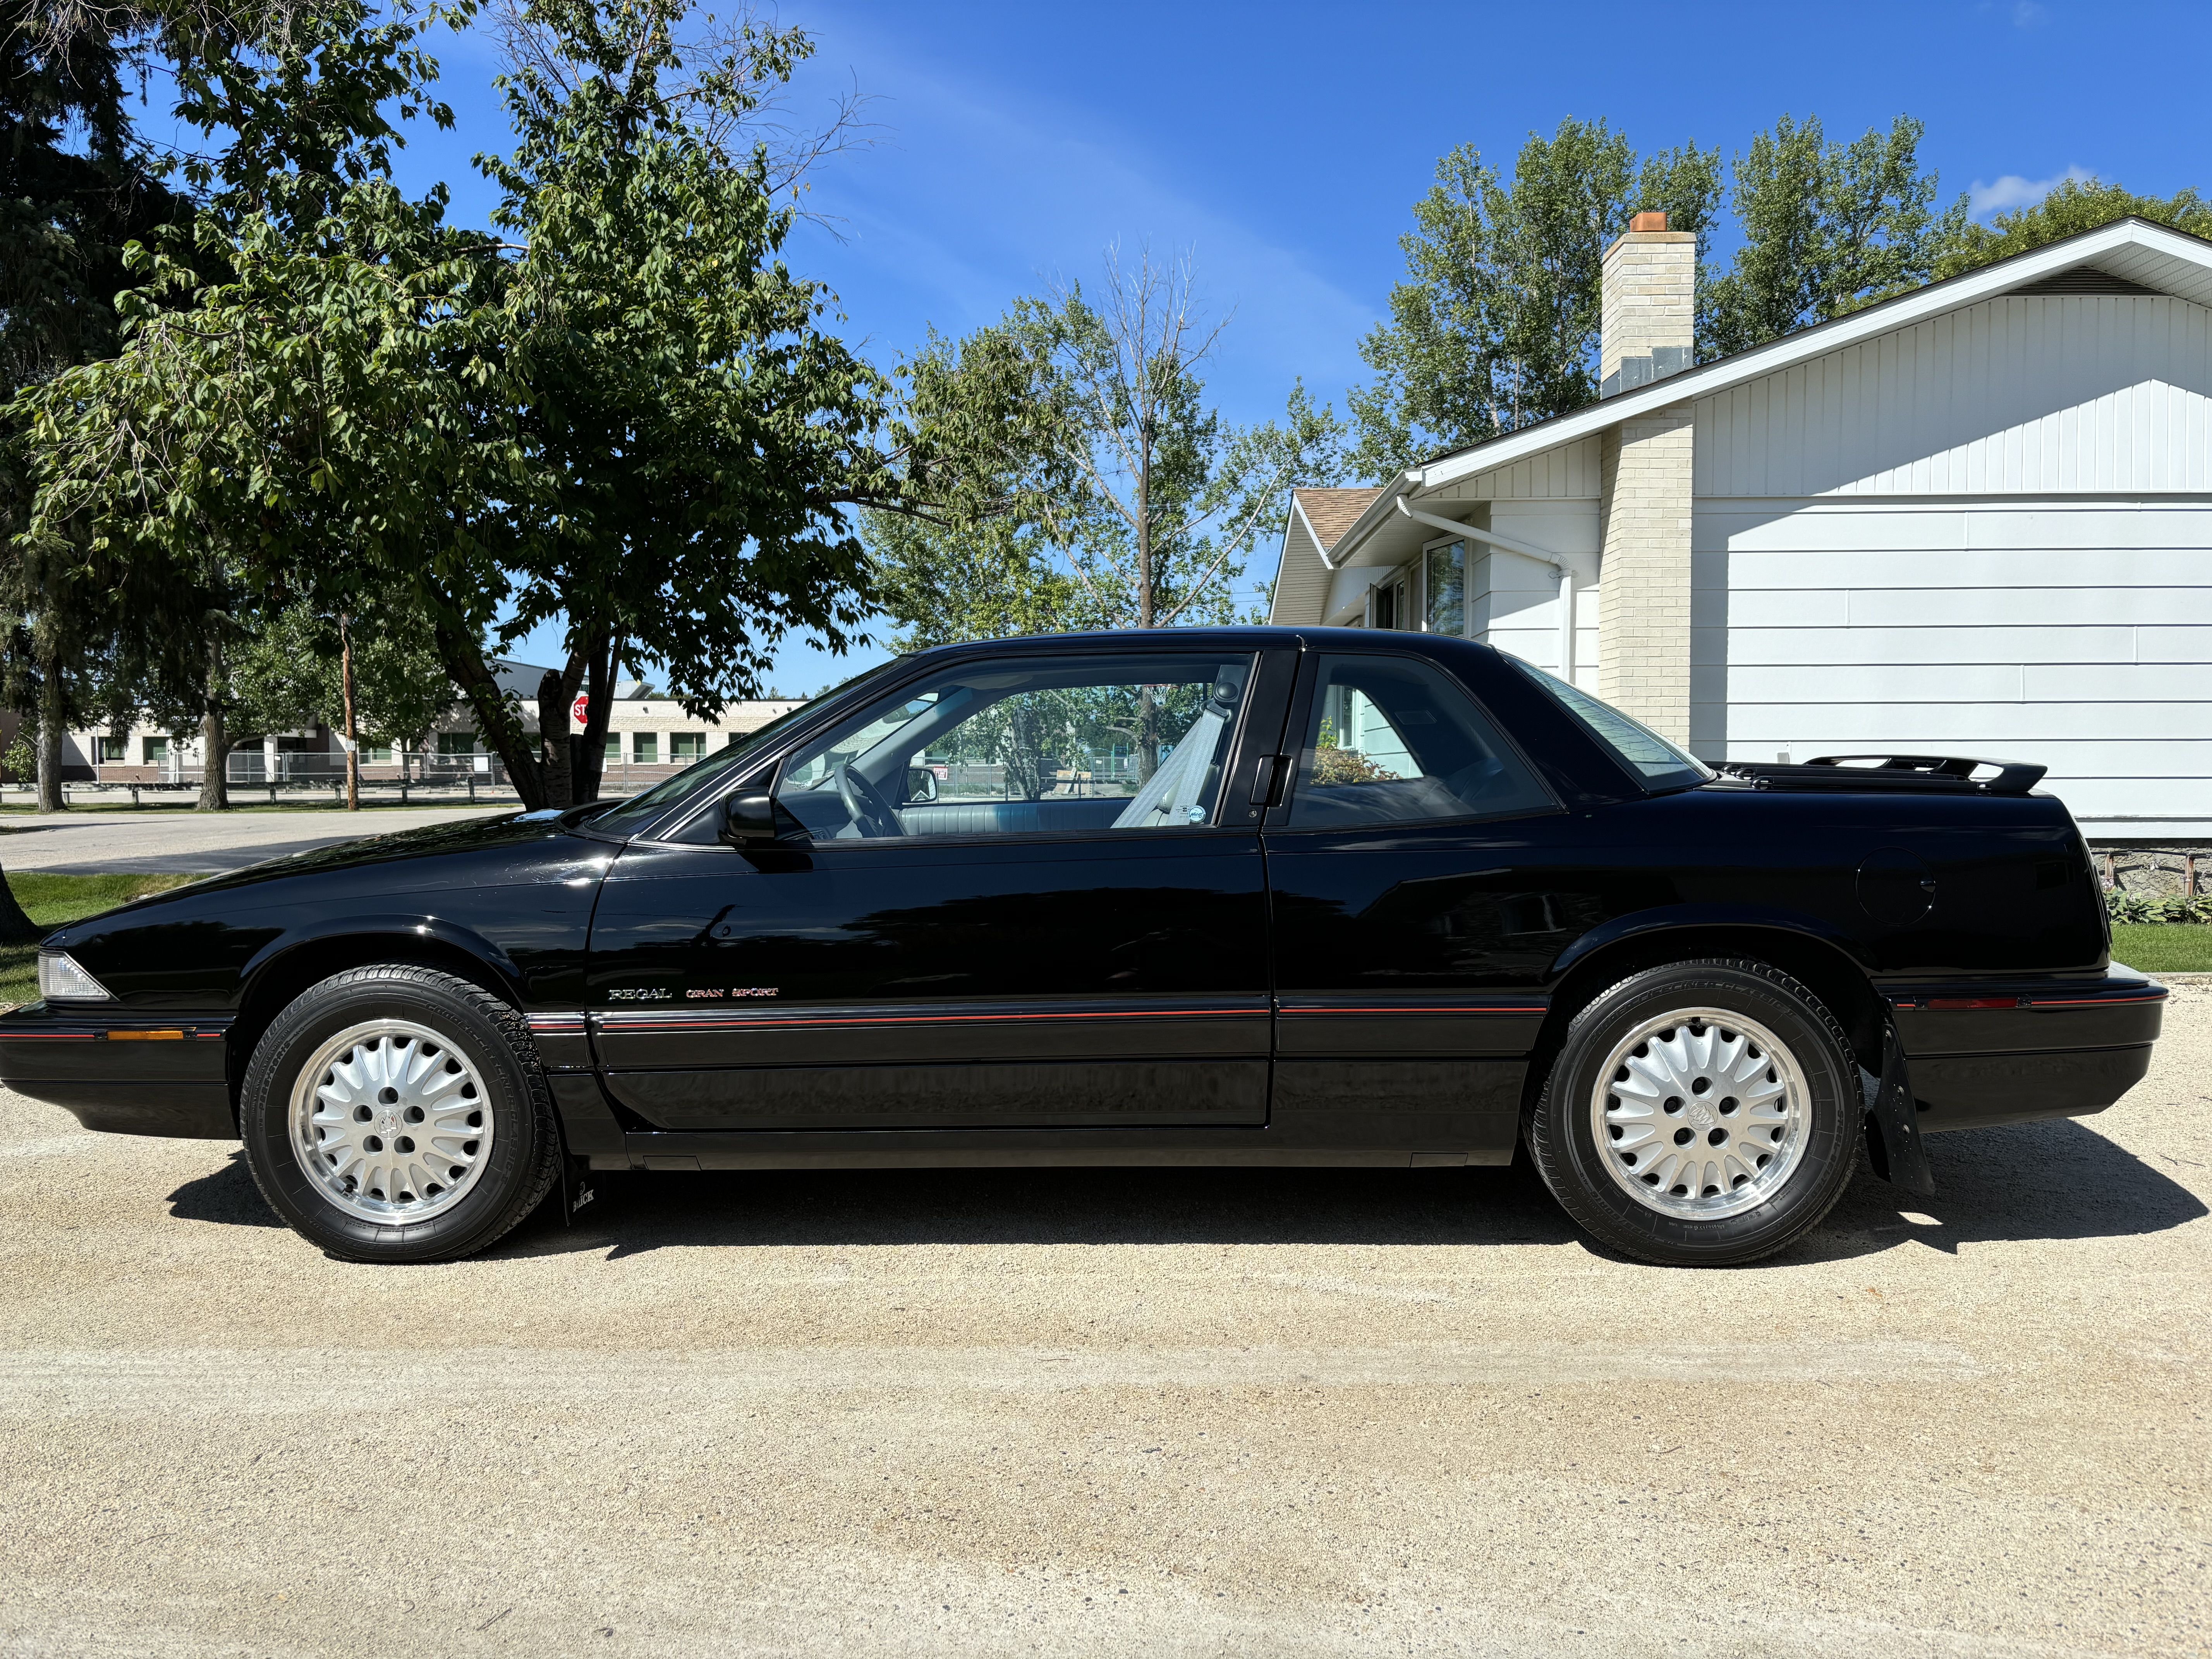
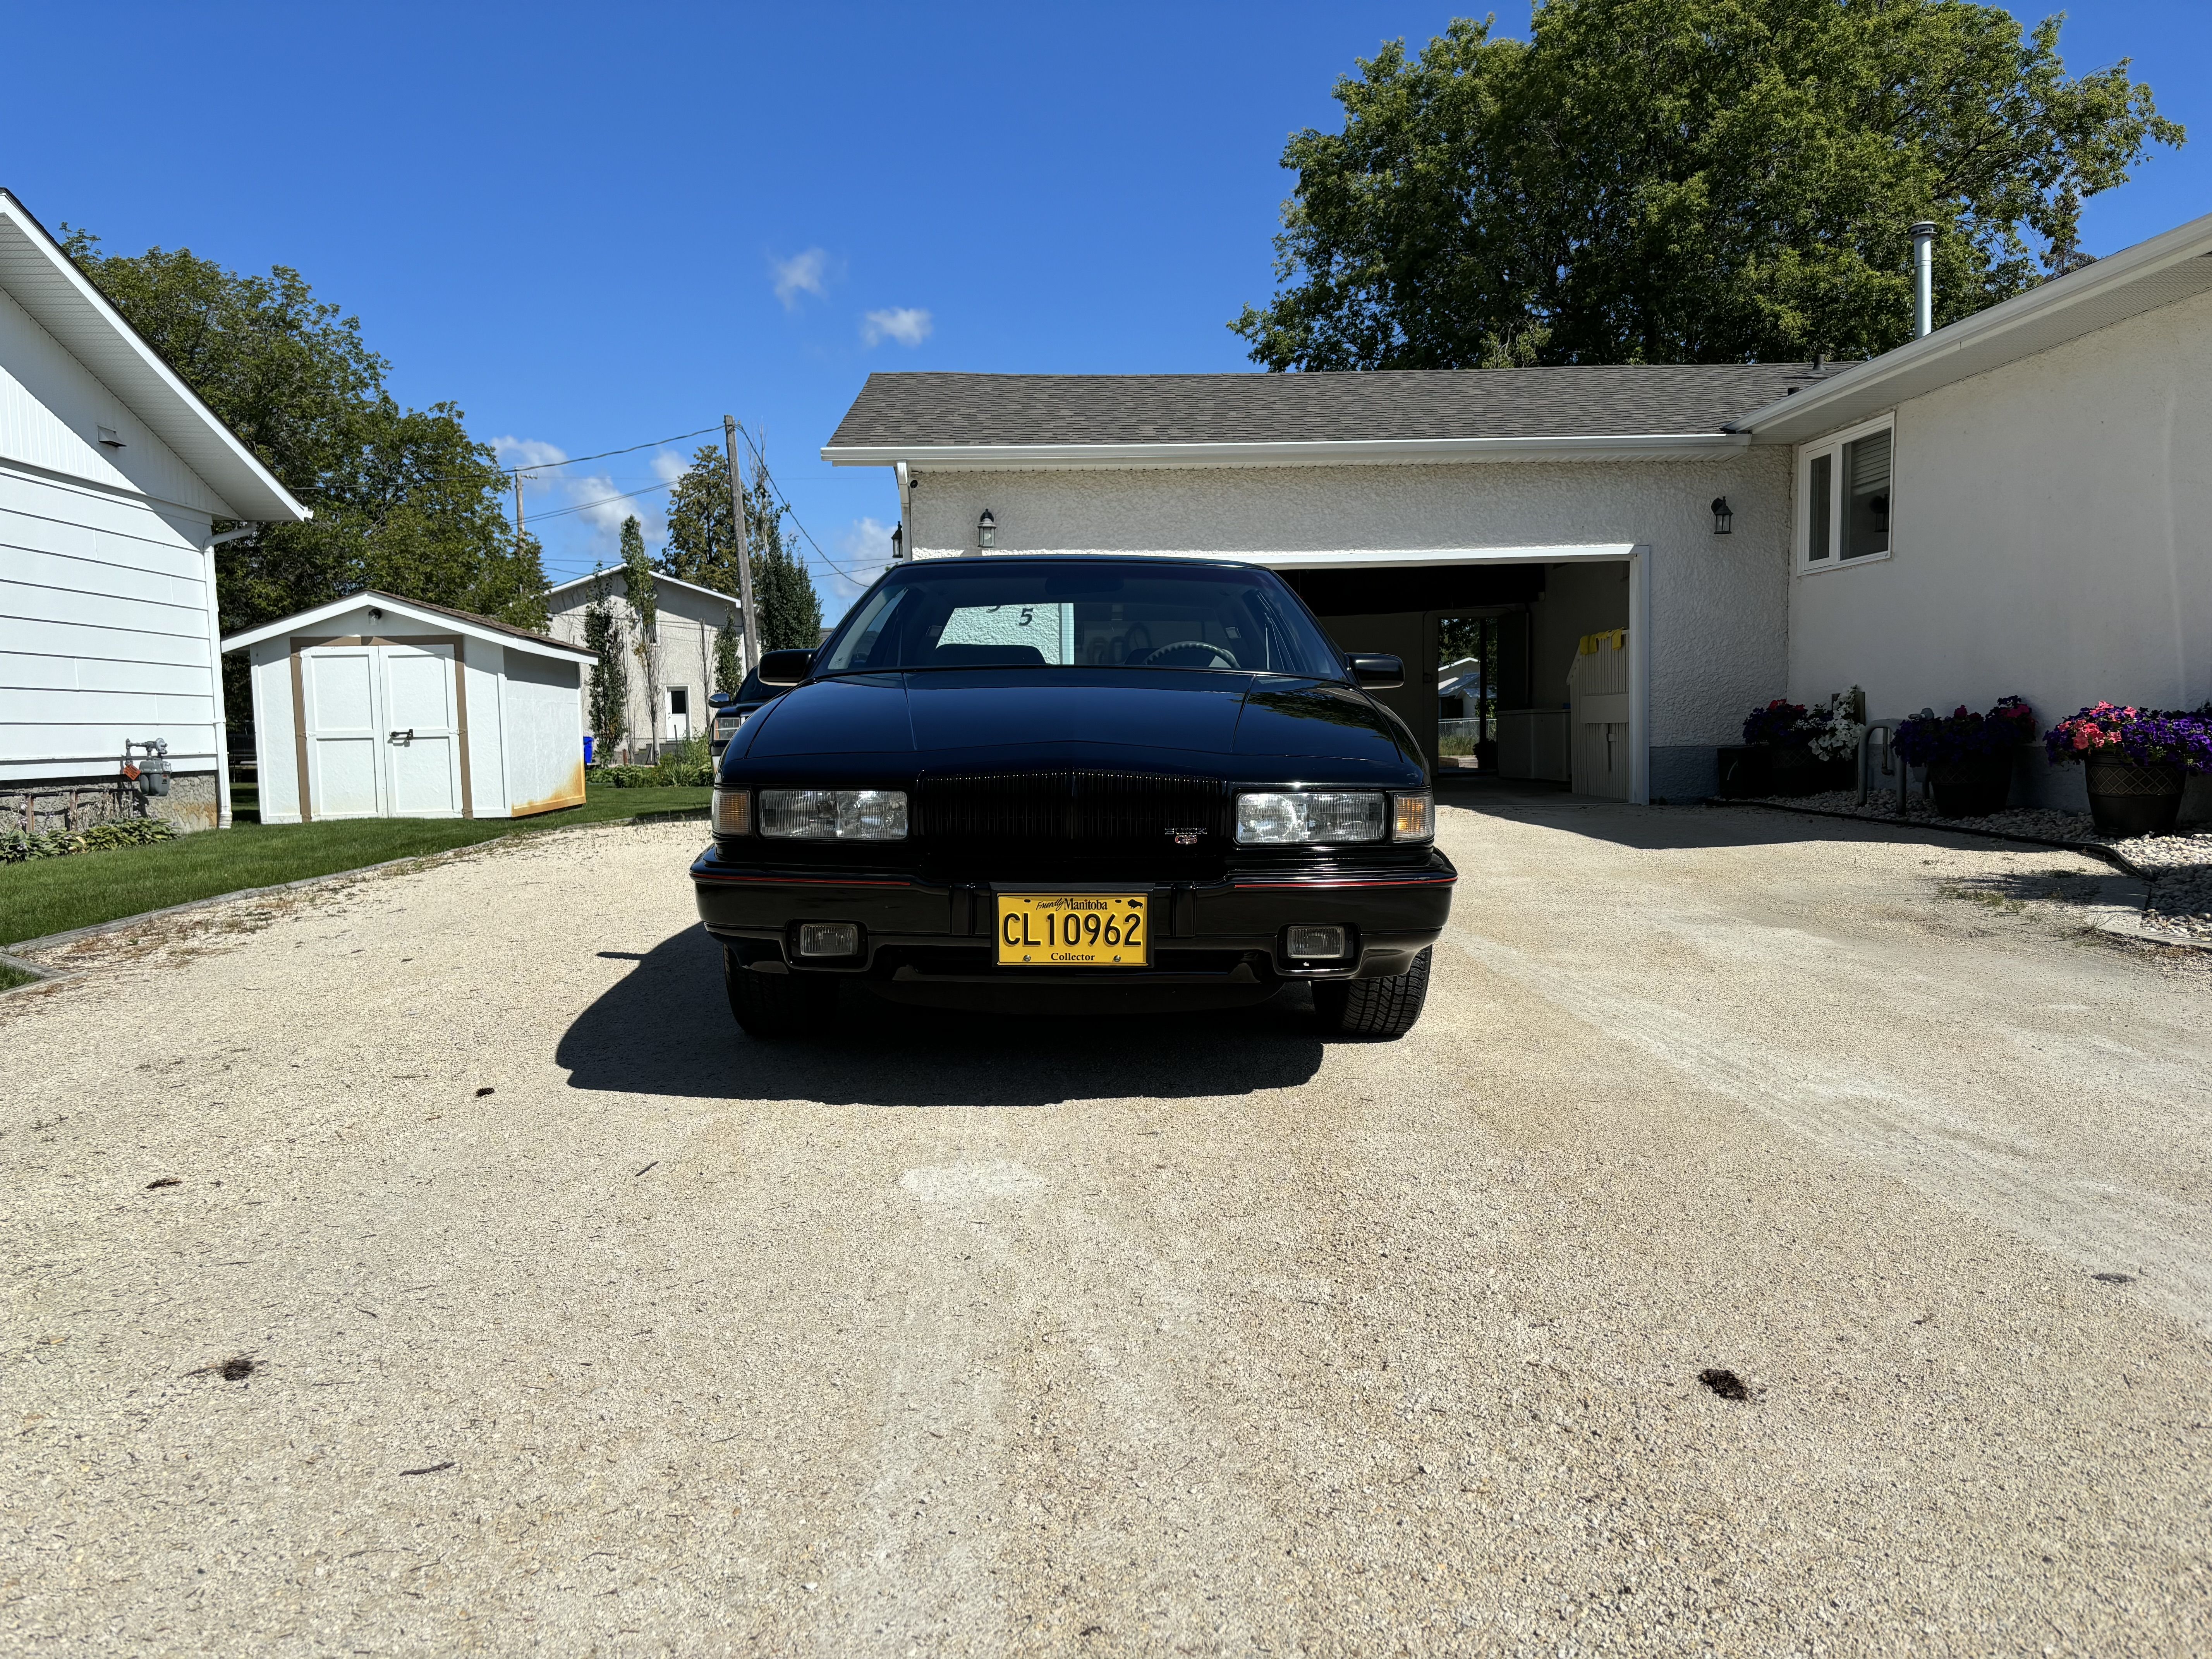
8 points -
Old to W body's, new to this forum
SuperBuick and 4 others reacted to AWBODYGUY for a topic
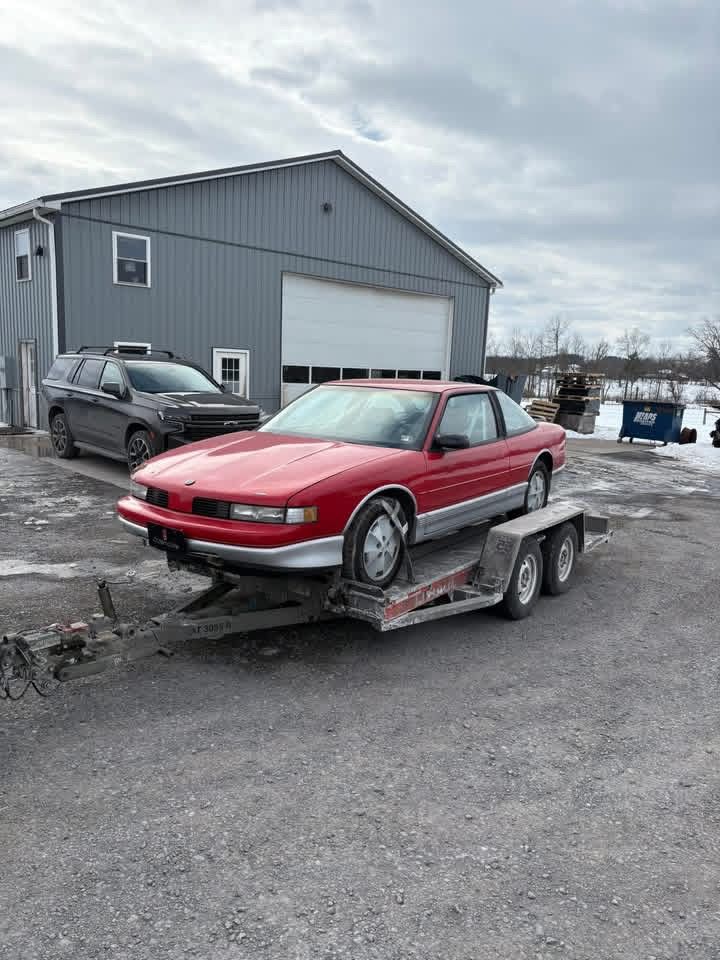
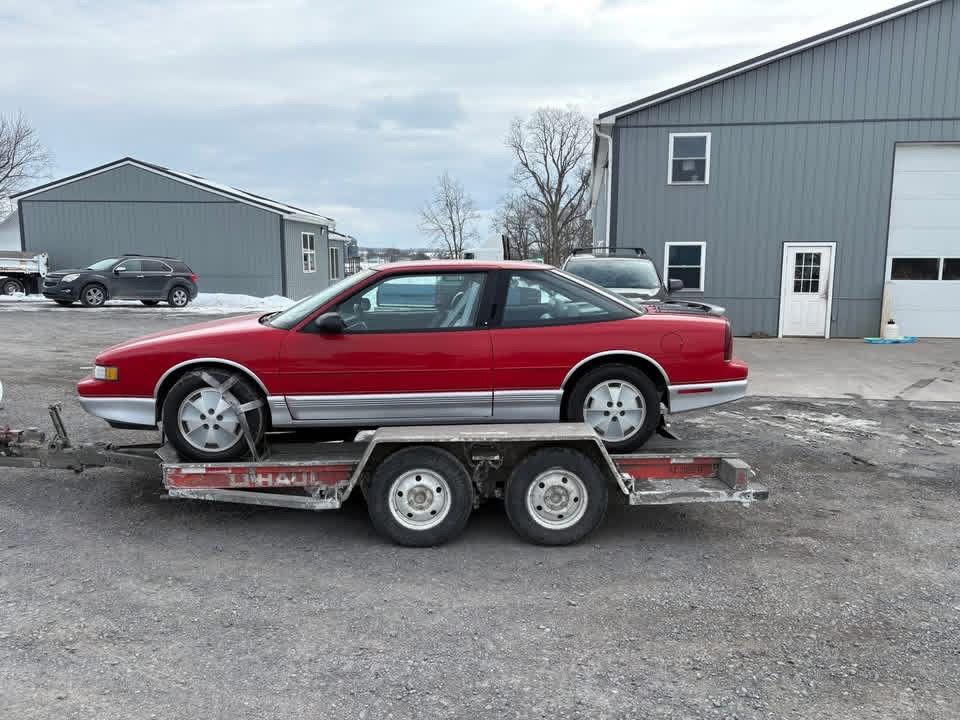
Good day, I have been a W body enthusiast since high school 04. In my student parking lot, we had a 93 Gran prix, 94 olds cutlass supreme, 94 cavalier z24, 95 monte, and my lumina z34. These cars were everywhere! My first car was a 94 lumina z34 (still have it). In 2012 I put a 4.9 PFI in it and it is almost complete. I just need to replace the rear suspension and odds and ends. I have a 99 Monte (needs some work), and I just picked up a decent (needs some work) Cutlass supreme. I am buying a new top for the cutlass on Friday. I want to get black canvass instead of the white (the car has black leather interior). They come in black, grey, white, red. What do you all think would be the best color? Just curious. Very few of these ole buggies still around (at least in my area). I thought I would join the forum to see what you all are up to (I feel very late to the party). I already have seen some super nice examples of these cars (nice job everyone!). Ill post more as spring hits and I can get them out, and work on them more. Also, not adverse to loading them up on the trailer for any meets that might happen. Thank you! Hope you all have a wonderful day!5 points -

Old to W body's, new to this forum
RPE1992GPSE and 3 others reacted to GnatGoSplat for a topic
Welcome! I think black top will look great on it. Better late than never! Not as bustling as it was back in the day, but there's a few of us W-body old timers left. I wouldn't mind seeing pics of the 4.9L in a W-body.4 points -

Old to W body's, new to this forum
RPE1992GPSE and 3 others reacted to 94 olds vert for a topic
4 points -

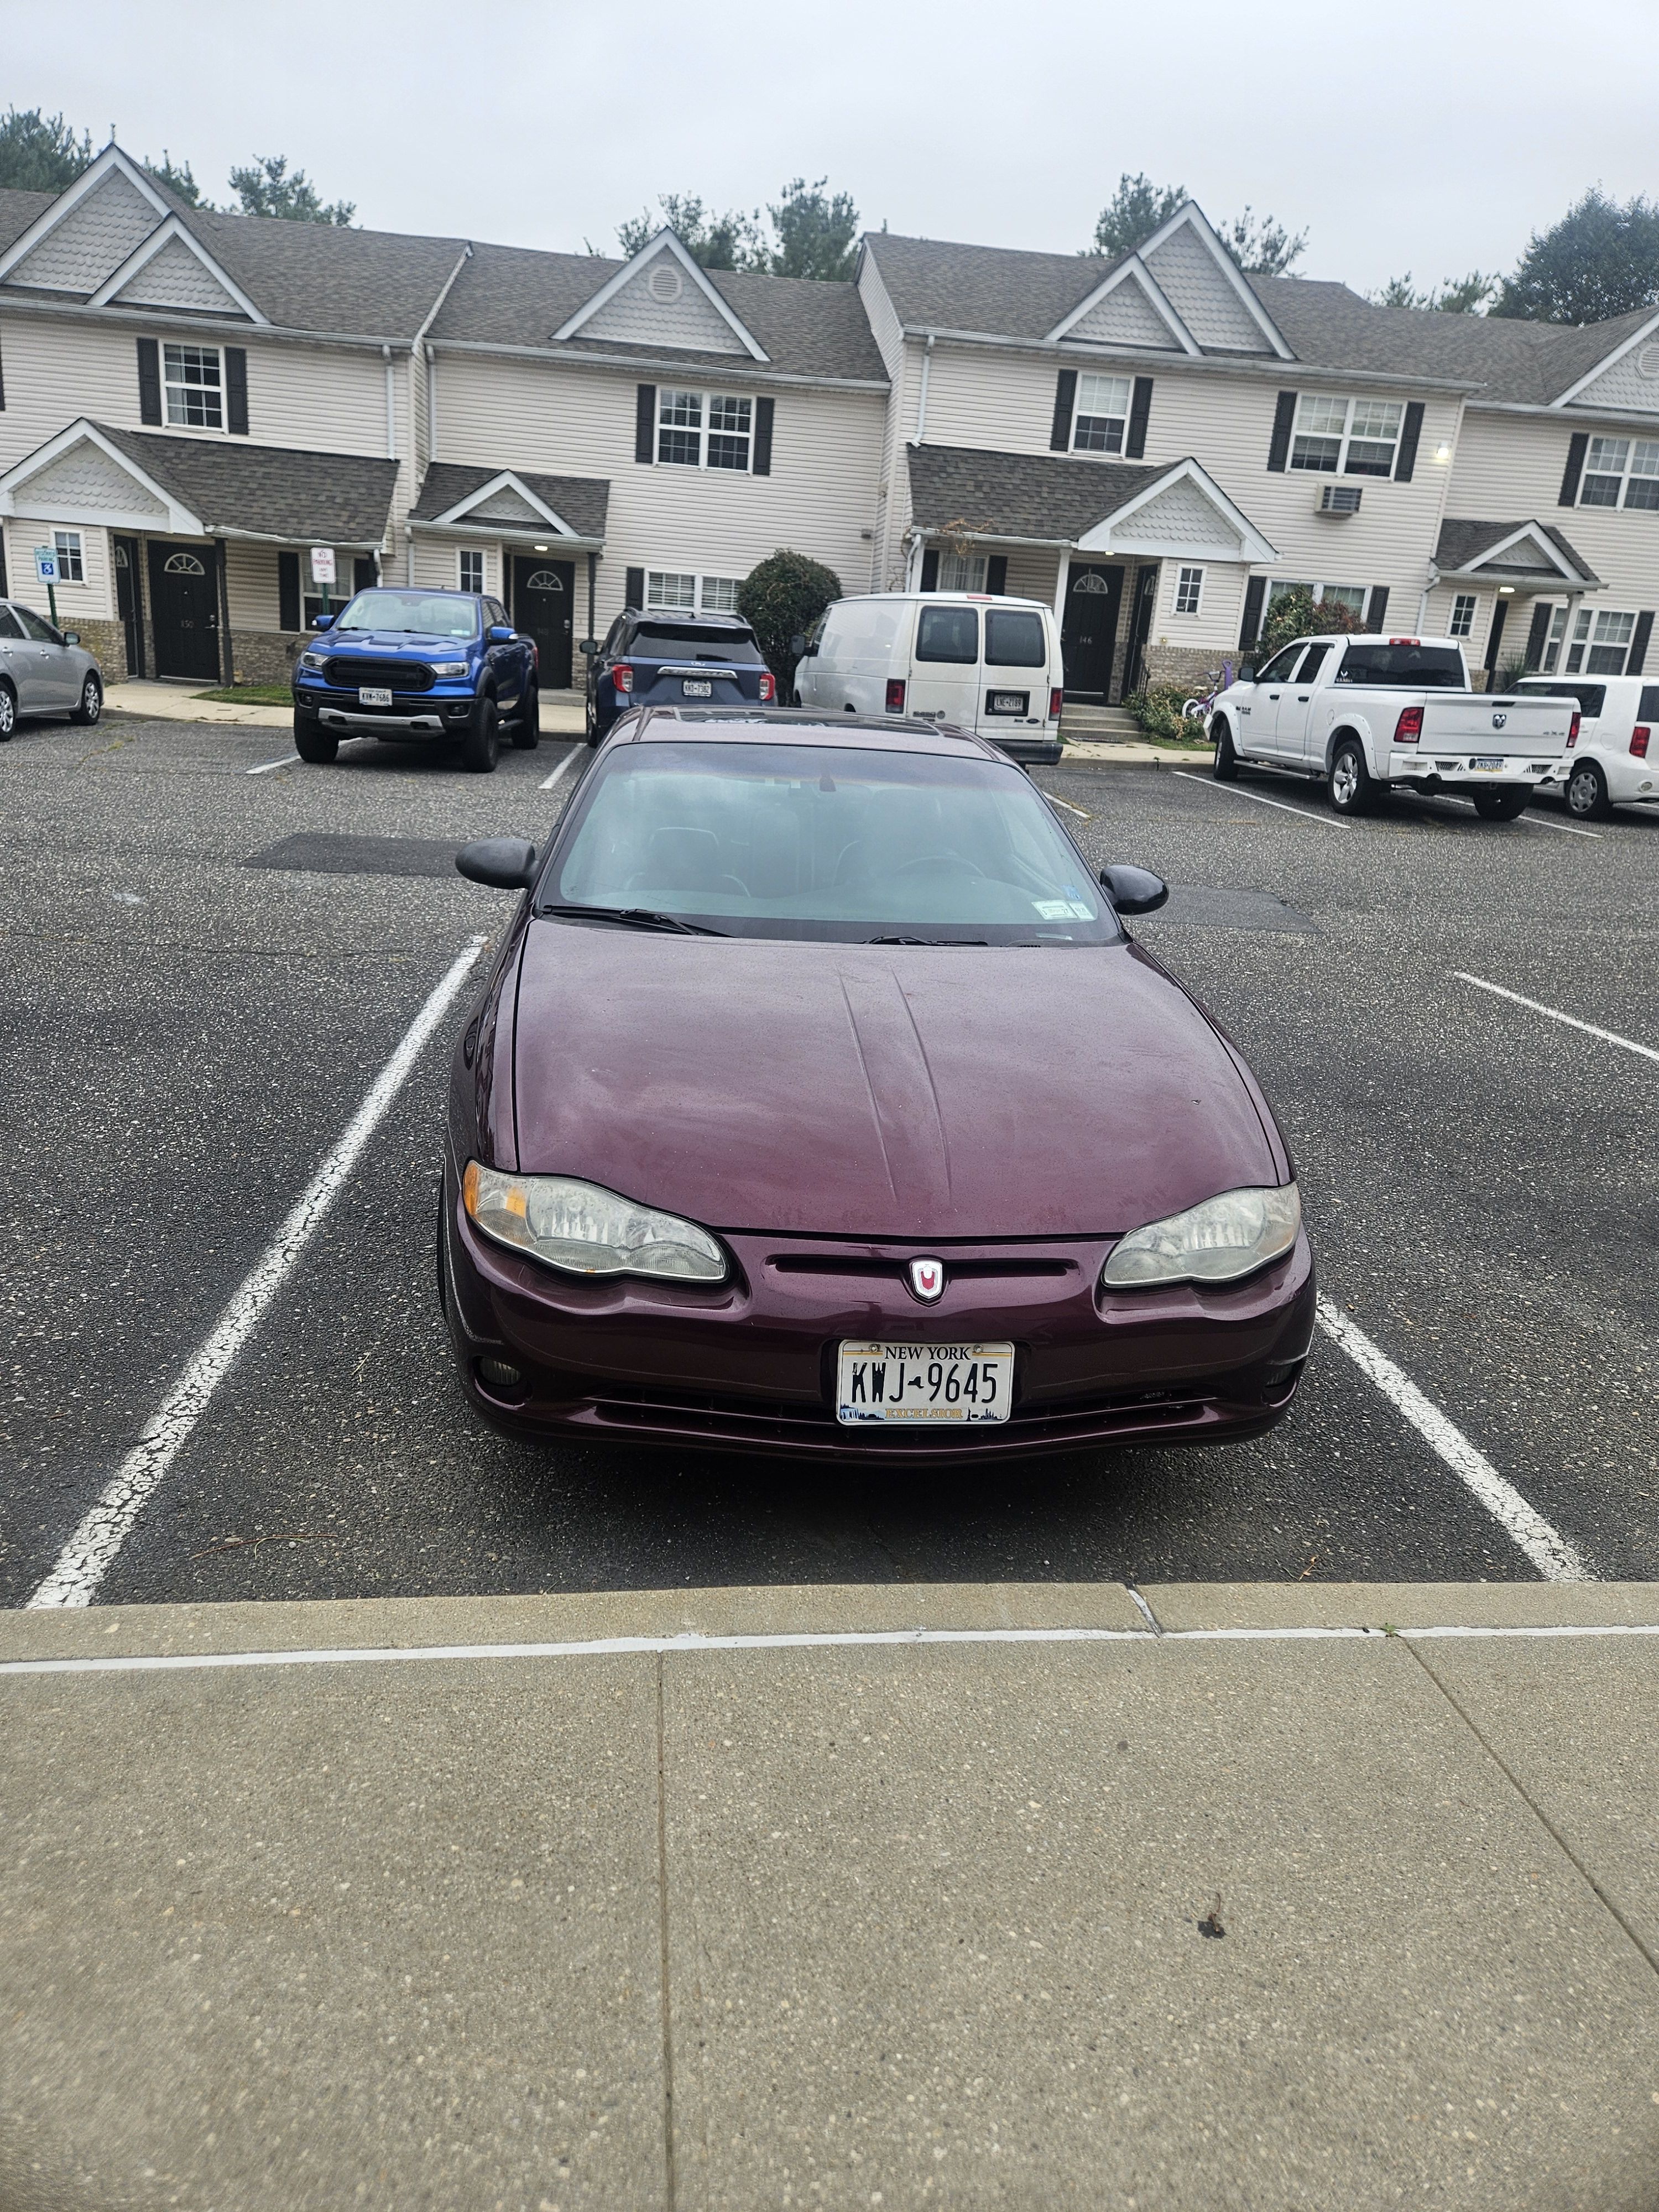
New here with a 03 Monte Carlo SS
GnatGoSplat and 3 others reacted to rc_customsli for a topic
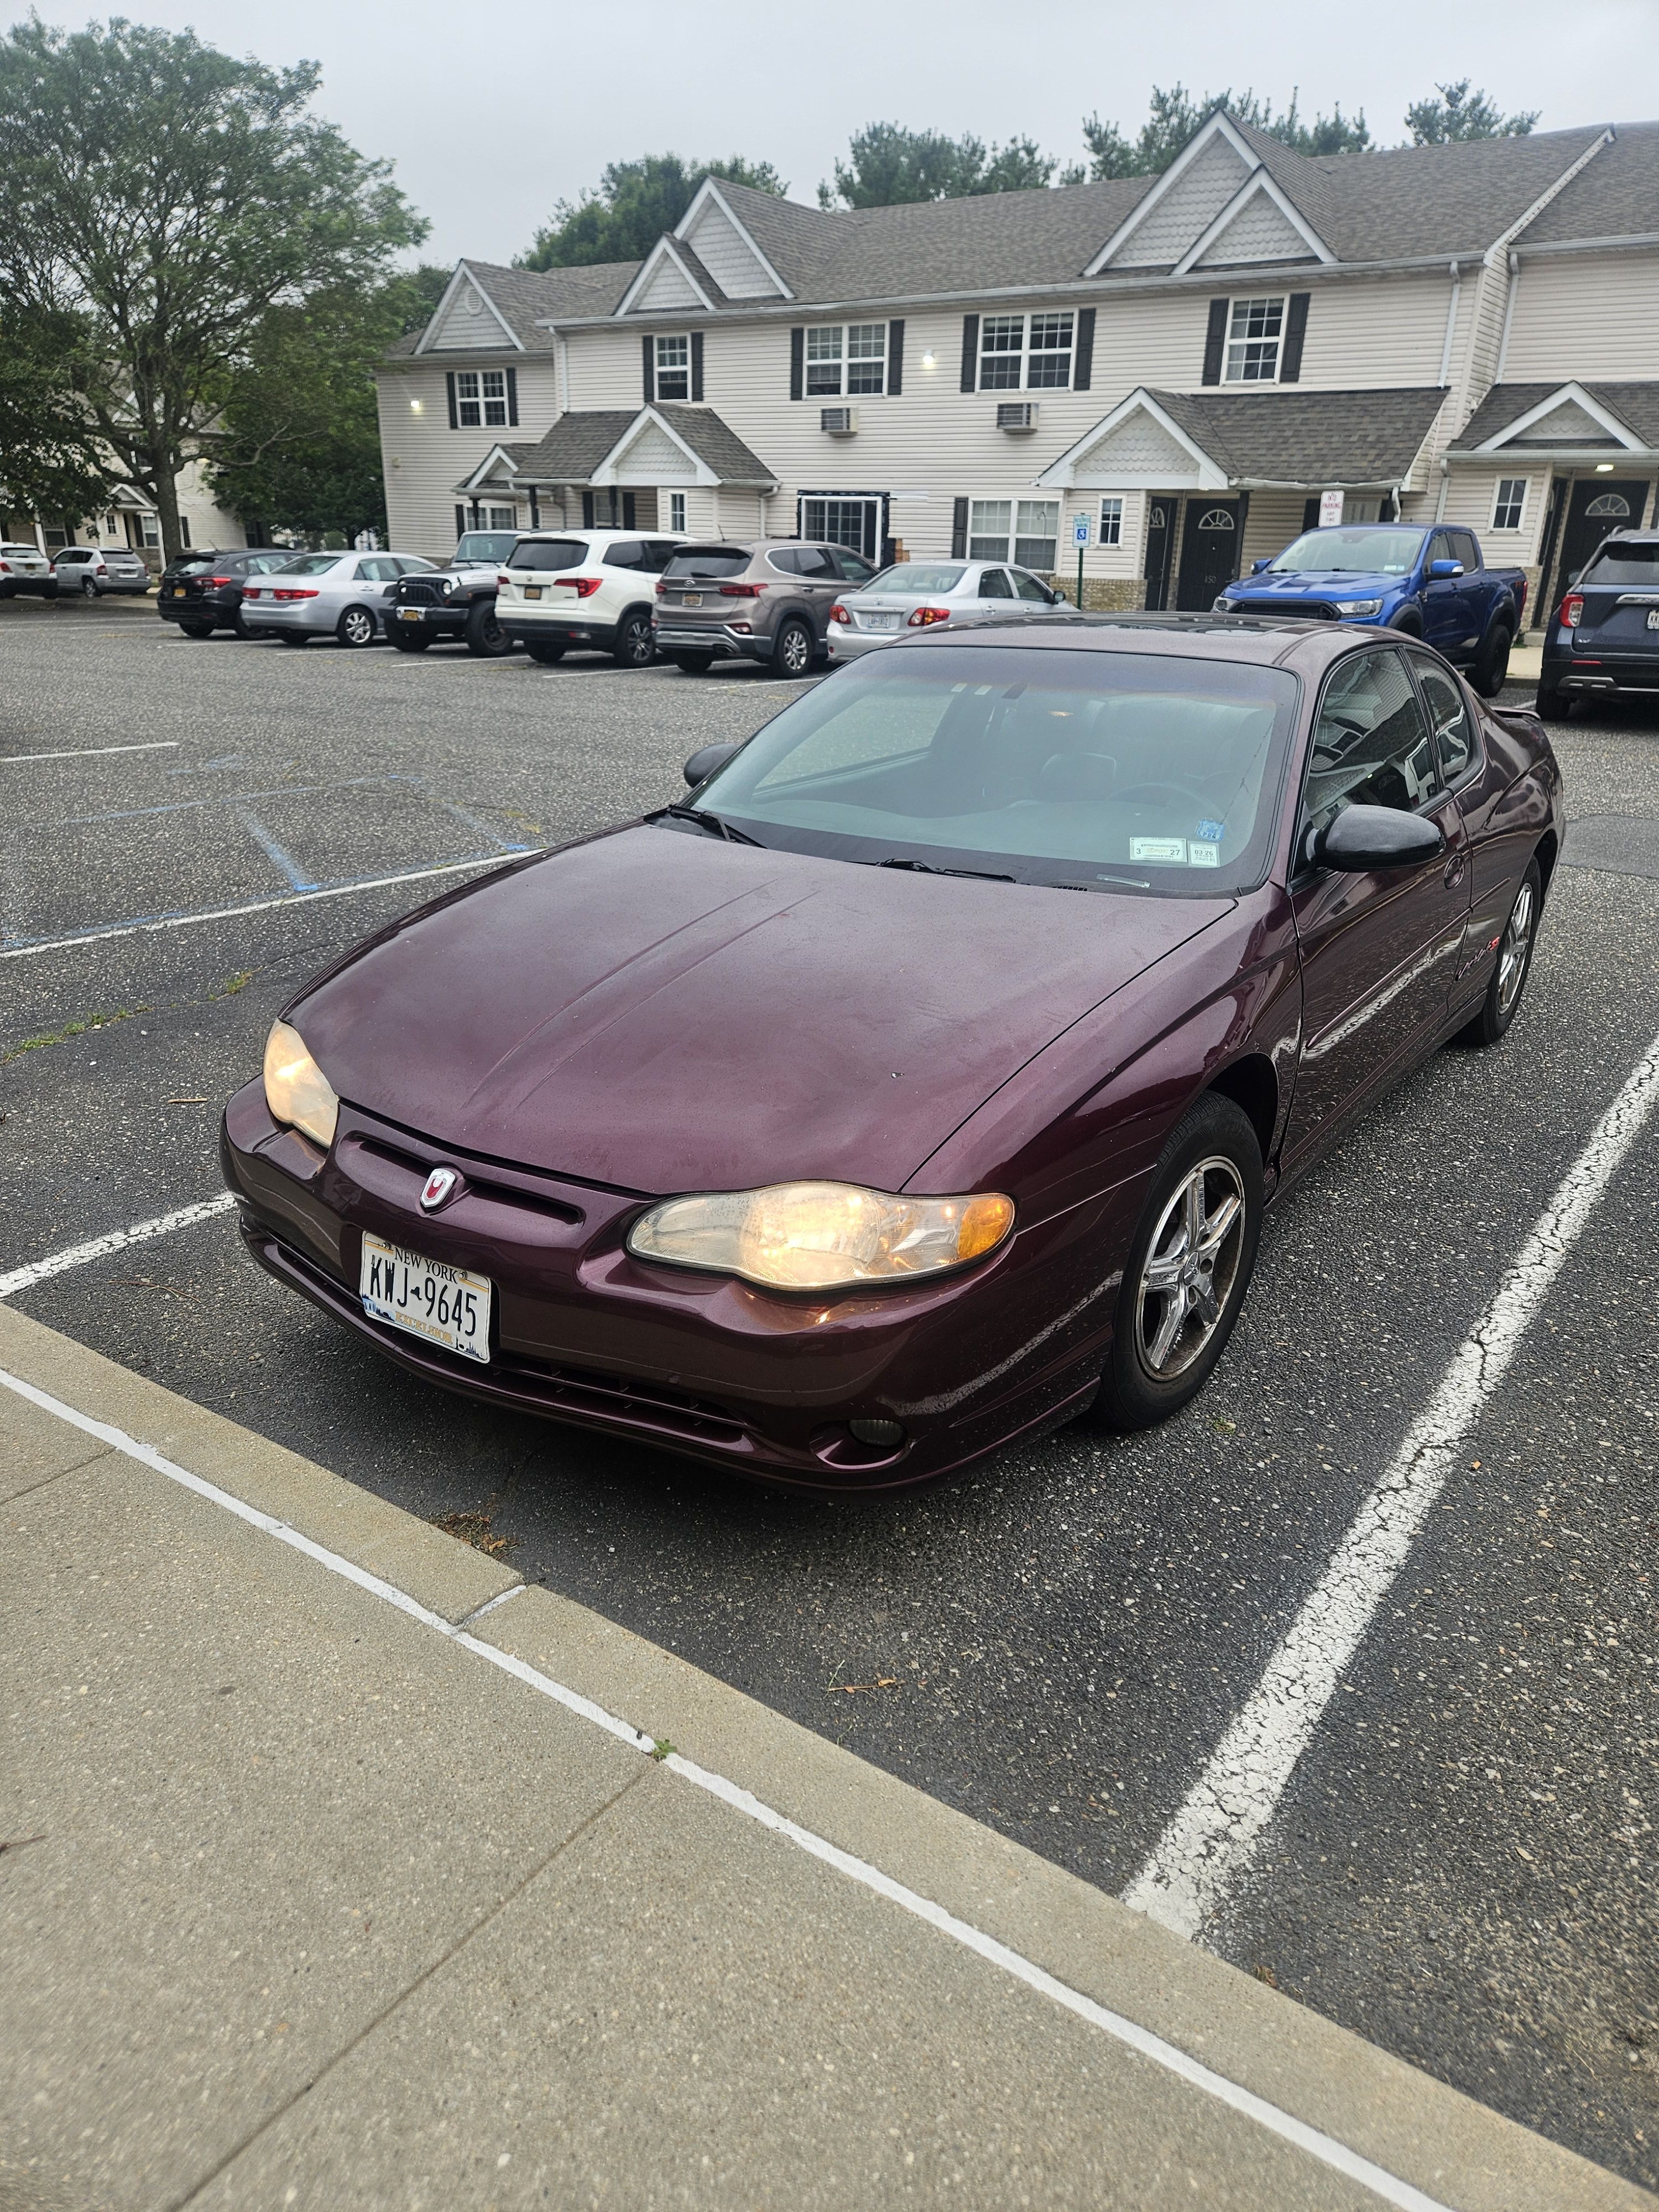
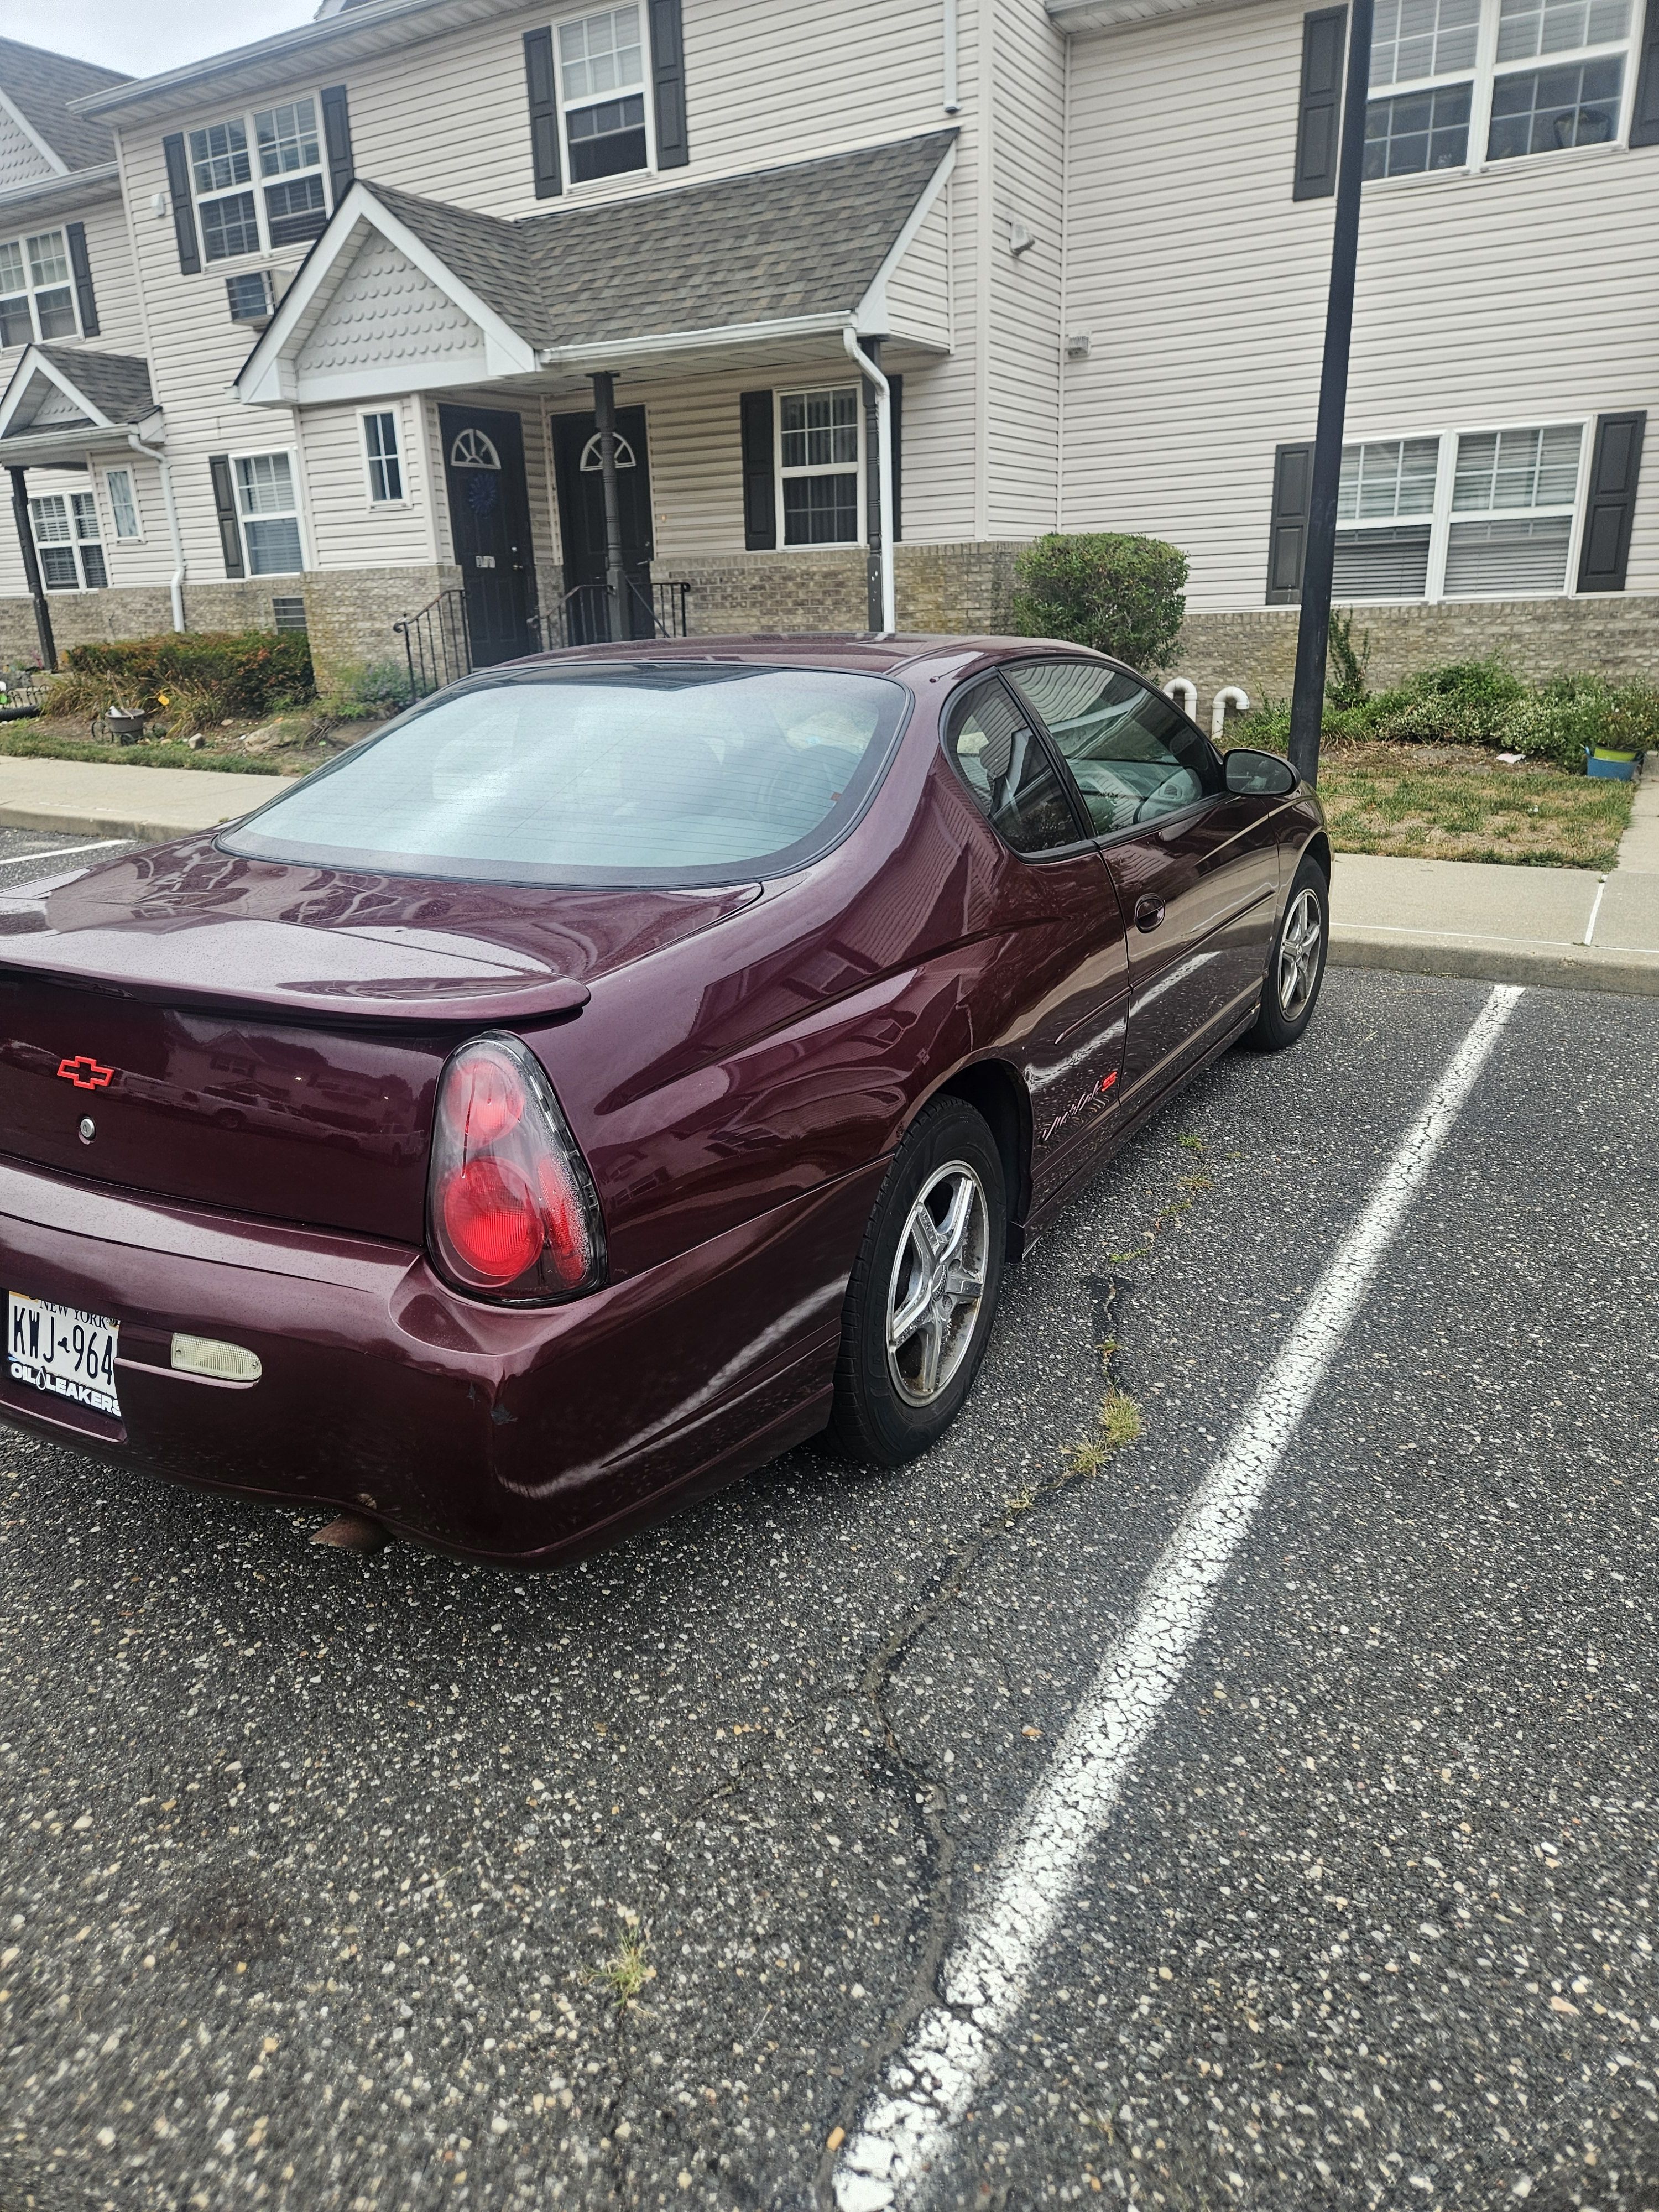
Hey everyone, My name’s Ryan, I’m from Long Island, NY, and I’m new to the Monte Carlo platform. I recently picked up a 2003 Monte Carlo SS and I’m excited to finally start a build thread and be part of the community. By trade I’m a licensed marine engineer, so I’m very hands-on mechanically and enjoy learning the technical side of things. On the automotive side, I’ve worked on and tuned a variety of platforms, everything from basic bolt-ons and wiring to full tuning using HP Tuners, Hondata, and standalone setups. I enjoy both the mechanical and tuning sides of builds and documenting the process. For the Monte, the plan is to start simple, catch up on maintenance, fix worn components, and do some basic bolt-ons while I sort out the body and cosmetics. Once the chassis and body are in better shape, the goal is to turn things up. I’m currently torn between a Gen V M90 top swap or going turbo, but either way the end goal is a "reliable", fun street car that still rips when you get into it. I’ll be sharing progress, asking questions, and learning as I go. Looking forward to seeing everyone’s builds and being part of the community.4 points -
3 points
-

OIL LEAK - 1994 Cutlass LQ1
GnatGoSplat and 2 others reacted to bluecalais79 for a topic
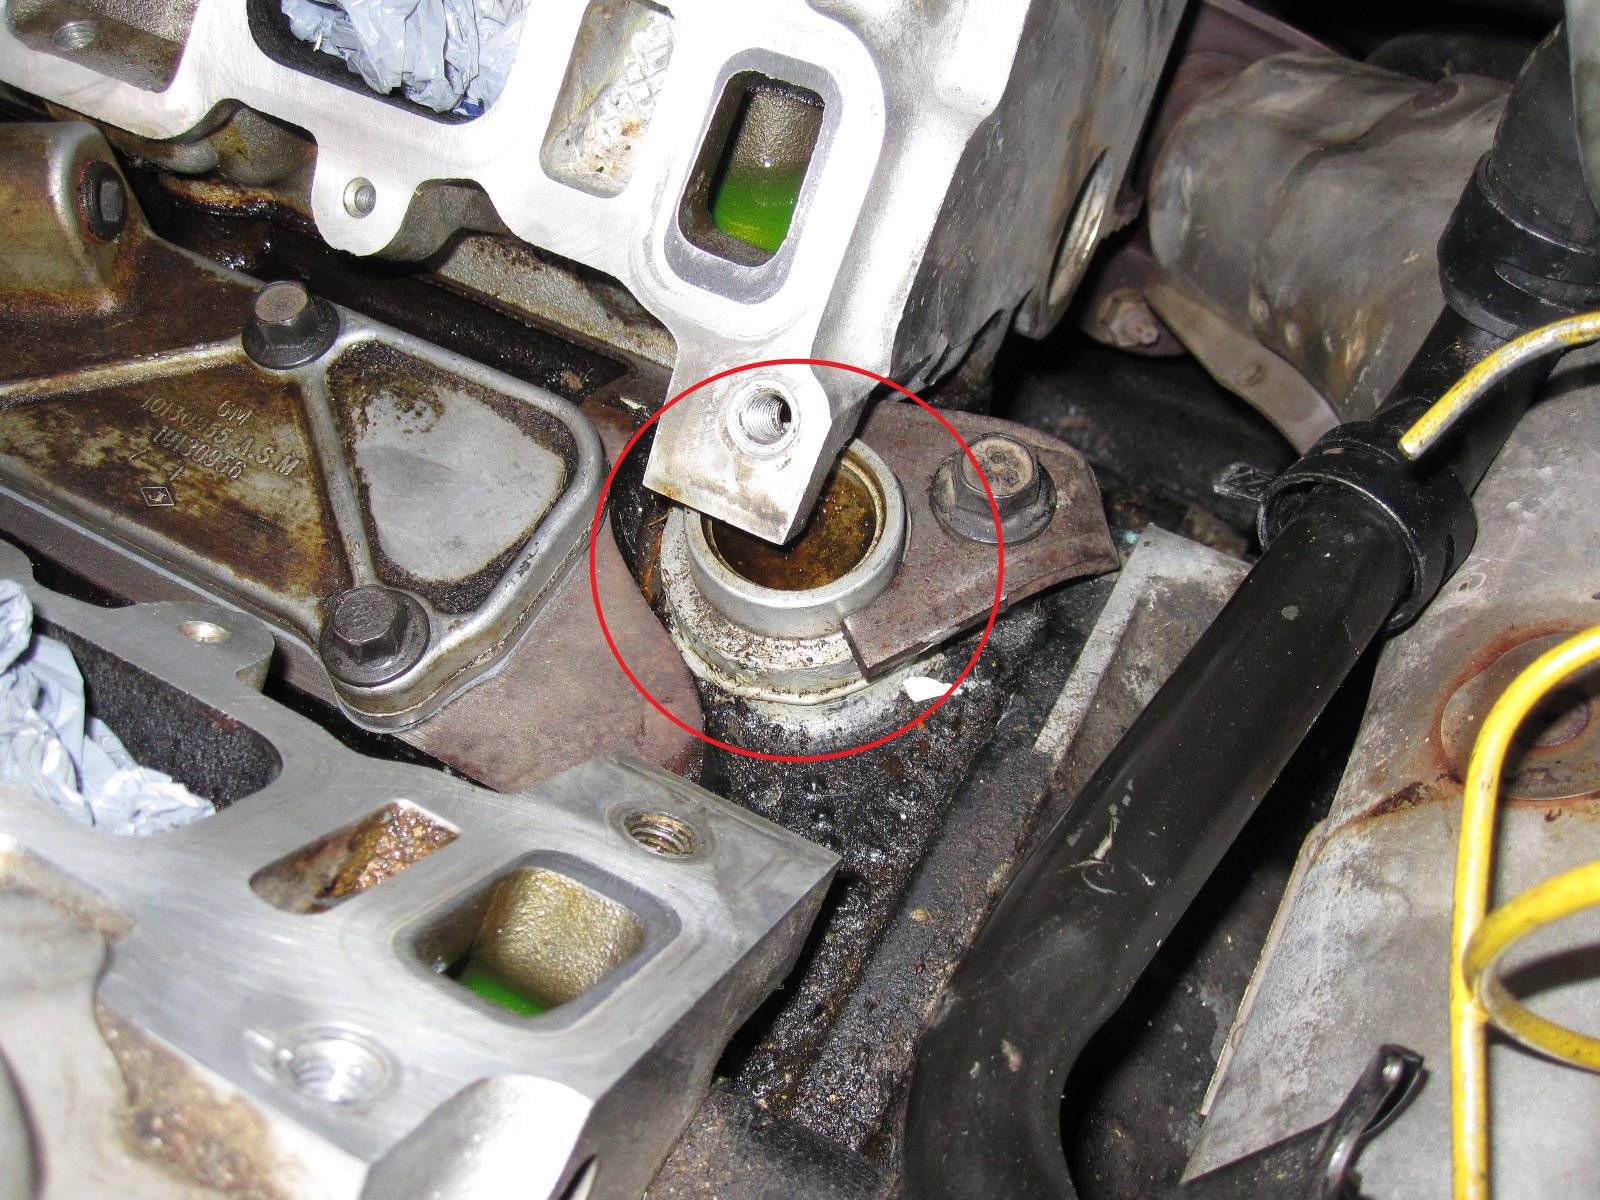
UPDATE: the car is going to the mechanic on 2/23 for this job. It will be going to a chevy dealer whose mechanic has decades of experience which is exactly what I was looking for. This mechanic is semi-retired and picks & chooses the jobs he wants to do. When he learned I'm the original and 4th owner he took the job. I was asked to supply all the parts which I think I will need. Included with these parts will be a new EGR valve and a new Low Coolant Sensor (due to the coolant being partially drained). I made a copy of Gnat's photo so thanks again for this. I will be seeing how the mechanic feels about just going the RTV route in lieu of pulling the rear head. Not only will the job be alot cheaper, I'd really prefer not opening that Pandora's box of potential additional issues if the head needs to be taken off.3 points -
3 points
-

OIL LEAK - 1994 Cutlass LQ1
94 olds vert and 2 others reacted to bluecalais79 for a topic
Thanks all for this. As of the moment the car is in storage do it will be a while before I can check it out, but I will say I get more & more confident this will be the cause. It has been happening for a long time. Form the day I bought this car in Oct., 1994, I always wondered where a quart of oil was going every 1000 miles or so. My money is on this as pictured above, it was probably badly sealed to begin with. And these things don't get better, only worse. I went in and checked my 2020 repair bills from when I had the intake manifold gaskets replaced. The mechanic also replaced the gasket for the part 10130955 as you see in the photo but no mention is made on whether the distributor plug seal was addressed so I am going to assume it was not. While it's a shame all that work that was done to the motor back then would have to be re-done just to get at what needs to be repaired, so be it. Even if I decide to get the rear head pulled to replace the O-ring rather than trying my luck with sealant, that's still way better than having the entire motor pulled. I might as well go the whole 9 yards and have both head gaskets replaced for a one and done job. I should be getting the car out of storage within the next few weeks, I'll keep all posted on how things progress, and thanks again, much appreciated!3 points -

Old to W body's, new to this forum
SuperBuick and 2 others reacted to RPE1992GPSE for a topic
You're in the right place because we love our W-bodies here. Welcome!3 points -
Rust free rotors?
rich_e777 and one other reacted to 55trucker for a topic
The thought here was that you don't drive your W's in the winter.2 points -

Draining Gas Tank - 95 Regal
primergray and one other reacted to architect for a topic
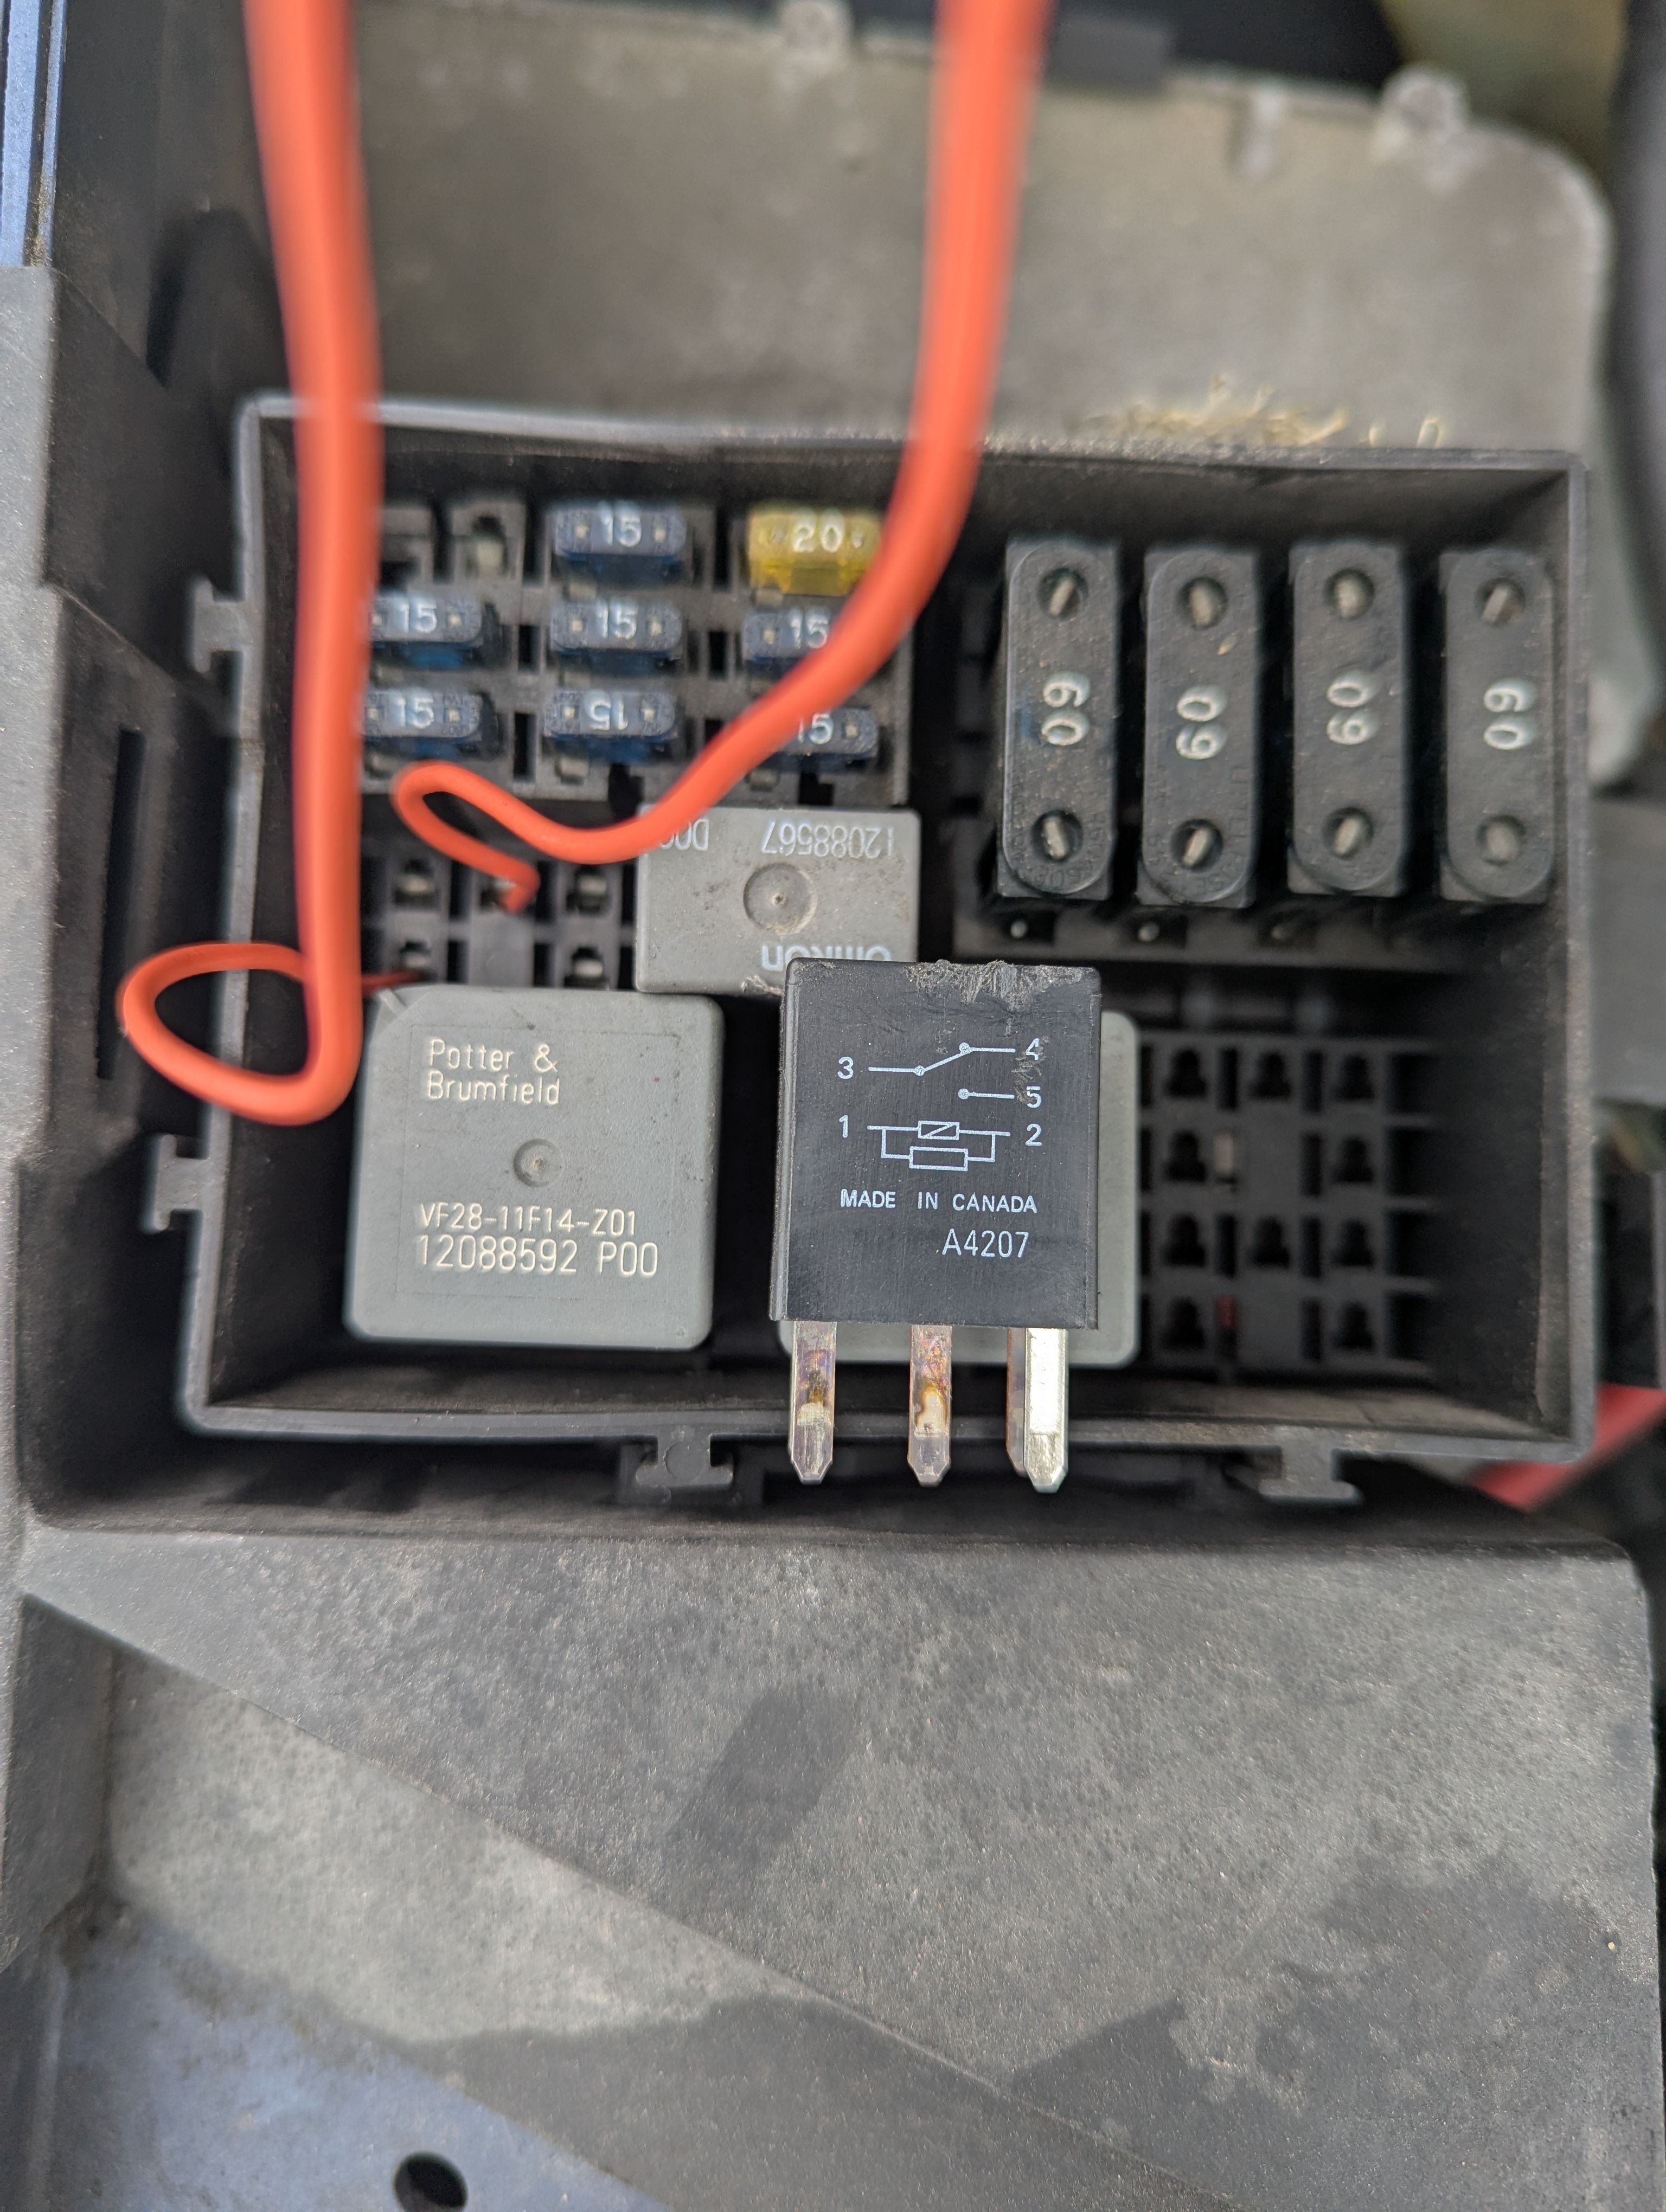
Got the fuel line disconnected and fuel can ready to go but no go on the fuel pump. Do I have it wrong here? The car has been sitting for 6 weeks so the battery may be weak but radio turns on. Edit nevermind I'm an idiot i see the number on bottom of relay and i had it wrong Works like a charm thanks all2 points -

Old to W body's, new to this forum
SuperBuick and one other reacted to Psych0matt for a topic
I wanna see pictures of the Gran Prix, never seen one before! /s Welcome!2 points -

Draining Gas Tank - 95 Regal
GnatGoSplat and one other reacted to Raffaelli for a topic
Does the pump run? If it does, unhook a fuel line under the hood and jump the fuel pump relay.2 points -

Rust free rotors?
rich_e777 reacted to Black92GS for a topic
I mean...those uncoated rotors often flash rust after a single wash and start looking pretty shabby in very short order, especially if the car has the 5 spokes or some other wheel that shows much of the brakes. Definitely won't need protection from salt, but as the coated ones do decently well against that, I can see them lasting forever on a southern car.1 point -

new member with 2002 Buick Regal GS
rich_e777 reacted to 94 olds vert for a topic
My grandparents had a 04 Regal GS with a "supercharged" emblem on the trunk lid. If I recall it was on the driver side.1 point -

OIL LEAK - 1994 Cutlass LQ1
94 olds vert reacted to bluecalais79 for a topic
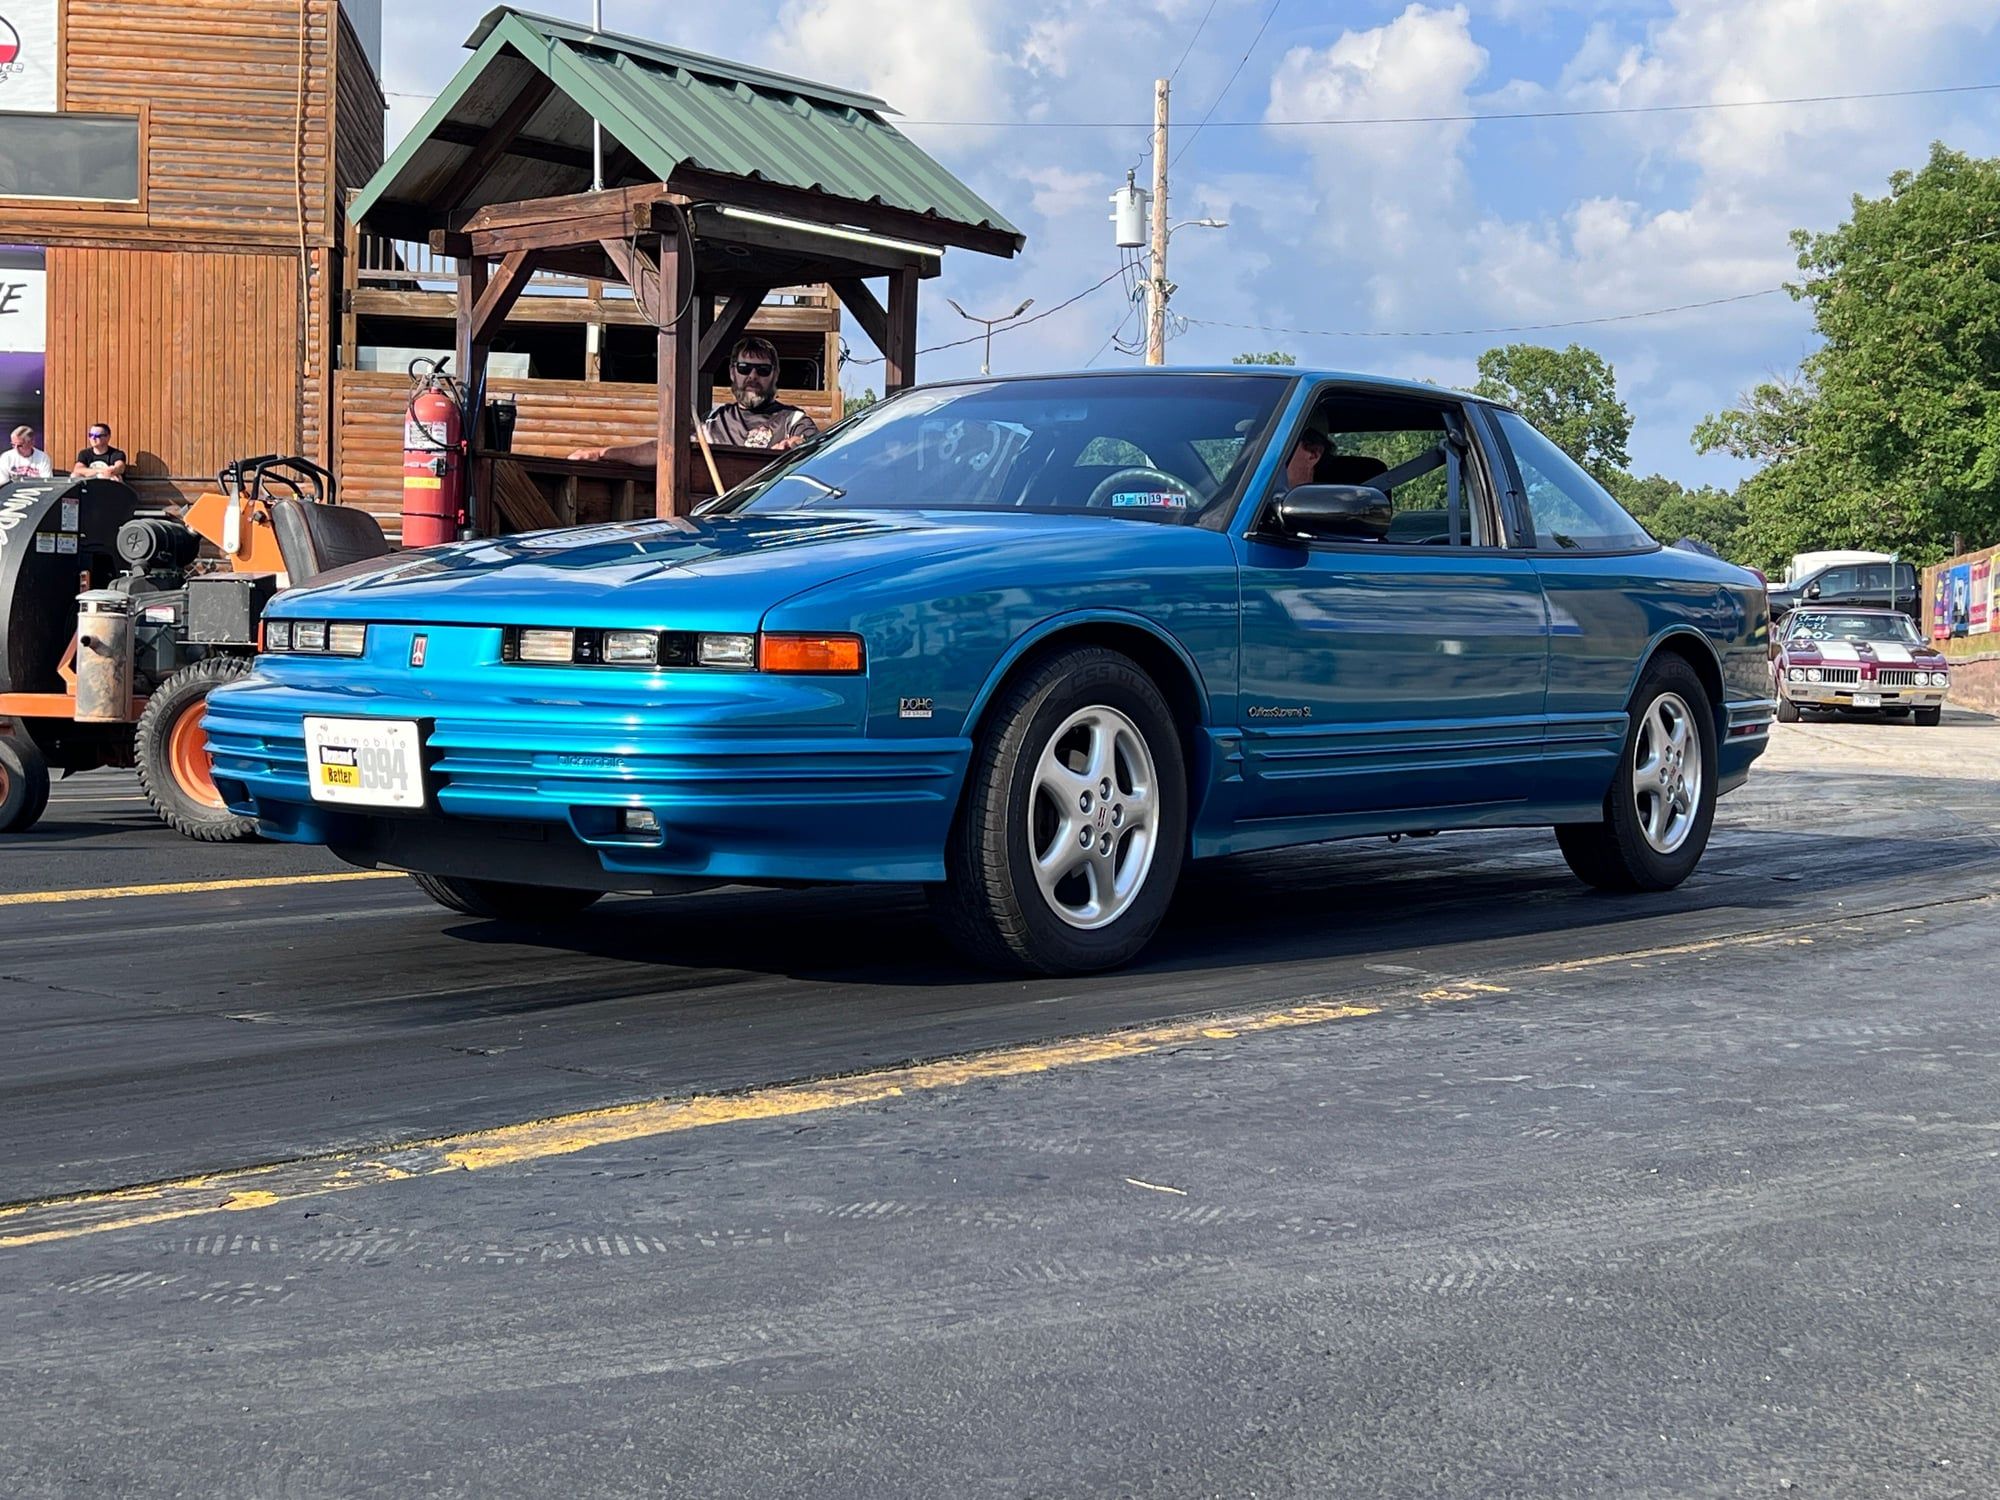
It's that time. The oil leak in the rear main seal of my 1994 Cutlass Supreme SL with the 3.4L motor has gotten so bad that it needs to come out for repairs. In addition to this being in need of replacement, I am going to have the oil pan gasket replaced as well, along with the 3 coils and the alternator while the motor is out of the car. In addition to that, is there anything else anyone can think of that should be replaced while the motor is out, as this would be a golden opportunity to get it done. The engine compartment will also be degreased to clean up the big mess this leak has been making. It does not need a timing belt, water pump, or any intake manifold work as this was all done 5 years and 10,000 miles ago and no issues here.1 point -
1 point
-

OIL LEAK - 1994 Cutlass LQ1
GnatGoSplat reacted to 94 olds vert for a topic
I was able to replace the o-ring and add an extra gasket with the information from the old double gasket thread all without removing the rear head. I also put RTV on it and it never leaked in the 10+ years I owned the car after the repair.1 point -

Sunroof help again.
Psych0matt reacted to 55trucker for a topic
1 point -

OIL LEAK - 1994 Cutlass LQ1
94 olds vert reacted to GnatGoSplat for a topic
Wow, you've almost had that car as long as I've had my 89 Cutlass! Can't remember if I got mine in late 93 or early 94. Yes, that seal goes bad in all of them. Not if, but when. Rear main seal is rare. Oil pump drive O-rings going bad I'd say is 100% rate. If you were going to DIY it, I'd say don't worry about pulling the rear head. I owned my 94 for 12-years and my fudge-fix lasted for most of that time up to the day I sold the car. If you're having a shop do it, I imagine the intake manifold R&R itself isn't cheap, so I can understand wanting to do the head gaskets at the same time so as not to have to pay for a repeat job in the future. However, head gaskets on a DOHC V-engine sounds like it could be quite expensive labor-wise.1 point -
OIL LEAK - 1994 Cutlass LQ1
94 olds vert reacted to White93z34 for a topic
I've ground the top ridge of the pump drive down slightly to allow for more room to work, then use a distributer gasket for a Lumina van with a 3.1, just give it a cut and slather it in RTV, seems to work well. and I'll be damned if I'm pulling a head just for that.1 point -

OIL LEAK - 1994 Cutlass LQ1
94 olds vert reacted to GnatGoSplat for a topic
It's in the valley right by where the transmission and engine block are joined together. Oil will pool around the distributor plug (also called "oil pump drive") and run down the side right where the transmission mates to the block so where it drips on the ground looks very much like a rear main seal. An O-ring goes bad on it allowing it to leak. Shine a flashlight down there, and if there's oil pooled in that area, that's your culprit. Unfortunately, yes, it's blocked by the rear head. What most people do is lift it up as high as possible and clean it and the block as well as possible. Some sandwich a thin O-ring under it, others RTV it. My memory is hazy, but I think I may have done both. On my pic, high pressure oil-resistant RTV is the stuff kind of squishing out from under it. It's dirty because this was many years later, but it worked great. Official GM procedure is to pull the rear head, but that's way, way too much trouble.1 point -

1992 Cutlass Supreme Coupe Door Speakers
RPE1992GPSE reacted to GnatGoSplat for a topic
I bought some decades ago to do the same thing, but never got around to it. I was going to try to mod them for 6.5" speakers and needed a plan for how to mod the buckets, but in the modern day, it would make more sense to 3D print some custom ones rather than mod the OEM ones as I wanted to use the OEM grilles which are flat against the trim panel. I can't find them at the moment or I'd snap a pic. As for prewired, my 89 wasn't prewired, but different years might do things differently.1 point -

Draining Gas Tank - 95 Regal
architect reacted to 55trucker for a topic
There are various designs...plastic or steel.......seeing as you don't intend on getting into this sort of repair again I'd suggest just picking up the plastic set, you should be able to find them at Harbor Freight. The inlet (pressure side) is 3/8 as for a gas can..really up to you..pick up a pair of containers that will hold a total of 15 gals?1 point -

Draining Gas Tank - 95 Regal
architect reacted to 55trucker for a topic
This is the only device that will separate the fuel line from the rail.... there is another method you might try.... raise the car up high enough to get under comfortably & disconnect the fuel filter from the fuel line (one end of the filter makes used of threaded connection , the other end is the same ac/fuel line quick disconnect slip-on connection). Once again run a length of hose long enough to clear the car & fill a gas container to drain the tank.1 point -

Draining Gas Tank - 95 Regal
architect reacted to 55trucker for a topic
The fuel lines that feed the fuel rail are not screw on nut fittings, both the pressure & the return are disconnected with a set of fuel line/ac disconnect tools. The pressure line is near the centre at the back of the engine. One pulls off the engine cover & you'll see the fuel rail. Once you've disconnected the line you'll need a lengthy section of garden hose to slip over the fuel line end & tape it up to prevent any leaking & feed it into a container size of your choosing. Now you can bypass the relay to power up the fuel pump to drain the tank.1 point -

Draining Gas Tank - 95 Regal
architect reacted to White93z34 for a topic
there should be a loose red wire near the relay jump that to the positive post and it should turn the fuel pump on1 point -
Convertible Dome Light Switches
94 olds vert reacted to j_mezz for a topic
Hi guys, I'm still alive and well and still have dome light switches! The site used to send me an email when someone posted on this thread, not sure if that doesn't work anymore? My direct email is mezz@benris.com if anyone else is still looking or switches.1 point -
1 point
-
1 point
-

96 wheel bearing/hub
Andrew T reacted to White93z34 for a topic
not even a difference ABS/non abs on the gen1 front knuckles. the sensor is separate of the wheel hub - why gm couldn't have continued this into the later cars is beyond me. buy whichever brand you determine to be the highest quality or fits within your budget1 point -
1 point
-

New member with 98 lumina
rich_e777 reacted to 94 olds vert for a topic
It's been a while since I've seen one of these out in traffic. These cars were mostly rotted out during the last recession in 2008. I was just thinking if I saw one today it would stand out a lot because of all the crossovers people drive now. Especially a clean one. Most people probably wouldn't know what it was. Welcome to the forum.1 point -

3.8sc swap into 94 Oldsmobile cutlass Supreme convertible
Psych0matt reacted to Bake82 for a topic
Here is info for the the swap based on my own experience of swapping my 88 cutlass w-body. 3800 swap w-body From 98/99 Monte Carlo z34/lumina LTZ with 3.8NA Needed - power steering lines (buy new) - Heater hoses (buy new) - Exhaust downpipe (or have one made) - AC system - all lines/parts from the engine bay (compressors can be from the gtp too) Best to have from the Monte Carlo/lumina but not mandatory - engine bay wiring harness - Cv shafts (buy new if you don’t have them) From gtp donor - motor - Trans - Trans cooler lines - rad hoses - Motor mounts - Cv shafts - PCM - Engine bay wiring harness Notes: cv shafts if using an HD trans you need to use the gtp passenger inner with the 1st Gen shaft and outer joint. If you get them from the Monte you can use the stock Monte drivers side. Wiring: if you can’t find the Monte Carlo harness you can use the gtp harnesss, and merge it into the 1st Gen c100 connector. With the Monte harness it comes with the c100 you just need to remove a few pins around and overall much easier but can be hard to find. You’ll need the GM service manuals for your donor harness and your original car to match the c100 connector. If using a Monte harness you will probably want to add the BBV wiring. This will also convert the car to obd2 PCM: you will need to get the vats/security removed(it’s possible it won’t be an issue but be aware it probably will be) and probably want to remove a few other codes. Rad: you could use your original, but the donor gtp rad will be bigger and fits into the chassis. I’d say it’s recommended but not 100% necessary.1 point -
1 point
-
Sitting 1995 Regal GS
architect reacted to primergray for a topic
Yeah, that makes it sound even more like the brake lights are the turn signal switch in the column... 1994-2001 Gen 1 and Gen 1.5 Turn Signal Switch Replacement | W-BodyTech Forums But that shifting thing...are you able to turn the key and move the steering wheel? Can you shift out of park with the steering wheel unlocked but with engine off?1 point -
Best handling factory w body?
BRGS reacted to SuperBuick for a topic
I think youd have to do it by generation, as there are some significant changes by generation as well as intent (when you get to the later years there was more of a focus on handling handling vs the earlier focus on comfort handling). In addition, its important to consider that skidpad Gs do not equal handling. Ive driven race cars that would do an epic skidpad number but are so ill handling in transition/under braking/whatever, that they are virtually undriveable. I have the most experience with 1st gen w-bodies, and my vote there would be for the FE3 level Grand Prix coupe with the 245 wide tires. Though I suspect/wonder if the 1990 olds international with FE3 and the quad 4 would be the ultimate iteration for handling. Ive never driven one (almost nobody has) so I cant say definitively, hence my mention above of the 245 tire equipped GP. For gen 1.5, Im not sure. For the last generation, its most likely the 2008 GP GXP. The fact they fitted reverse stagger tires (and engineered the suspension to utilize this setup) tells me someone understood how to make an FWD car handle.1 point -

New (returning former) member with a new to me 1st gen survivor
RPE1992GPSE reacted to Black92GS for a topic
Like the title says, I am a new member now, but I was a fairly regular member here around 15-20 years ago. My screen name at that time was Regal_GS_1989. I originally owned an 89 Regal GS coupe, a 92 Cutlass International Coupe, and finally a 2000 Regal Sedan. Life got busy, I stopped posting regularly, and the 2000 was sold off about 10 years ago for something newer and more family friendly. Time has marched on, and I am now in a position where I have the time and resources to be able to own a “weekend” vehicle. As luck, or possibly fate would have it, this beauty quite literally fell into my lap at the perfect moment… A 92 Regal GS Coupe. Black, Grey leather interior, low milage, One owner, garage kept its entire life, ordered new with every option box checked off…save for the sunroof. It’s truly worthy of the term survivor, and it’s exactly how I would have ordered one myself back in the day. Gotta say…it feels sort of strange to be back here posting again about a 1st gen coupe…but I can get used to that I am also surprised at how many screen names I still recognize as well!1 point -

Auto vs 284 PROM - memcal
92Lumi reacted to Imp558 for a topic
BCC= AXSJ2368 Scan id= 2391 Part number= 16162364 Release date= 11/09/90 Engine size= 3.4 Trans Type= Auto trans ECM/PCM: ECM #16149396 Used in cars: Chevy Pontiac Oldsmobile Possibly used in: LUMINA LUMINA EUROSPORT LUMINA Z34 GRAND PRIX LE GRAND PRIX SE GRAND PRIX GT GRAND PRIX STE CUTLASS SUPREME SUPREME INTERNAT'L CUTLASS SUPREME SL CUTLASS SUPREME CONV Options: With LQ1 3.4L GAS 6 CYL (3.4X) SFI OHC V6 HO With M13 AUTO 4 SPD (4T60-E) With NA5 FEDERAL REQUIREMENTS With QGW ALL P215/60 R/16 N BL R/PE ST TL HWY With QXJ P225/60R16/N NL R/PE ST TL AL31 point -

Auto vs 284 PROM - memcal
92Lumi reacted to 55trucker for a topic
The 4 memcal's used with the 91-93 LQ1 are AYSZ, BBUK, BCDT & BCFA. BBUK is the early manual trans memcal, & BCFA or *1441* is the later manual trans memcal.1 point -

3100->3400 swap
92Lumi reacted to Nas Escobar for a topic
If you use your resources correctly, you can get a 3800 for the same price as the 3400. The smart thing would be to look for an S3 and then get an S2 UIM to make it all work. Anyways, the flywheel between the engines are the same. Both used the same 4T65-E trans. The motor mounts should be the same as well. My understanding is that the blocks are the same but the internals are what differentiate them from a 3.1 liter and a 3.4 liter.1 point -

3100->3400 swap
92Lumi reacted to j_mezz for a topic
Welcome to the site - are you thinking of an entire engine swap or just the top end swap? I won't have any answers for you on that but in reading your post I wasn't completely clear. As for the rear suspension, I've been looking into this matter myself recently. Everything on my car related to rear suspension and brakes is rusted beyond recognition (but somehow the body is totally solid!). These two writeups have been Very helpful to me as I've been feeling my way through what my next steps should be... converting to rear coilovers: http://www.w-body.com/showthread.php/37622-Coilovers-Adj-Mounts-Solid-Cradle-Bushings-UPDATE-3-25-Design-Done%21%21%21%21?p=651227&viewfull=1#post651227 and swapping in aluminum knuckles and bigger brakes: http://www.w-body.com/showthread.php/46209-Bob-and-Rob-s-Gen-2-Aluminum-Rear-Knuckle-and-Brake-Upgrade-How-To-with-Pics1 point -

3400 Swap done!
92Lumi reacted to RobertISaar for a topic
get it tuned and at a minimum, adjust the TV cable so it shifts later, the LA1 makes more power past 4700, think more along the lines of a 6000 RPM shift. better yet would be to replace the th125C with a 4T60-e1 point -

3400
92Lumi reacted to 1QUICKHATCH for a topic
you will need: -throttle cable and bracket -upper rad hose -coil bracket and module -front pass. side engine mount bracket -ac compressor (not sure if the orginal one will work) -power steering pump and H/P line -brake booster hose all from a 3100/3400 w-body You can get away with running it on the stock ECM as long as you use the stock fuel injectors and injector harness from the 3.1. You will need to change (or have one made up) front pipe/ down pipe to hook up to the rear 3400 exhaust manifold. A 3 wire coolant temp sensor and connector from a 92+ 2.2L Cavalier is the easy way of hooking up your temp guage wire from the rear head on the 3.1\ you will also need a lower rad hose for a 92-93 3.1L w-body The wiring from the coils gets re-routed to the rear of the engine from the front... then its little things like coolant hoses, and vac lines. That is all that I can think needs done right now, but I am sure I am missing a few things.1 point -

3.1 to a 3.4 i want power?
92Lumi reacted to 1QUICKHATCH for a topic
keep it simple and just bolt in the 3400 its less power than the TDC but less weight too! I would just use the stock tranny to keep cost down. you will need the front pass. side block mount from a 3100 equipped w-body because the bolt holes are in different spots, at least just on that spot of the block. use a coolant temp sensor from the 3400 (3-wire ) and wire up the temp guage to it insead of the back head cause the 3400 has no hole for the sensor. you will also need a throttle cable and exhaust manifolds for a 3100 w-body. Most people use the 3.1 injectors and harness when they do the swap untill they go to tune it. stay away from the '04+ 3400's in the equinox (I beleave it is) they have a plenum that faces the opposite way and a different crank sensor pick up on the crank that will not work with your 3.1 ecm. that is all that is comming to mind right now.1 point -

MPFI to SFI
92Lumi reacted to ToroToro for a topic
The '93 3100 used the exact same ECM as the 94-95 models.1 point -

Engine keeps shutting off every 3-4min...WTF?!?! 3.1mpfi
92Lumi reacted to GnatGoSplat for a topic
It sounds like classic symptoms of a bad ECM. I hope that fixed it for you.1 point -

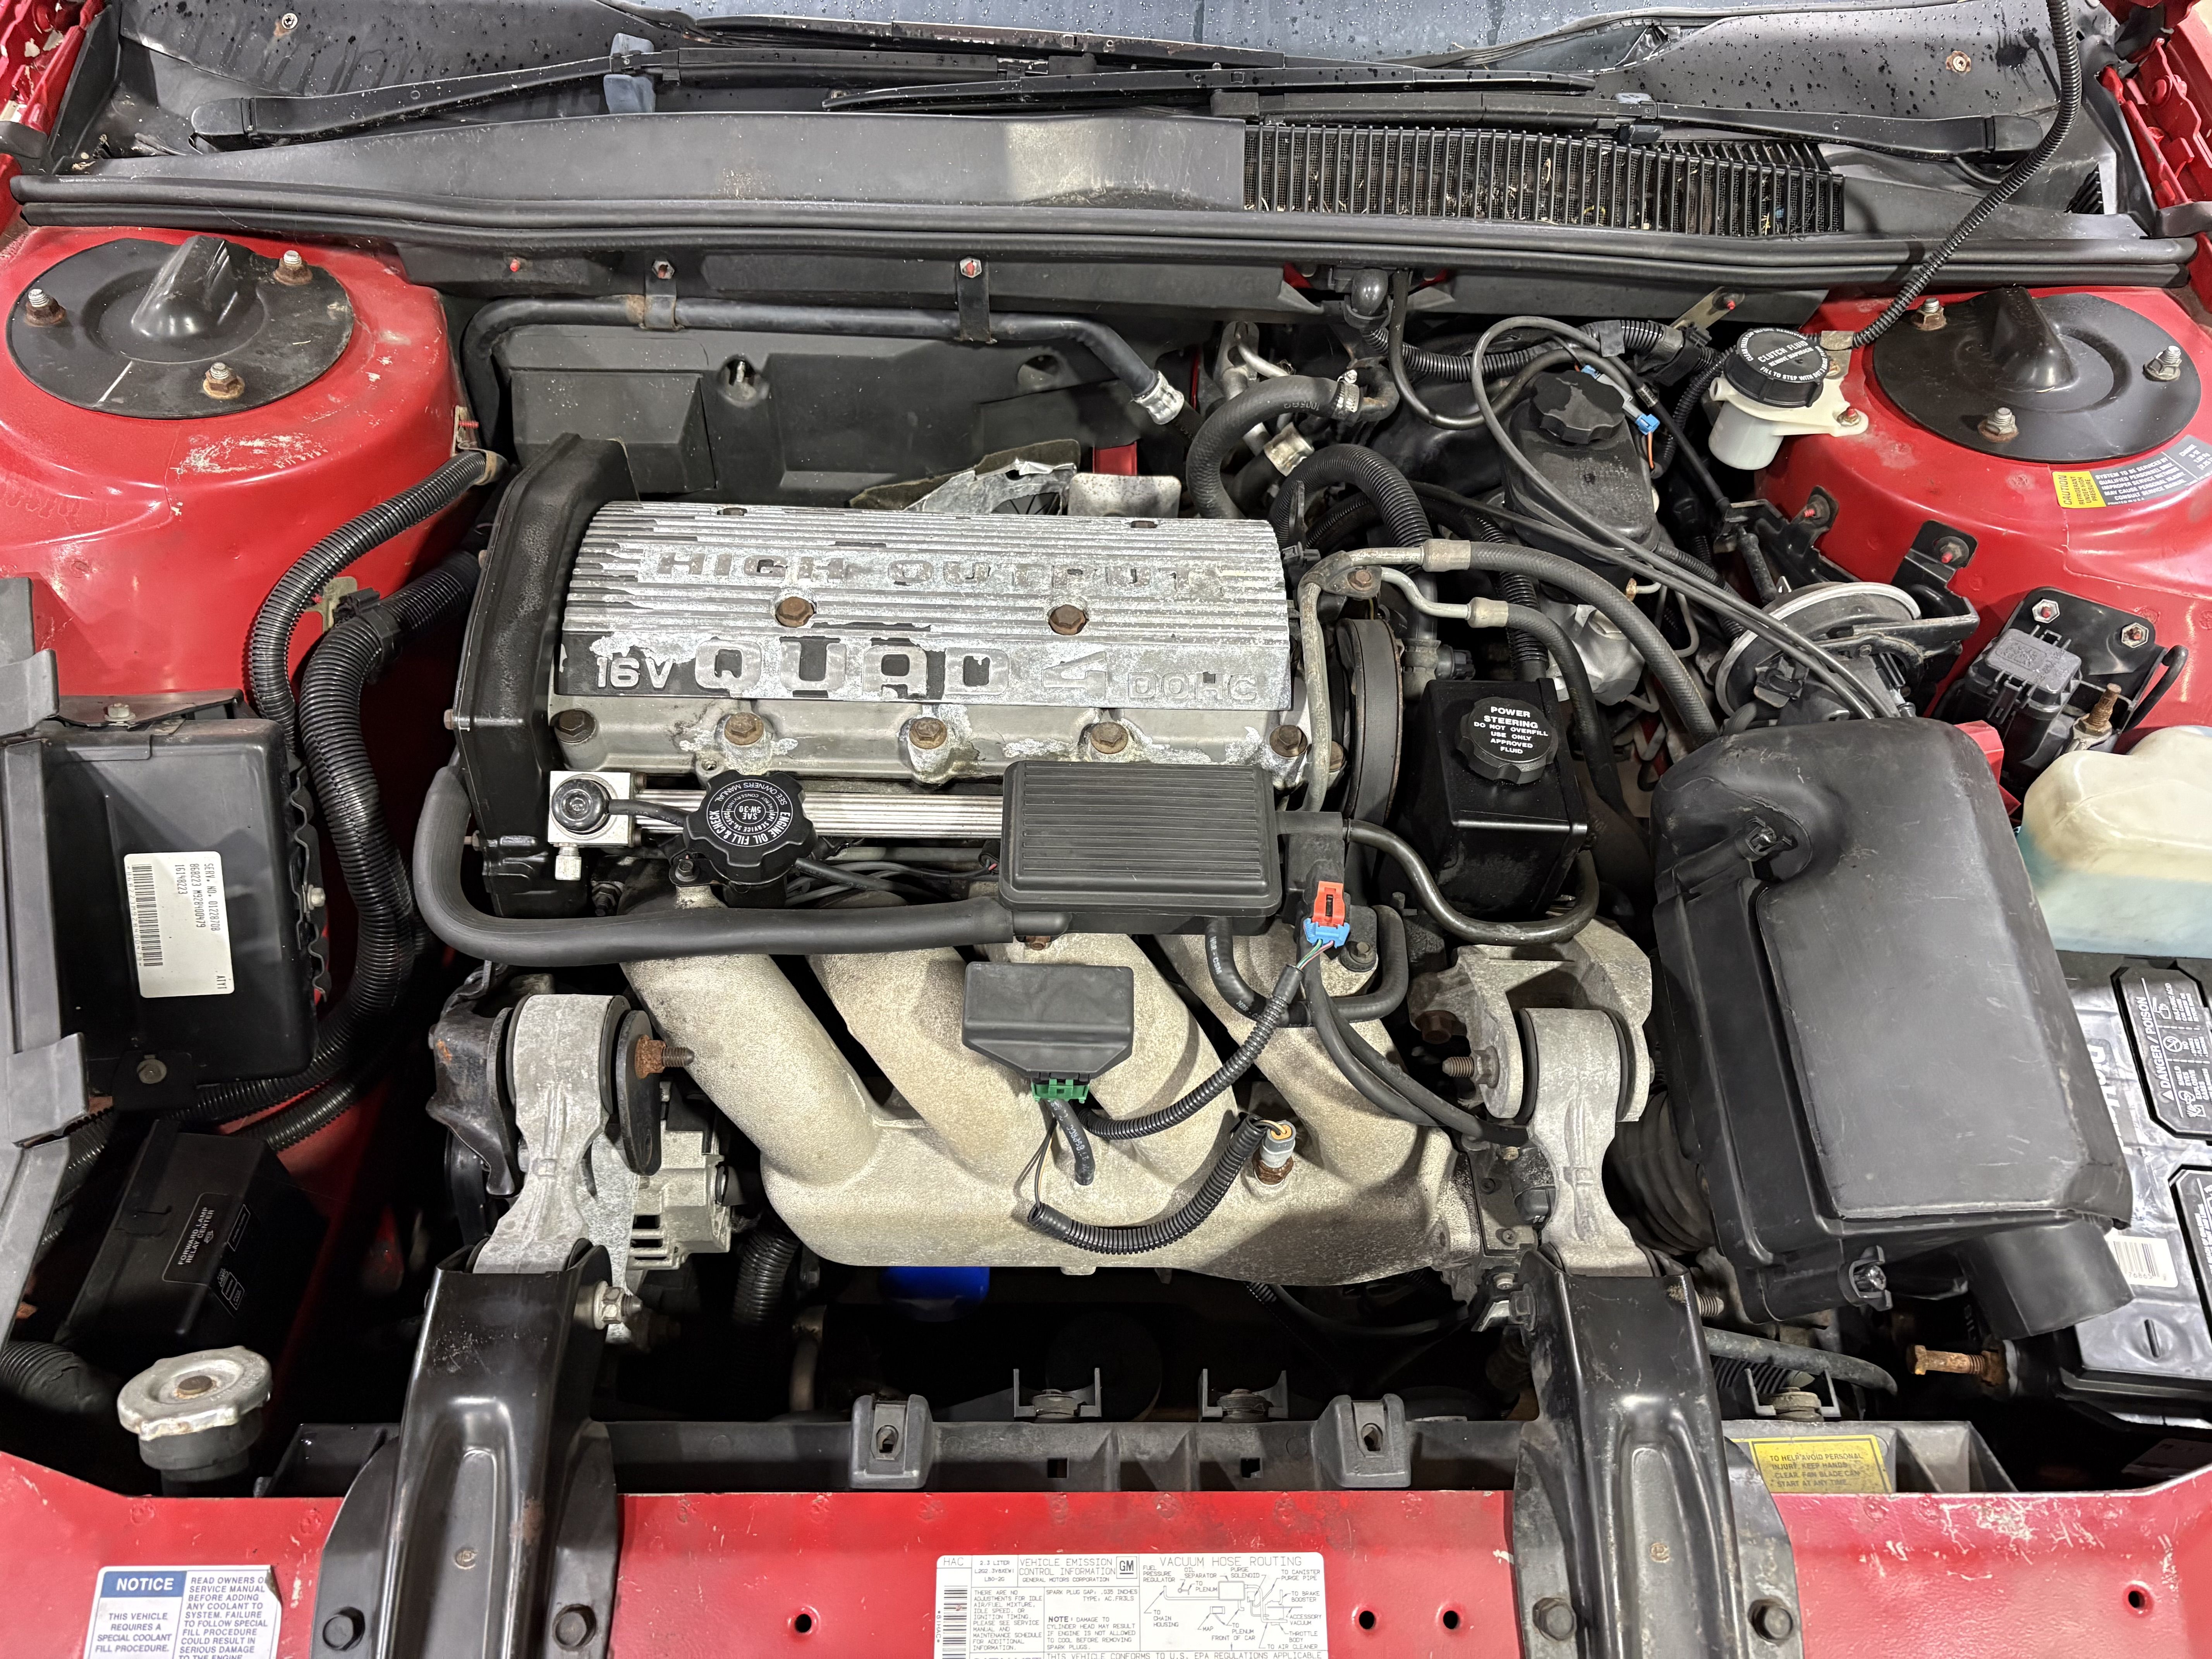
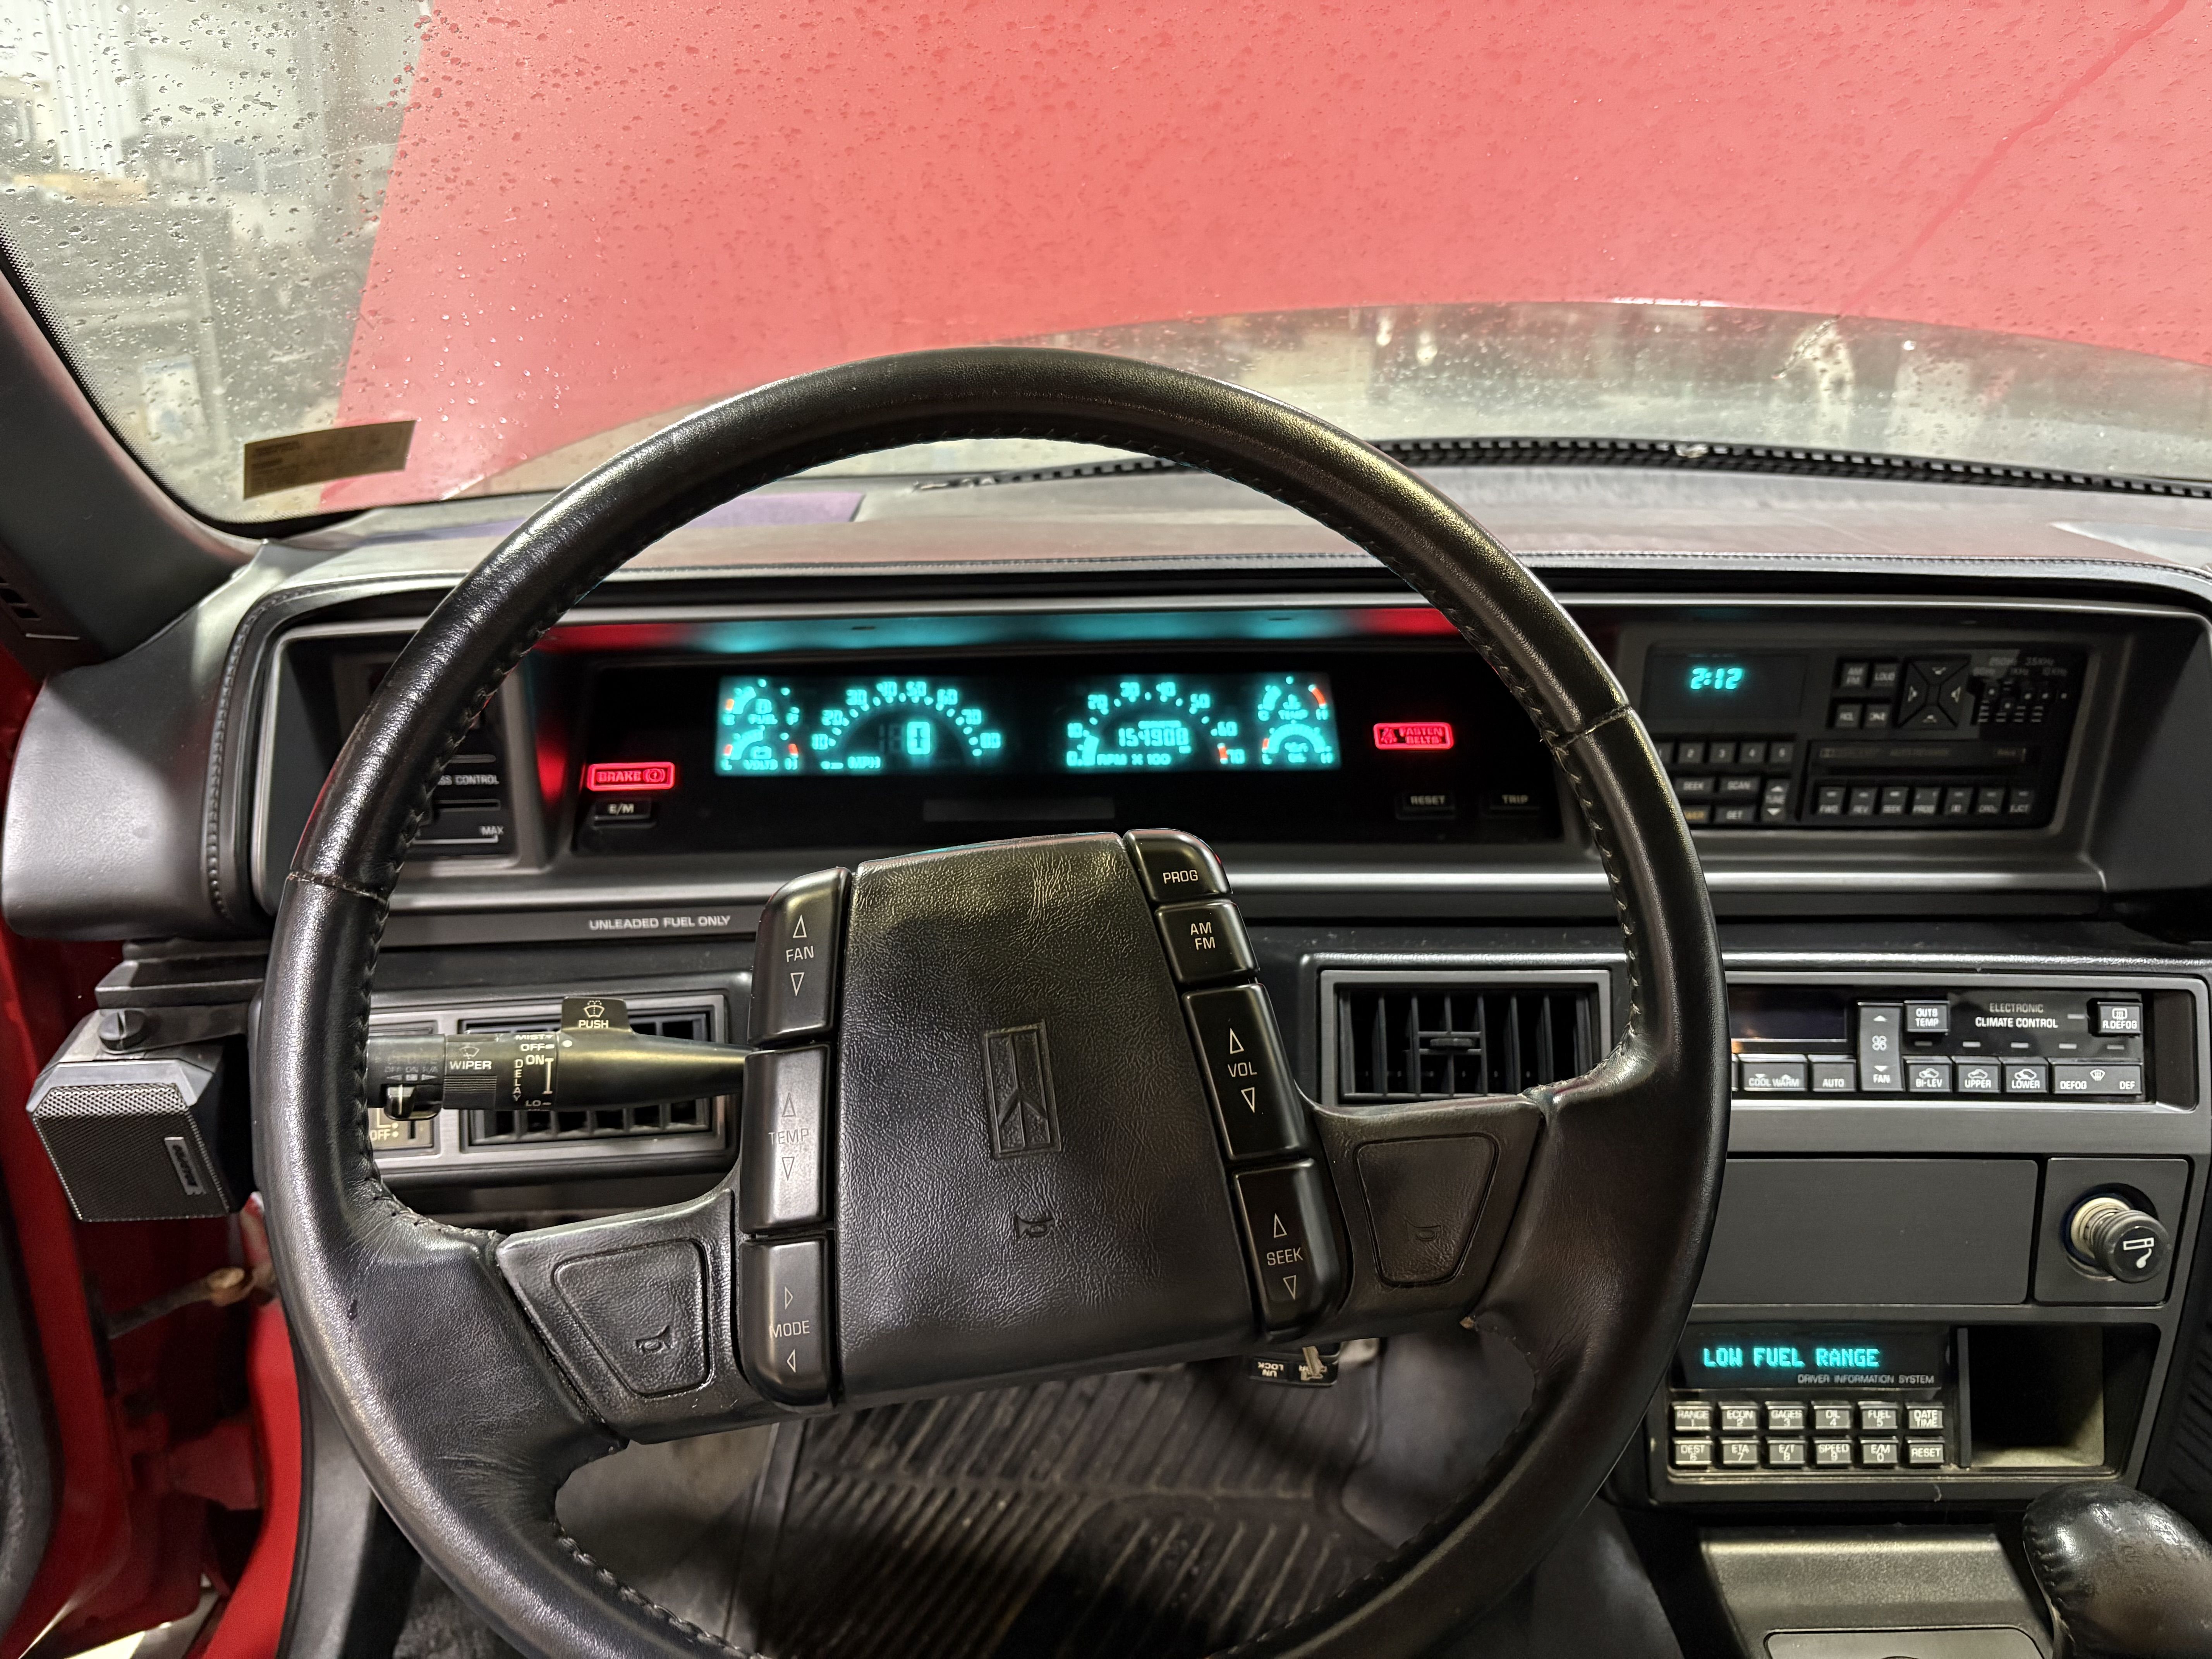
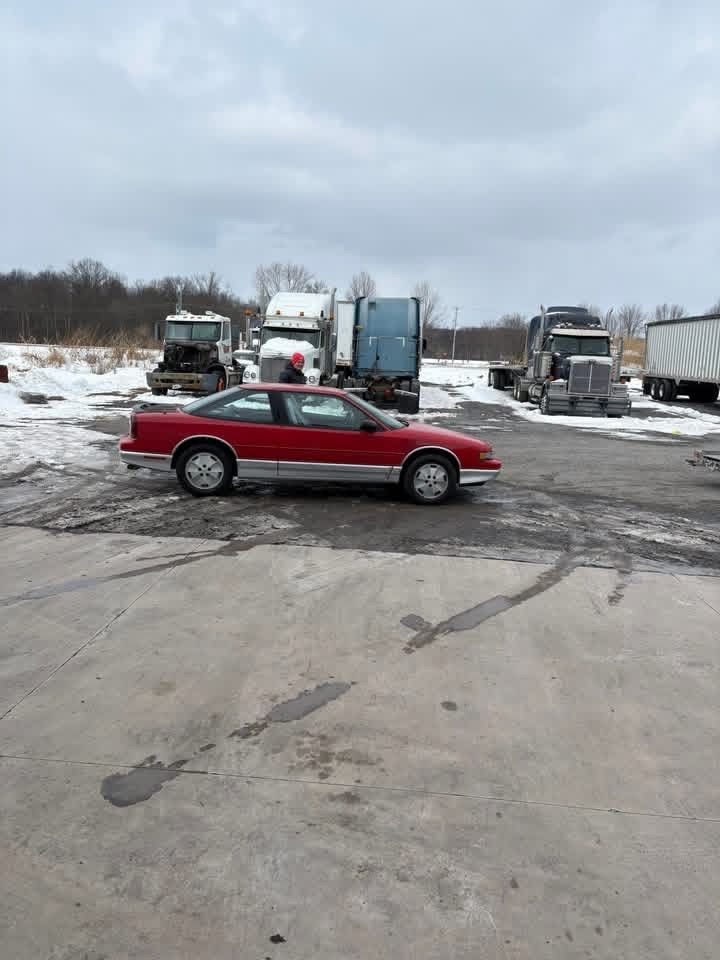
TOM ( SUPERBUICK)
SuperBuick reacted to Brian P for a topic
Being it's an I series, that should be the HO quad 4, even rarer!1 point -

TOM ( SUPERBUICK)
SuperBuick reacted to per0781 for a topic
OMG tom lets buy that car....since I could use it for a parts car1 point



.jpg.da9536f836caba4248f1a4cc84acb785.jpg)
