Leaderboard

Popular Content
Showing content with the highest reputation on 07/11/2019 in all areas
-
STE radio bezel.
ManicMechanic reacted to jiggity76 for a topic
I got your list just in case an Aztek might be there. If anything, extra parts are always nice to have.1 point -

STE radio bezel.
jiggity76 reacted to Pontiac6KSTEAWD for a topic
They came in the High End optioned Pontiac 6000 STE AWD/SE AWD, 1990 Pontiac Turbo Grand Prixs, Pontiac Bonneville SSE/SSEi, and the Pontiac GTA (I think 90 and 91). Internally, to me, they are built just like the tape deck, but with a CD drive Mechanism. I rebuilt one a few years ago from the face plate and CD drive of this style radio, and the case and internals from a 5 band tape deck. The CD drive is not the failure point, in my experience, its a real small sensor that reads whether a CD has been inserted into the mechanism. It sits right at the mouth, and is a real pain to change.1 point -

STE radio bezel.
jiggity76 reacted to RPE1992GPSE for a topic
Does the VFD (clock) dim properly on that model when you dim the interior lights? I'm just curious because I know GM used pulse width modulation to dim the VFDs in the W-bodies. If you put a radio in with a rheostat dimming circuit for the clock display, it will blink at varying rates depending on the intensity of the interior dimming. That radio looks like it came from a Firebird or maybe a Bonneville, that's why I ask.1 point -

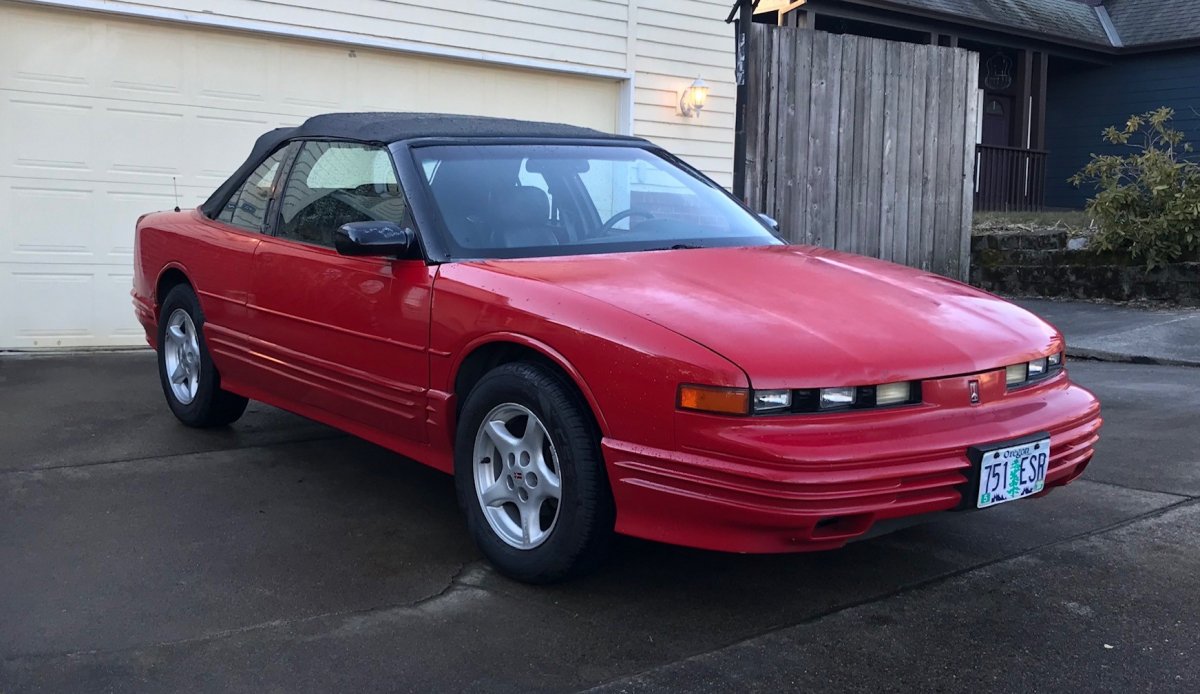
Cutlass Supreme Convertible Taking off the Dash
rich_e777 reacted to Bake82 for a topic
5 philips screws in the bezel around the radio and cluster remove 2 defroster grills remove 2 7mm in defroster remove 1 7mm to the left of the cluster remove 1 7m to the right of the radio open glove box remove glove box insert remove 2 7mm in glove box remove 2 7mm from radio close glove box lid remove and unplug radio tilt steering wheel all the way down lift dash pad out. IF car has HUD, remove 2 bolts from HUD from under dash pad near cluster, remove HUD and unplug wiring and adjuster cable. This is off memory, but I've had the dash out so many times I lost count. If it's really stuck, you've missed some bolts, but it may take a little bit of force to get everything moving, but it'll come out.1 point -
Front suspension fail
GnatGoSplat reacted to oldmangrimes for a topic
She's back on the road! After a long winter of fighting rusty bolts, I finally got her back together yesterday. I carefully drove her around the block once, and she seemed to drive and shift fine. I haven't noticed any leaks from the transmission or the brake lines. I'll try a longer drive tonight after work and see how it goes. Parts replaced: Passenger side only: Axle. Both sides: Control arms, tie rods (inner and outer), ball joints, flex brake lines. Parts saved: Fender (I straightened the bent lip). Wheel well trim and lower cladding were slightly damaged but I reinstalled them. TBD: Passenger front tire and hub. The tire held air all winter, but I need to drive at higher speeds and go around corners to evaluate the hub and tire. Total cost: About $400 including tools. Time spent: I don't want to think about it, probably 50+ hours if you count watching videos and buying tools. It doesn't sound like much, but I found ways to make the project take forever. It was my first time doing any of these jobs on any car, so it was a slow learning curve to figure out what technique to use. I often would only have two or three hours a week to work on it, so it dragged on and on. I tried to save money by using the wrong tool for the job a few times, which just ended up with wasted time and frustration until I would give up and drive to the store and buy the right tool. Once I had the right tool and the right technique, each job wasn't bad. Moral of the story: Buy the right tool! 1 point
 -

STE radio bezel.
jiggity76 reacted to ManicMechanic for a topic
Not sure, I'm going to the junkyard tomorrow, they just got in a 2003. The just crushed both LQ1 cars they had.0 points