All Activity
- Past hour
-
 cutlassman reacted to a post in a topic:
Crankshaft Position Sensor Stuck/Broken Off On Removal Attempt
cutlassman reacted to a post in a topic:
Crankshaft Position Sensor Stuck/Broken Off On Removal Attempt
-
jiggity76 reacted to a post in a topic:
Crankshaft Position Sensor Stuck/Broken Off On Removal Attempt
-
Crankshaft Position Sensor Stuck/Broken Off On Removal Attempt
jiggity76 replied to cutlassman's topic in General
I'm still learning things almost daily about these cars. With me going this in depth for my car restorations, it has forced me to learn how these cars are put together and the proper and correct ways of doing repairs, etc. -
jiggity76 reacted to a post in a topic:
Crankshaft Position Sensor Stuck/Broken Off On Removal Attempt
-
jiggity76 reacted to a post in a topic:
AC mounting on block differences in grand prix
-
AC mounting on block differences in grand prix
jiggity76 replied to mycarsucks's topic in Powertrain
Yup, like what Schurkey is saying, go off the VIN. The door jamb tag is the build date and won't always coincide with the model year thru the VIN info. - Today
-
Crankshaft Position Sensor Stuck/Broken Off On Removal Attempt
cutlassman replied to cutlassman's topic in General
Same here, having owned my ‘92 for 24 years now, there’s a lot I’ve learned! -
Look at the VIN. That will identify the year, make, model, etc.
-
jiggity76 reacted to a post in a topic:
Crankshaft Position Sensor Stuck/Broken Off On Removal Attempt
-
Crankshaft Position Sensor Stuck/Broken Off On Removal Attempt
jiggity76 replied to cutlassman's topic in General
Nice work. I'll be dropping the drivetrain out of the International again at some point either later this year or next. Needs a tranny rebuild, new steering rack, new power steering lines, and mounts. Whatever else she might need when it's all opened up. I learned so much with this car that I'm going to apply the process to the STE here pretty soon and make it easier on myself. -
Crankshaft Position Sensor Stuck/Broken Off On Removal Attempt
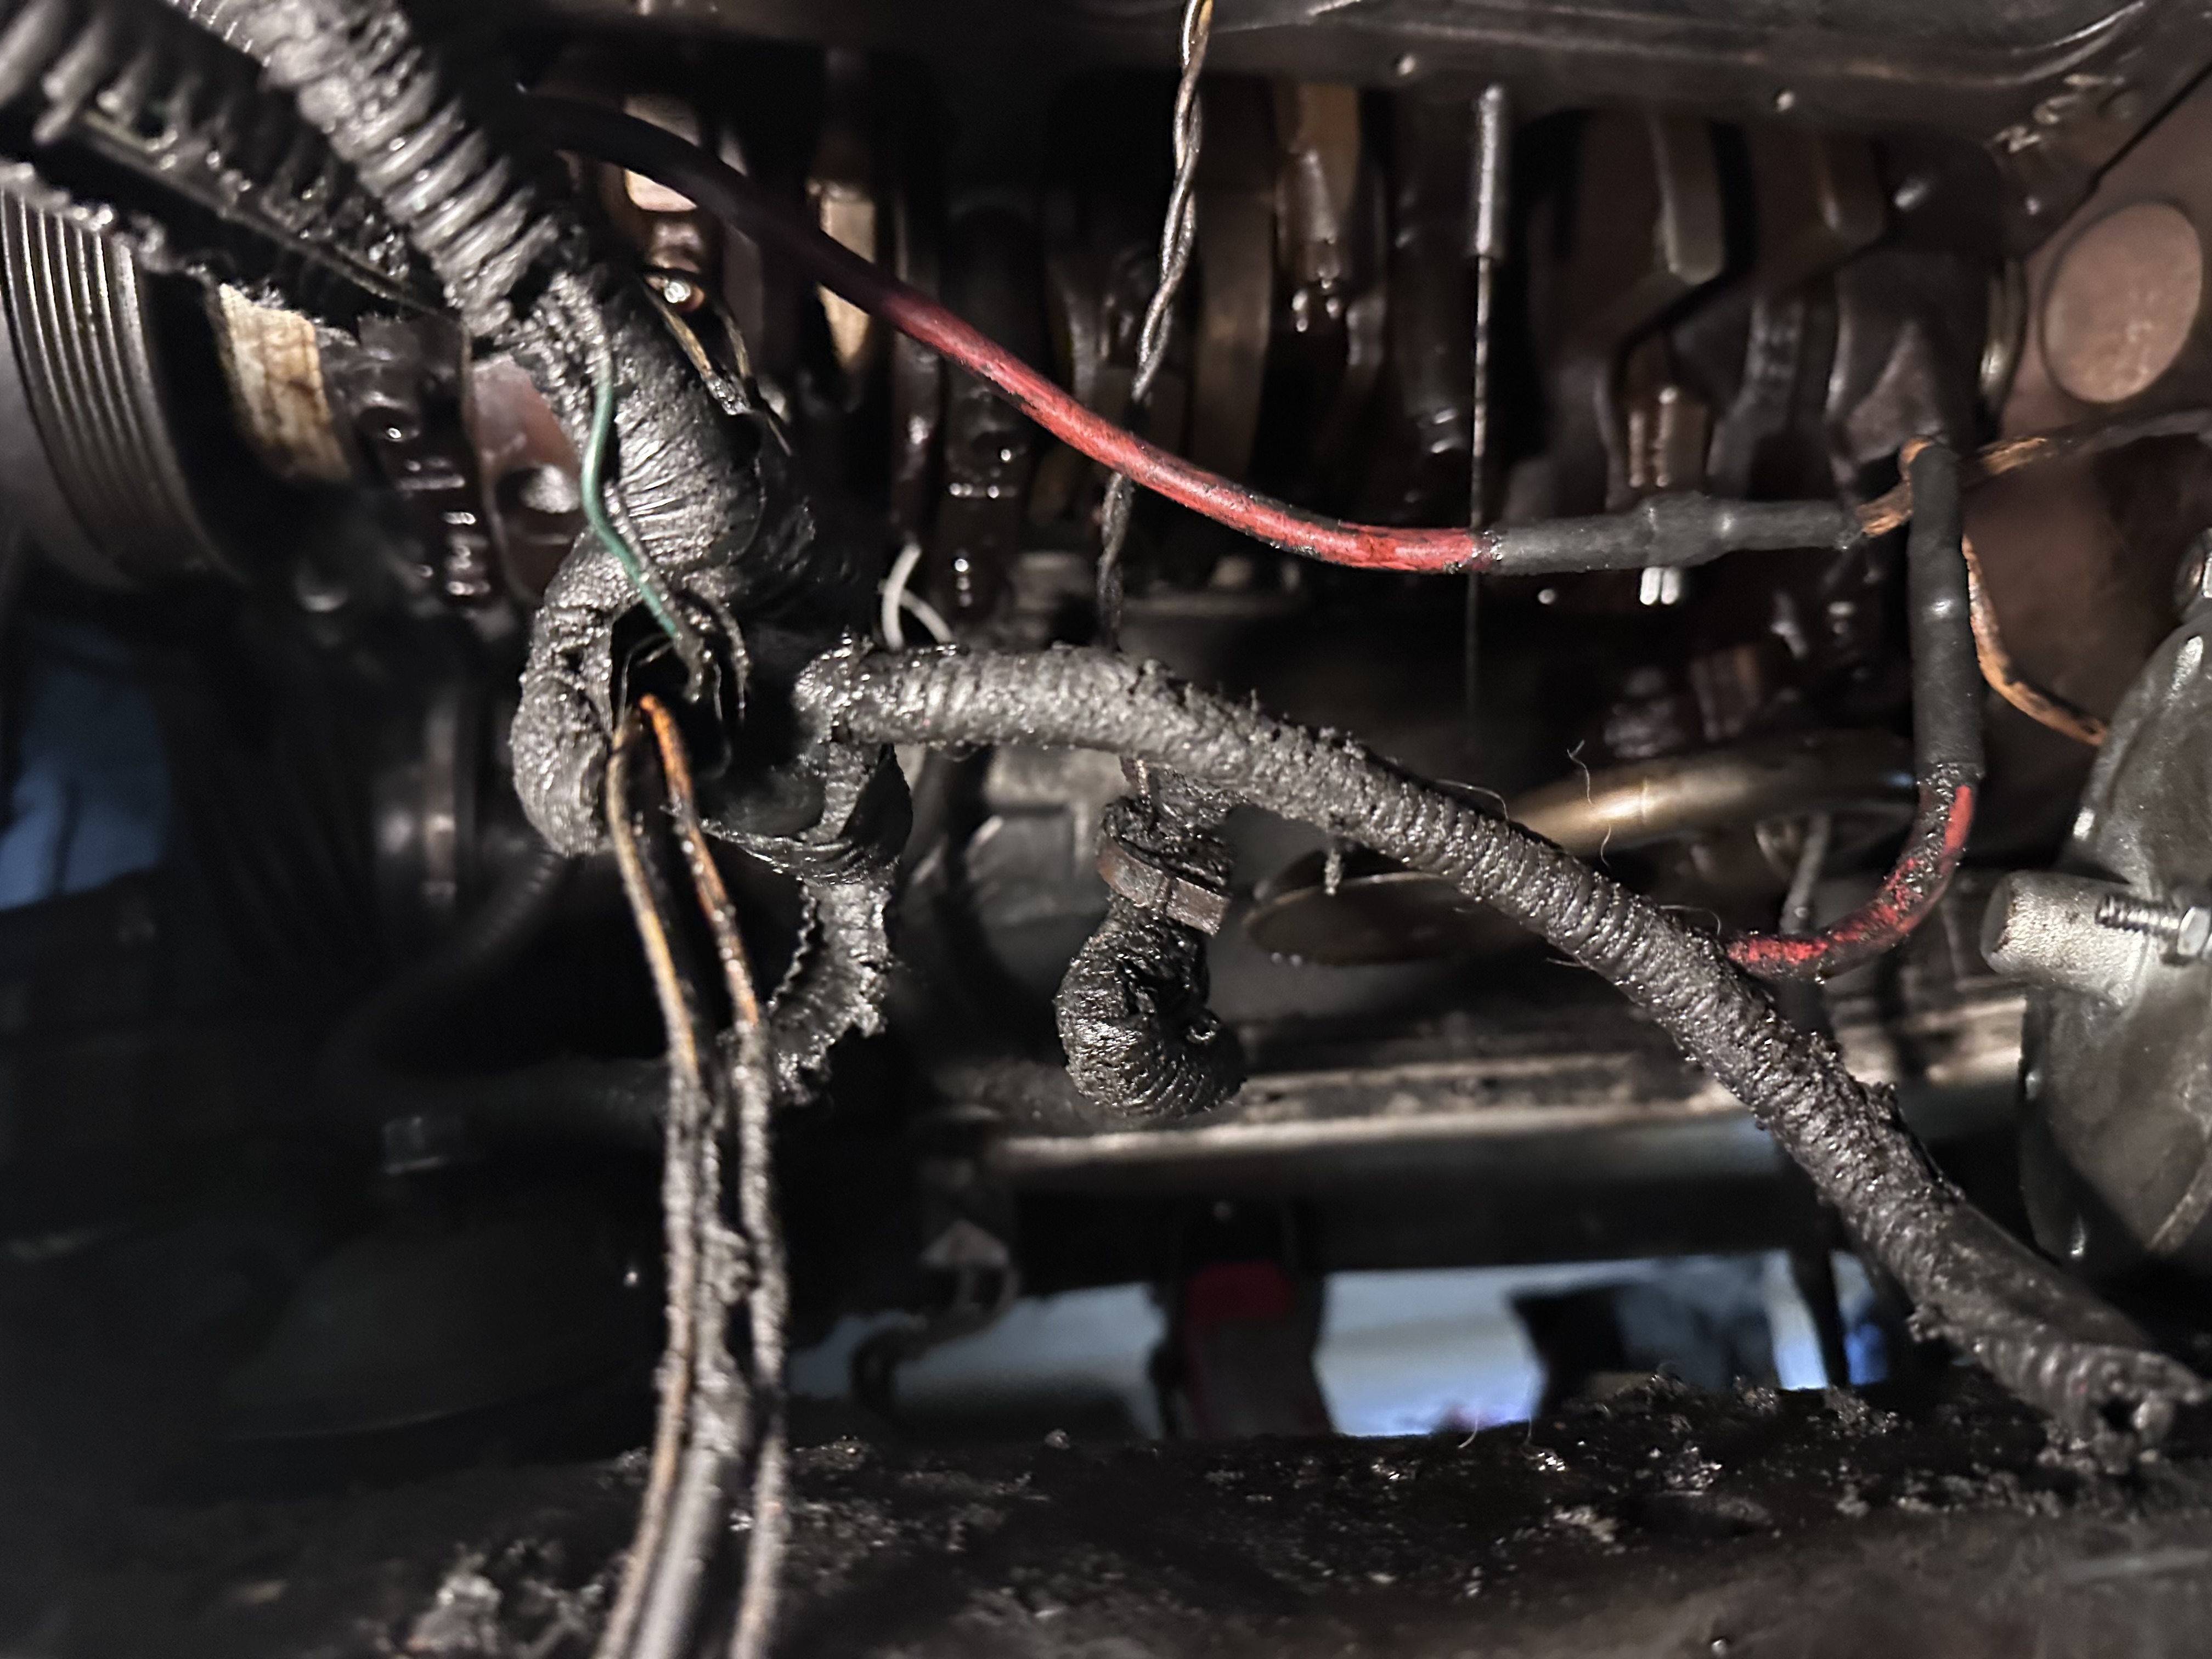
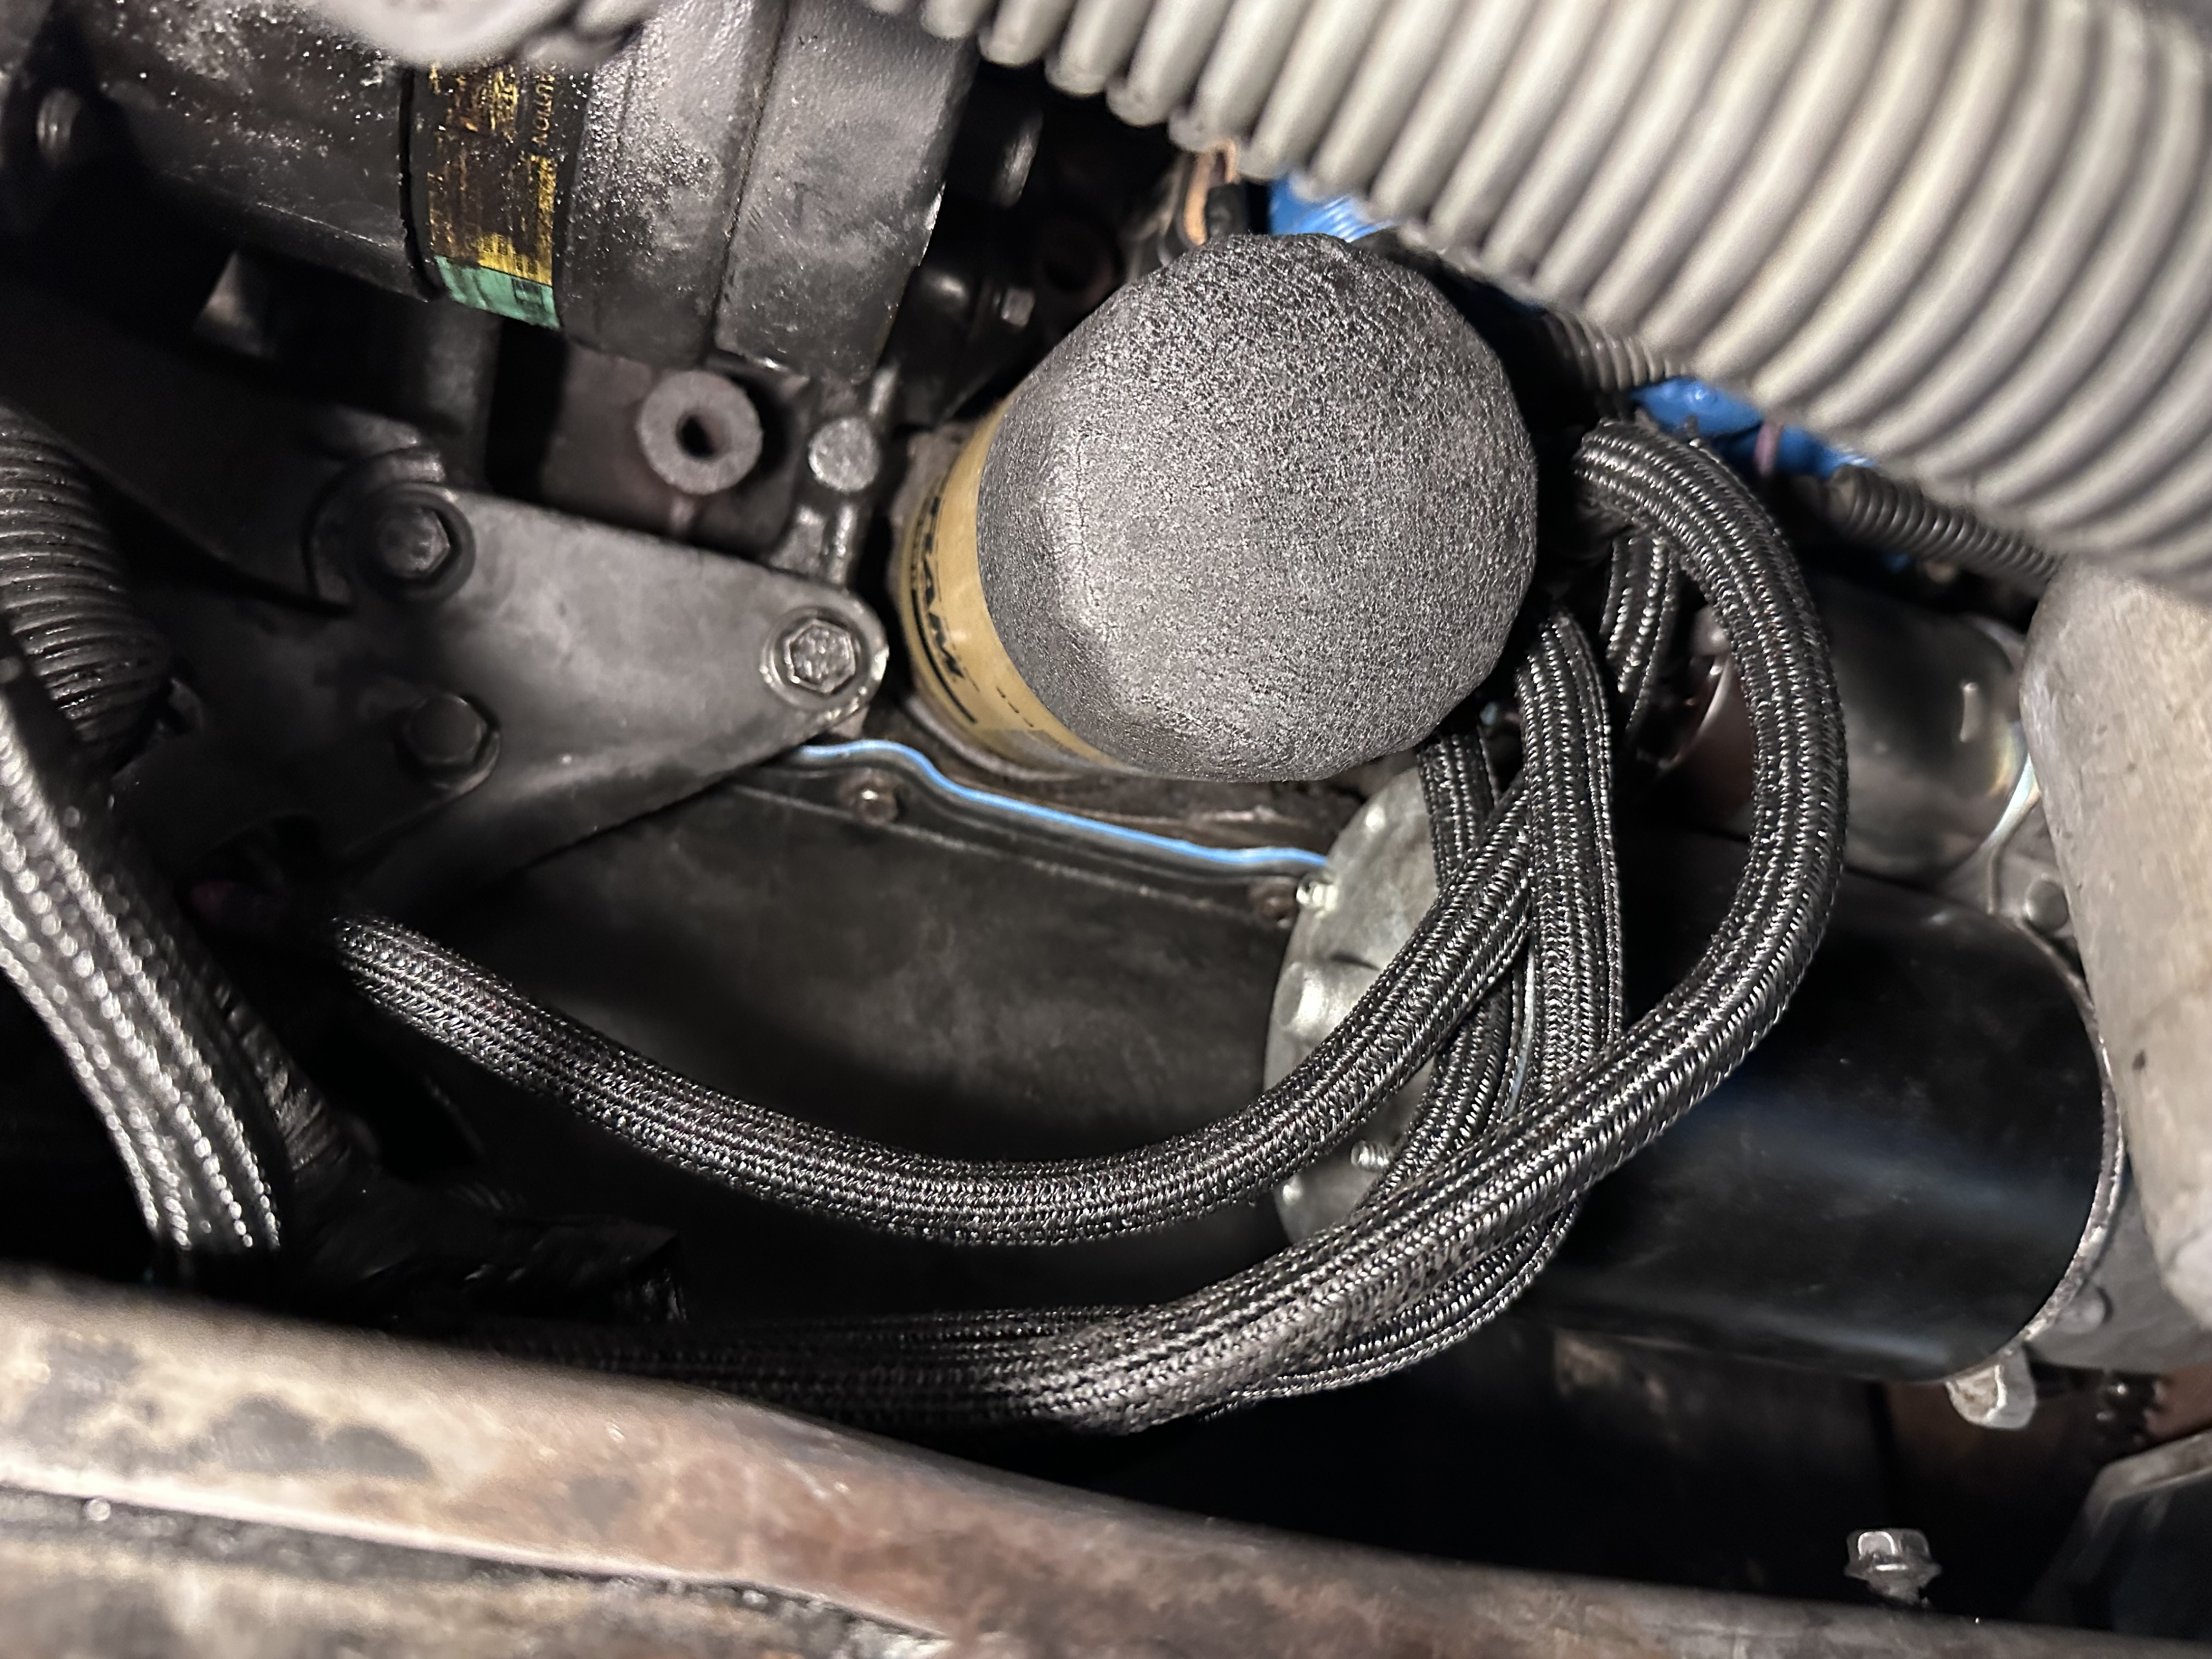
cutlassman replied to cutlassman's topic in General
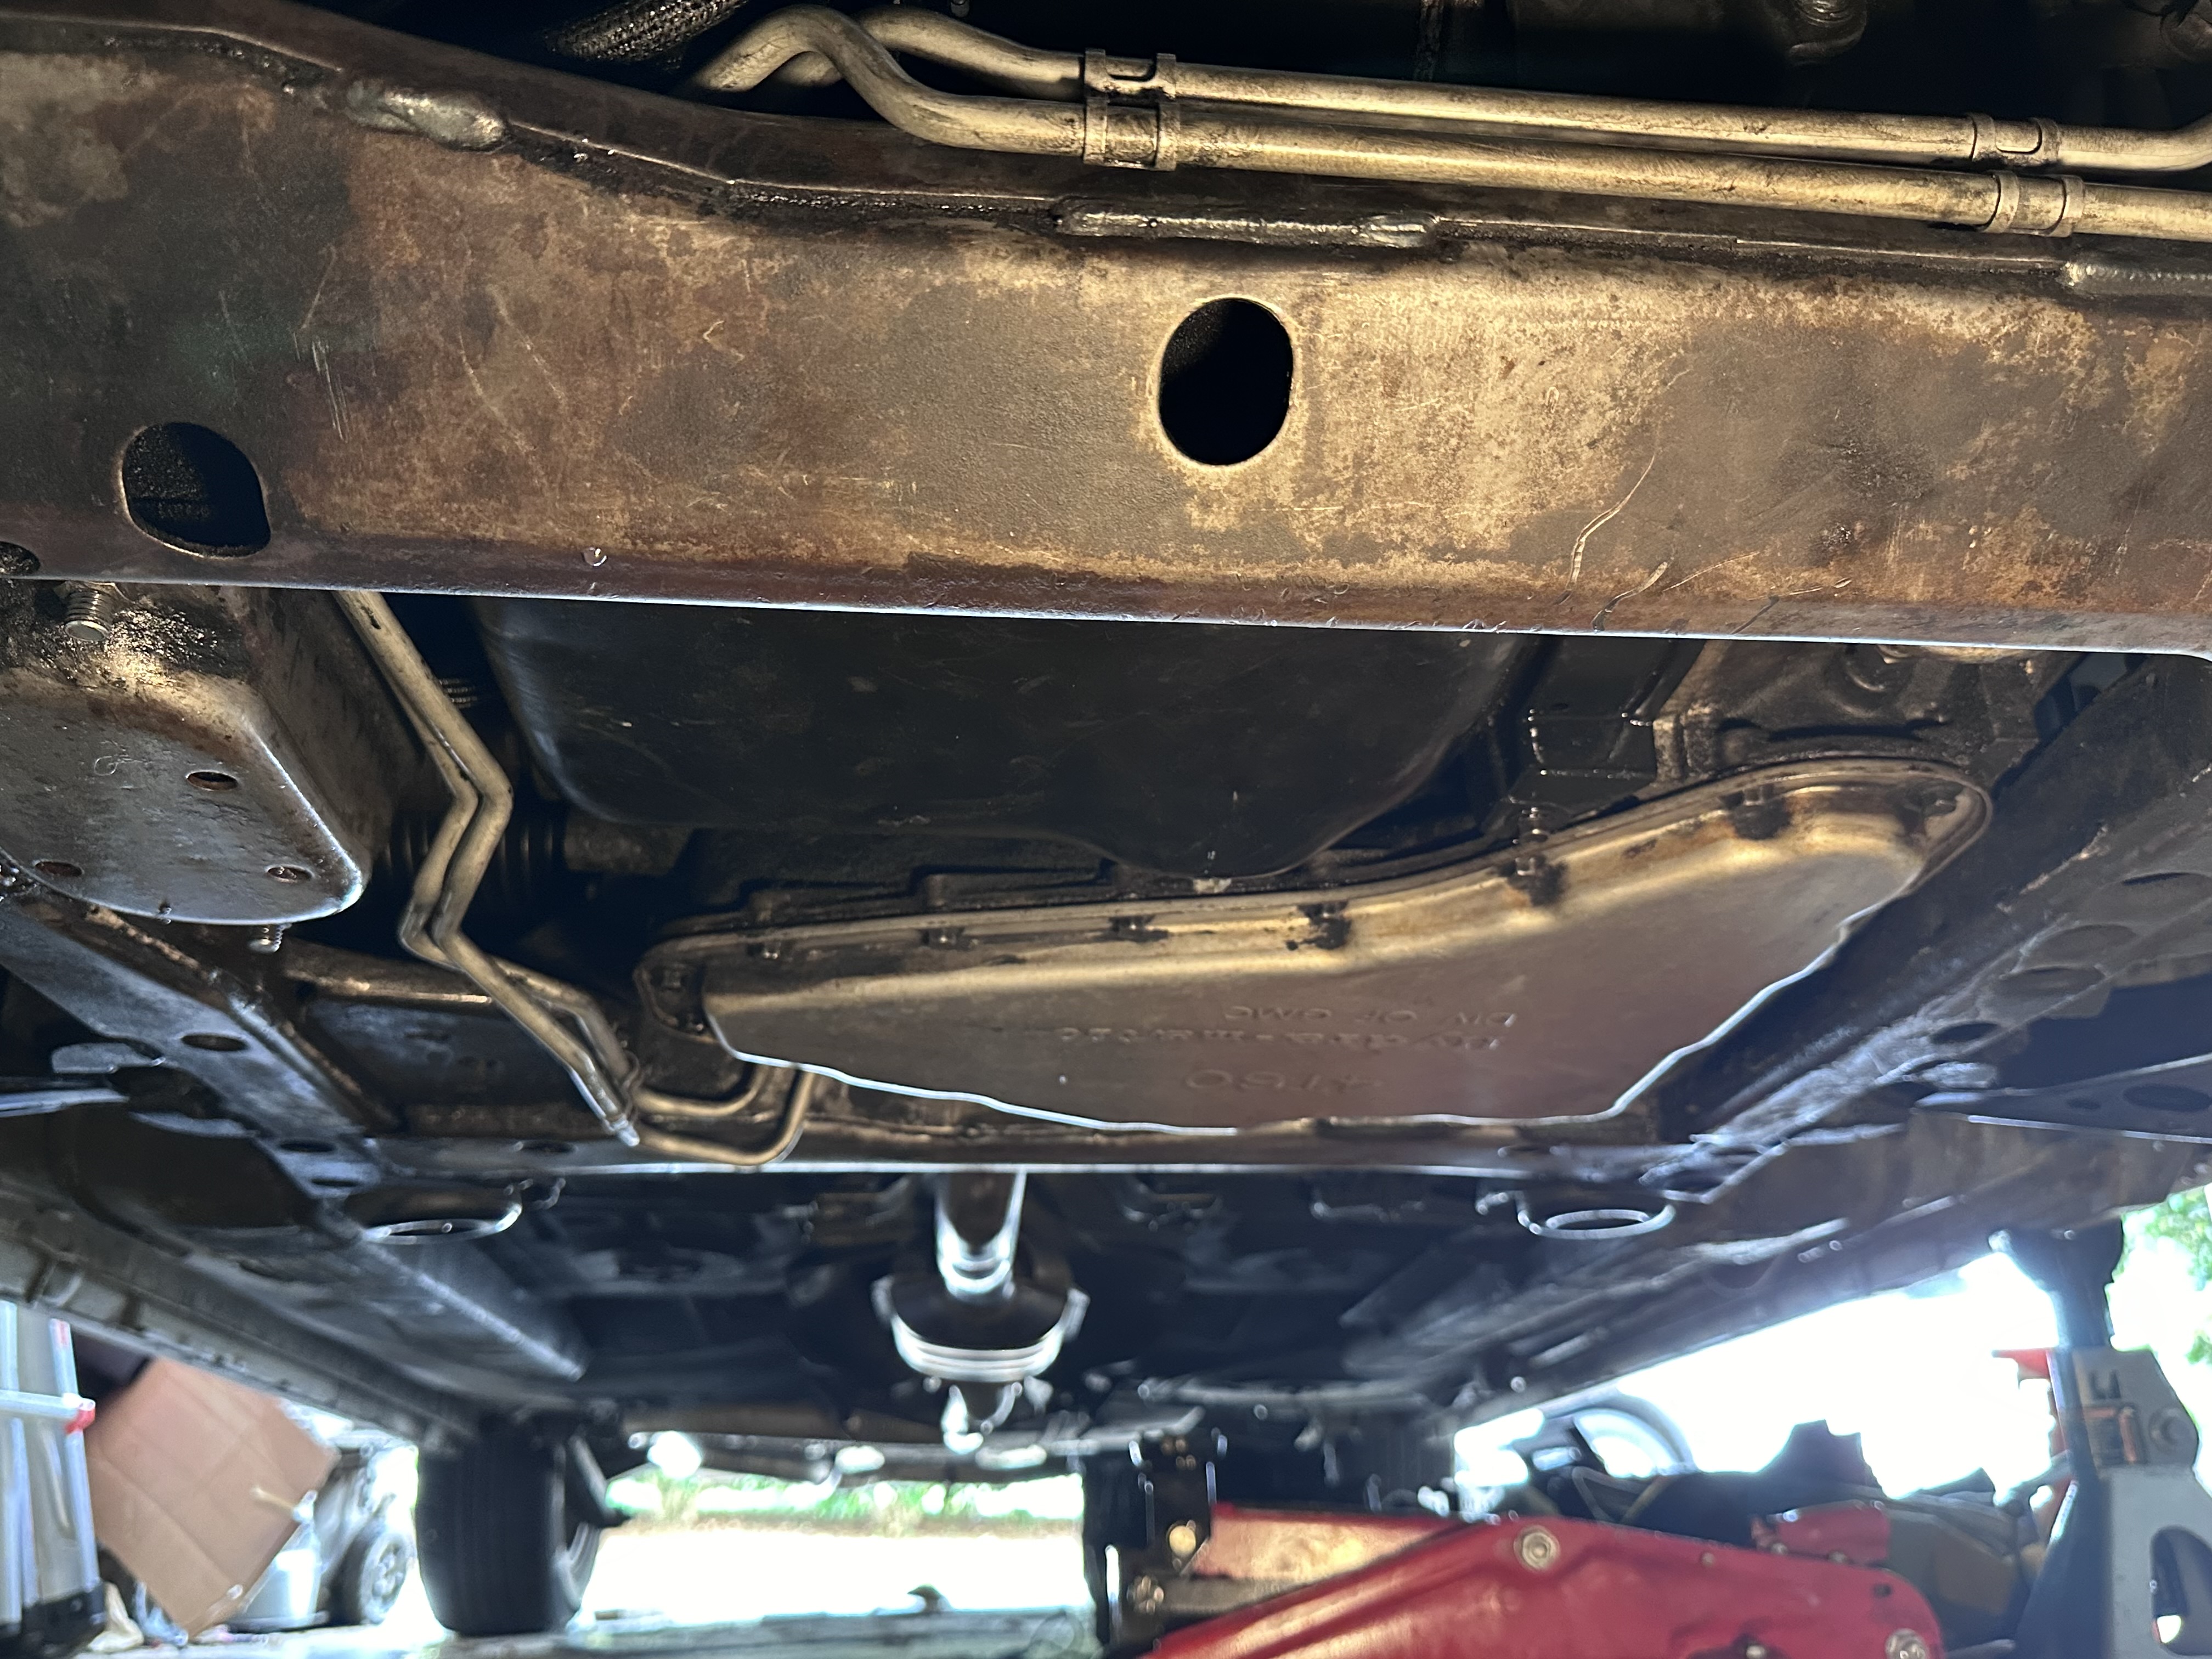
Well…that wasn’t fun. The engine support bar is a must. I had to replace the rear subframe mounts since the originals were rusted out. The Dorman replacements are a PITA to install since there’s really no slack in the original bolts, which had to be reused. The old crankshaft position sensor that was broken off was in the top of the pan. I replaced leaking power steering hoses in the process and cleaned up oily wiring and added new split-sleeve wire protectors. The car fired up right away after I had everything reinstalled - definitely a sigh of relief! I lowered the entire subframe to get the oil pan out…replaced the engine and transmission mounts while I had the chance. Definitely use a lubricant and take it slow if you have to remove a crankshaft position sensor.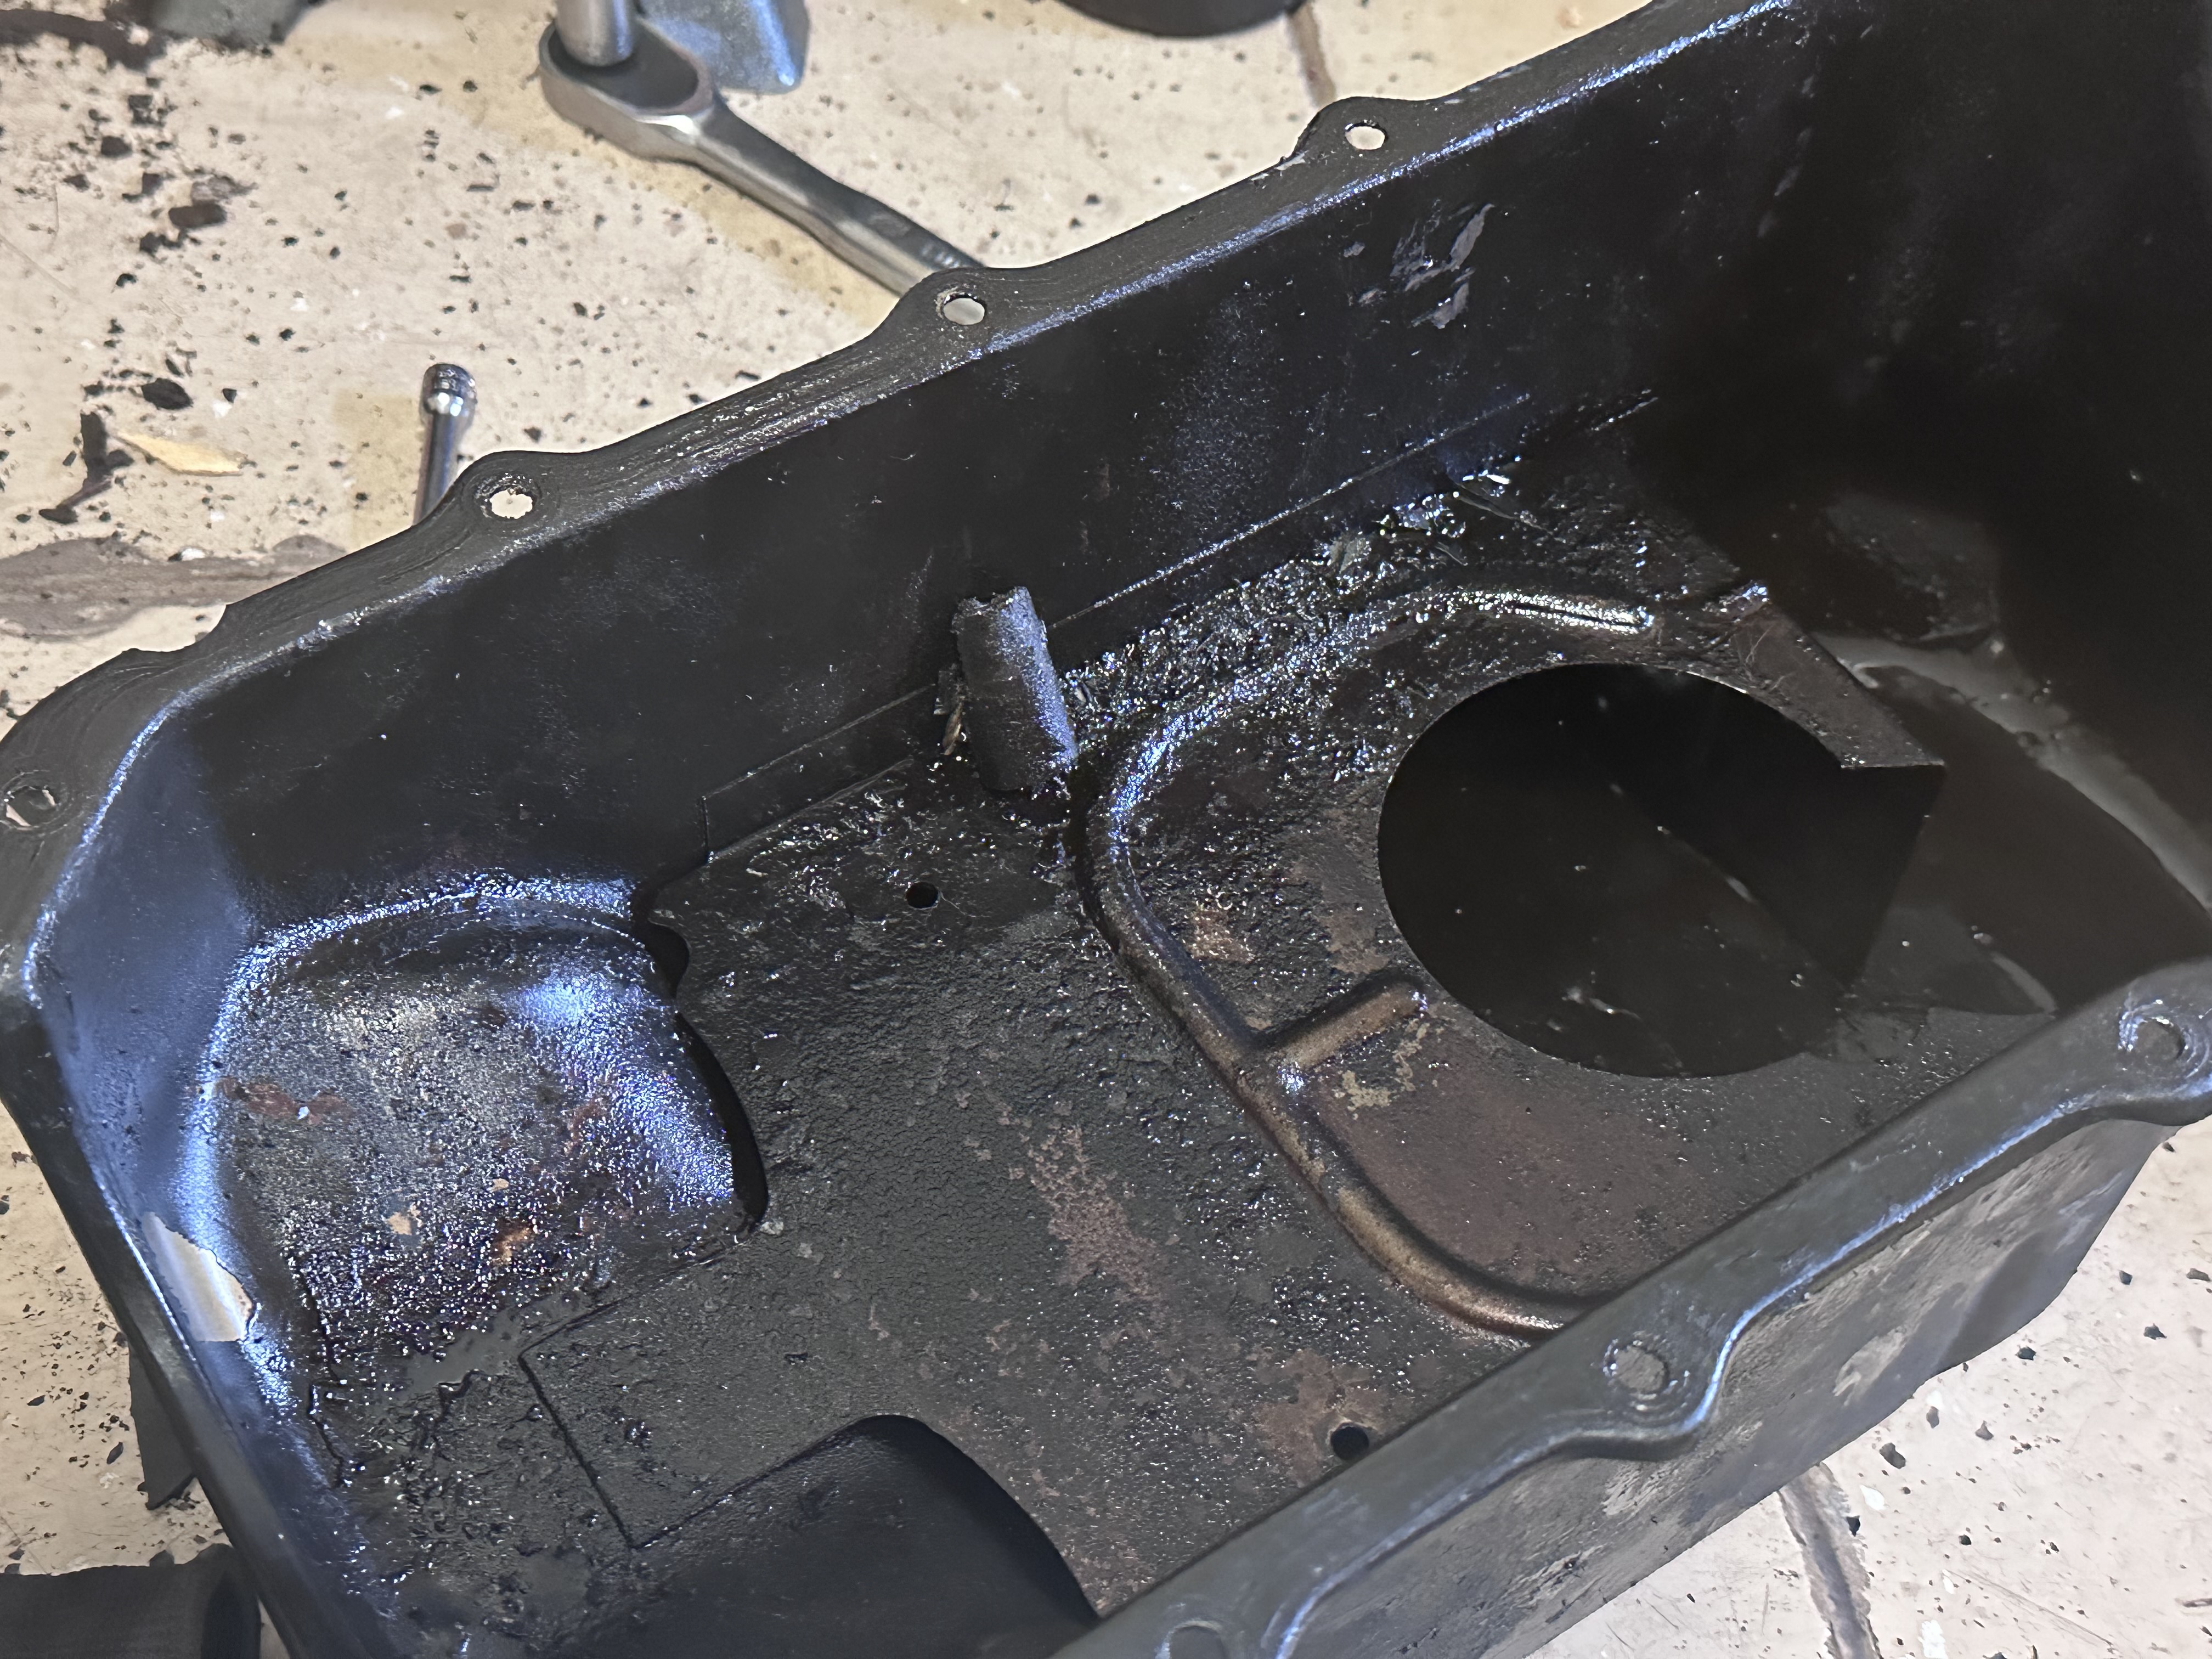
-
In the meantime, I will pull spare clusters if you want when I do some junkyarding. I go pretty often. You'll just have to pay for the parts and shipping, it's up to you. Parts for these cars at local yards aren't that bad really price wise. Just let me know.
-
jiggity76 reacted to a post in a topic:
89 GP SE Instrument cluster repair 25122113
- Yesterday
-
In this post @RobertISaar can't remember what the other black pad is for on the white resistor IC, but at least he has not seen them causing issues.
-
Gotcha.
-
Unfortunately, due to shipping costs and taxes it does not make much financial sense to get anything fixed across the Atlantic.
-
I was thinking that if this is a remanufactured unit, maybe they would be willing to repair yours at a reasonable price.
-
jiggity76 reacted to a post in a topic:
89 GP SE Instrument cluster repair 25122113
-
@jiggity76, a remanufactured cluster would be a solution, after some odometer transplantation work to keep the mileage of course. I assume that a remanufactured one will also have just a resistor added in order to replace the faulty one between pin 4 and 10 on the infamous white resistor IC (I do not think any 100% accurate original ones still exist). I should maybe ask the Ebay seller if they indeed fix them like that, if it's not to much of a trade secret. As said in my initial post, I live in Europe, so by the time all transport and taxes are paid, a replacement cluster is quite expensive, knowing that repairing my cluster is possible with some soldering work and a 1$ resistor. So that seems to be the best option in case a neat & quick solution is not available (like a replacement for the white resistor IC as Batee makes for Corvettes, or a circuit board as can be found for many other models on https://www.cajuntachshop.com/ ). So I'll try to do that fix, many others on the internet did just that with success. But I remain curious about the effect of degradation of the other black field on the white resistor IC and any documentation would be welcome, I only have the service manual of the car.
-
I enjoyed reading your thread here but I must admit that I'm a moron when it comes to electronics. You might as well be speaking Japanese to me. It's not your fault of course, it's definitely mine. Typing in that number on Ebay, this cluster along with 2 others popped up. This one though is a remanufactured unit. Maybe they is a solution thru this place? https://www.ebay.com/itm/124970672582?epid=26044439203&itmmeta=01HY9CCXBWVEKDBMQQ8P48BCGR&hash=item1d18d521c6:g:XMcAAOSwXvphdbou&itmprp=enc%3AAQAJAAAA4FvtXGhD3ynH%2FUR99gvrGyqpTrQlhnDyASk4eK4%2Fca4OOv6UKXx8PdOAyy%2FJXd3WMC0hivWON5tM5qLEs1dWmPx1EZ93EfcAB%2F%2BzJ5eZEvpxetPo6IIUMG9MT8OPMPQIcO%2BjpkzL%2FaQUte7afW4dnVEX7u%2B98Fy0mu75s5zL%2FRRVZAjq02LztCqfEyXJT09vgK%2BUnLtDo6NivgaICJxkRsB%2Fiy4y%2BwWsfIEQ4oIvDKd1qHxaifOZrp8N7VtlfiBc0bs8chKKpuww9TKZKQRFgUXj4X%2BTx%2FyCYrTQXudxf8%2B4|tkp%3ABk9SR_zVs6zyYw
-
It seems there are currently no solutions available for the resistor chip or the tacho circuit board for this specific instrument panel; other than bypassing pin 4 and 10 with a trimmer potentiometer in order to be able to obtain the correct resistance again. On all similar fixes, nobody seems to mention the other film resistor, in this case between pin 3 and 13. Eventually that one will also rise to infinite resistance, which should have some undesired effect, but I do not know it's purpose. If someone would have any schematic of instrument panel 25122113, feel free to post it!
-
Yes it’s getting expensive already. It did sit for a long time so I didn’t mind putting some newer parts on it. I would guess it was all original stuff on it. But anyway I ordered an ecm. I’ve addressed all of the codes it was throwing and 21,43,53 keep coming back. New iac, new knock sensor, new alternator. Still high voltage errors. Sounds like there is an internal voltage regulator in the ecm that can go bad. I tried cleaning the ecm connectors and no change. Runs nice until the ecm takes over then the codes pop up and runs erratic again. I will update after install.
- Last week
-
Try not to give into the habit of *throwing money at the problem*. Purchasing unnecessary part is a waste of money........ The code 43 may not necessarily be the knock sensor itself but an issue with the harness or possibly the ECM. Seeing as you have the code 53 (system overvoltage) if you know beyond a doubt that the alternators regulated output is approx 14.2 when the engine is running then the ECM could be the source of the issue.
-
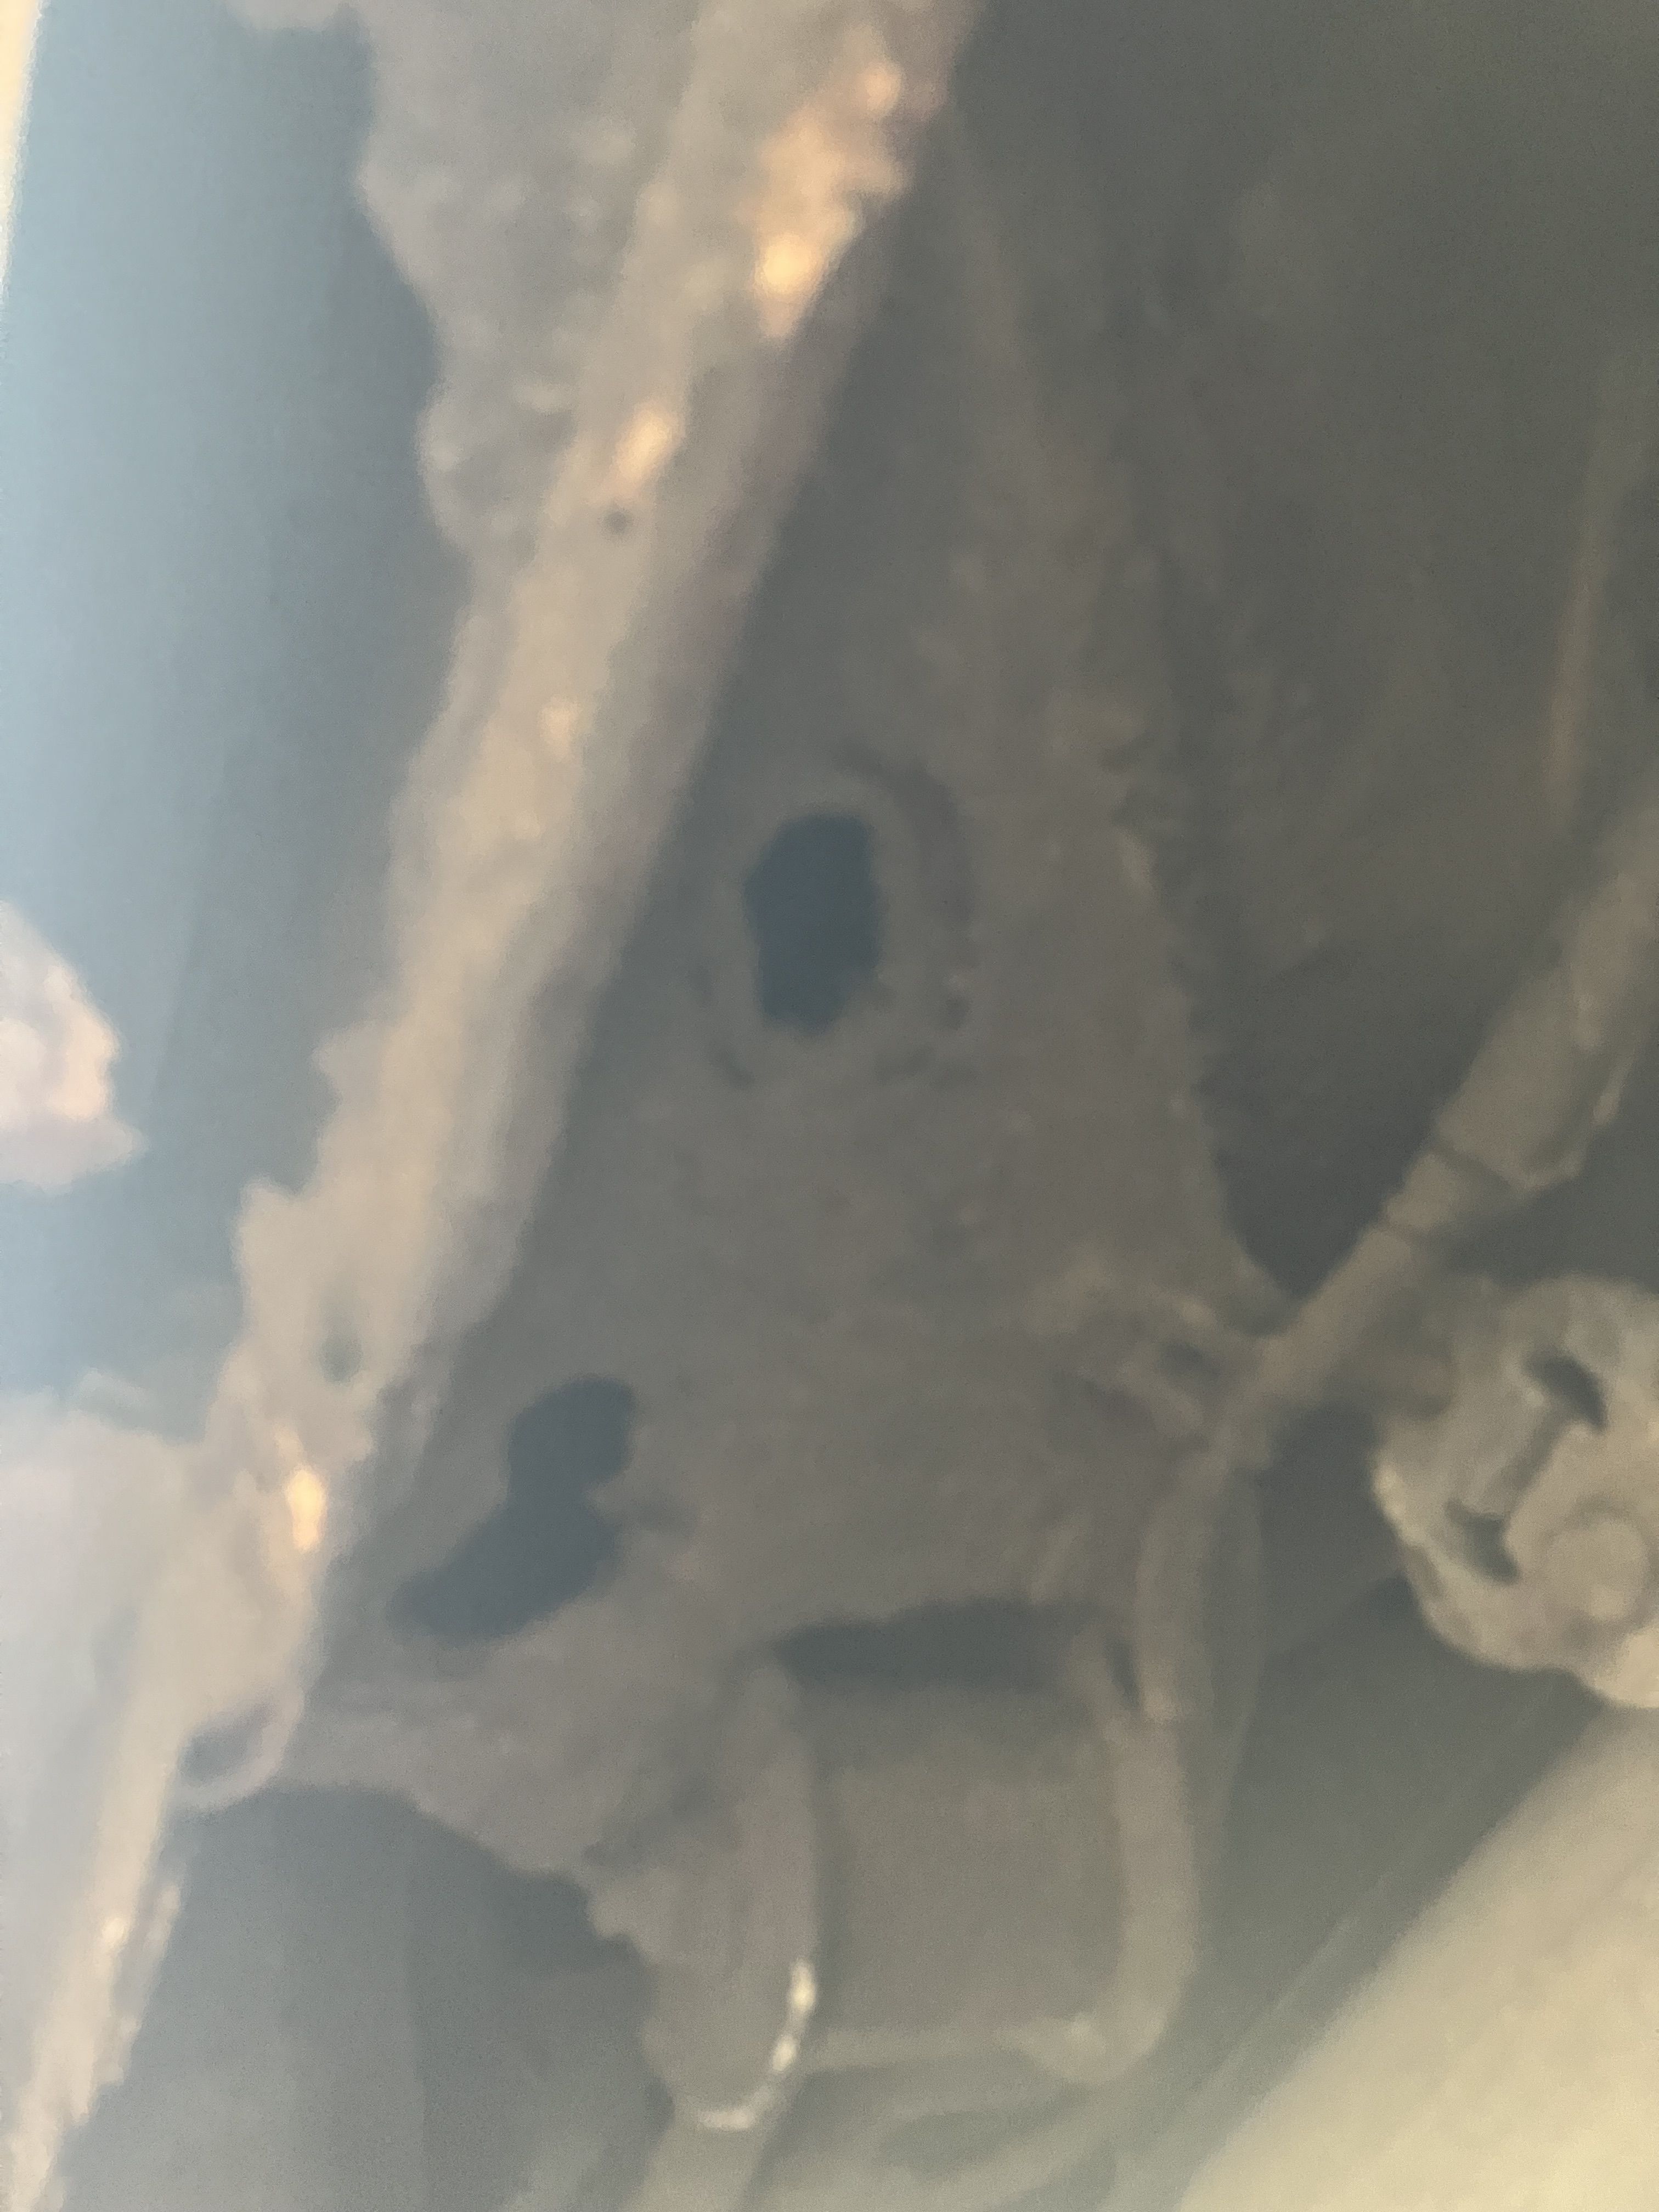
well if I can get a few more years out of it then its worth $250 to me. It had new tires, front wheel bearings, tie rods, and ball joints before the motor blew up. Intake gaskets were also done a few weeks prior. Trans shifts perfect the ta mount doesn't seem like its structurally compromised at all as Ive hit lots of potholes with it and the ball joints went out before the TA mount did lol. If I cut out around that rust hole could I get a little plate of steel and pop rivet it in to buy me a little more time? that's the only rusty part on the whole mount, or could I pull up the carpet and pop rivet into the mount from the top to keep it secured to the floorpan?
-
I mean its like any corrosion related failure, its good till its not. Can't actually say it might be good till you hit a pothole wrong and then its game over. Might go 2 years might go 2 weeks.
-
Other side is perfect i tested it with a hammer. I also tested the one in tge pictures and it was solid everywhere outside of that little hole. It held a jack.. how bad do these get before they fail? I dont want to junk it bc the floors and fuel/brake lines are perfect
-
Listen, i'm an idiot. I'm presently putting a new transmission in my 375k daily driver. If the underside looked like that I wouldn't be. Anything is fixable, but that's a pretty complex area and a critical one at that. I can see that the rocker and quarter is made of thin air and the metal around the mount isn't that much better. I know used car prices are out to lunch not but not sure I would put the effort in based on what you're telling us. Then again if you've already bought the engine do the minimum to get the car up and running and scrap it after it finishes breaking.
-
They ain't making those cars any more. Maybe you can weld-in a repair? And verify the other side, too.
-
Im putting a $250 junkyard motor in my prix and wondering if its worth it with this rust or should i just junk it. Reason it looks muddy is because i put fluid film on it last fall
-
Hey guys, not sure if I’m replying correctly to these. First things first. Nice engine! Next, thank you for the schematic… Lastly I’m down to code 43 and 53. Knock sensor is new. It’s not running properly. Is smoother now but am curious if you guys have the magic fix? Thanks again for all the helpful information. I got some dielectric grease and electric cleaner. I noticed gm had a bulletin to clean and grease the wiring harness connector. I assume to the ecm. Probably should do all the connector’s I can get to. Could be bad ecm if it doesn’t help. the fan kicks on at weird time’s also. Something electrical is not letting it run right. High idle still also. Iac new.
-

Stock 89 audio system common issue repair and weird FM tuning issue
89SE replied to 89SE's topic in Car Audio
Update: I found out that the issue of being limited to 104.05MHz is probably how it is supposed to be, at least for European versions. This German article ( http://www.fieros.de/de/articles/radio.html ) describes that a diode can be put in a Fiero radio to enable steps of 50kHz, instead of the 200kHz in the USA version (uneven multiples of 100kHz). In Europe, steps of 100kHz are used, 50kHz maybe exceptionally in Italy, so the modification makes sense. But this modification also limits the receiver from 87.5 to 104.05MHz. Since European frequencies go up to 108MHz, it is rather strange that it was deemed sufficient to receive only about 60% of all radio stations... -
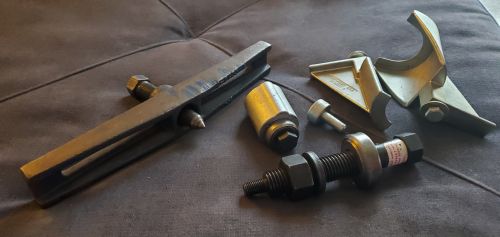
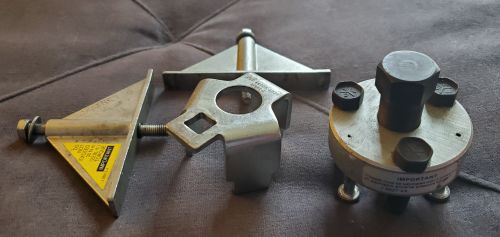
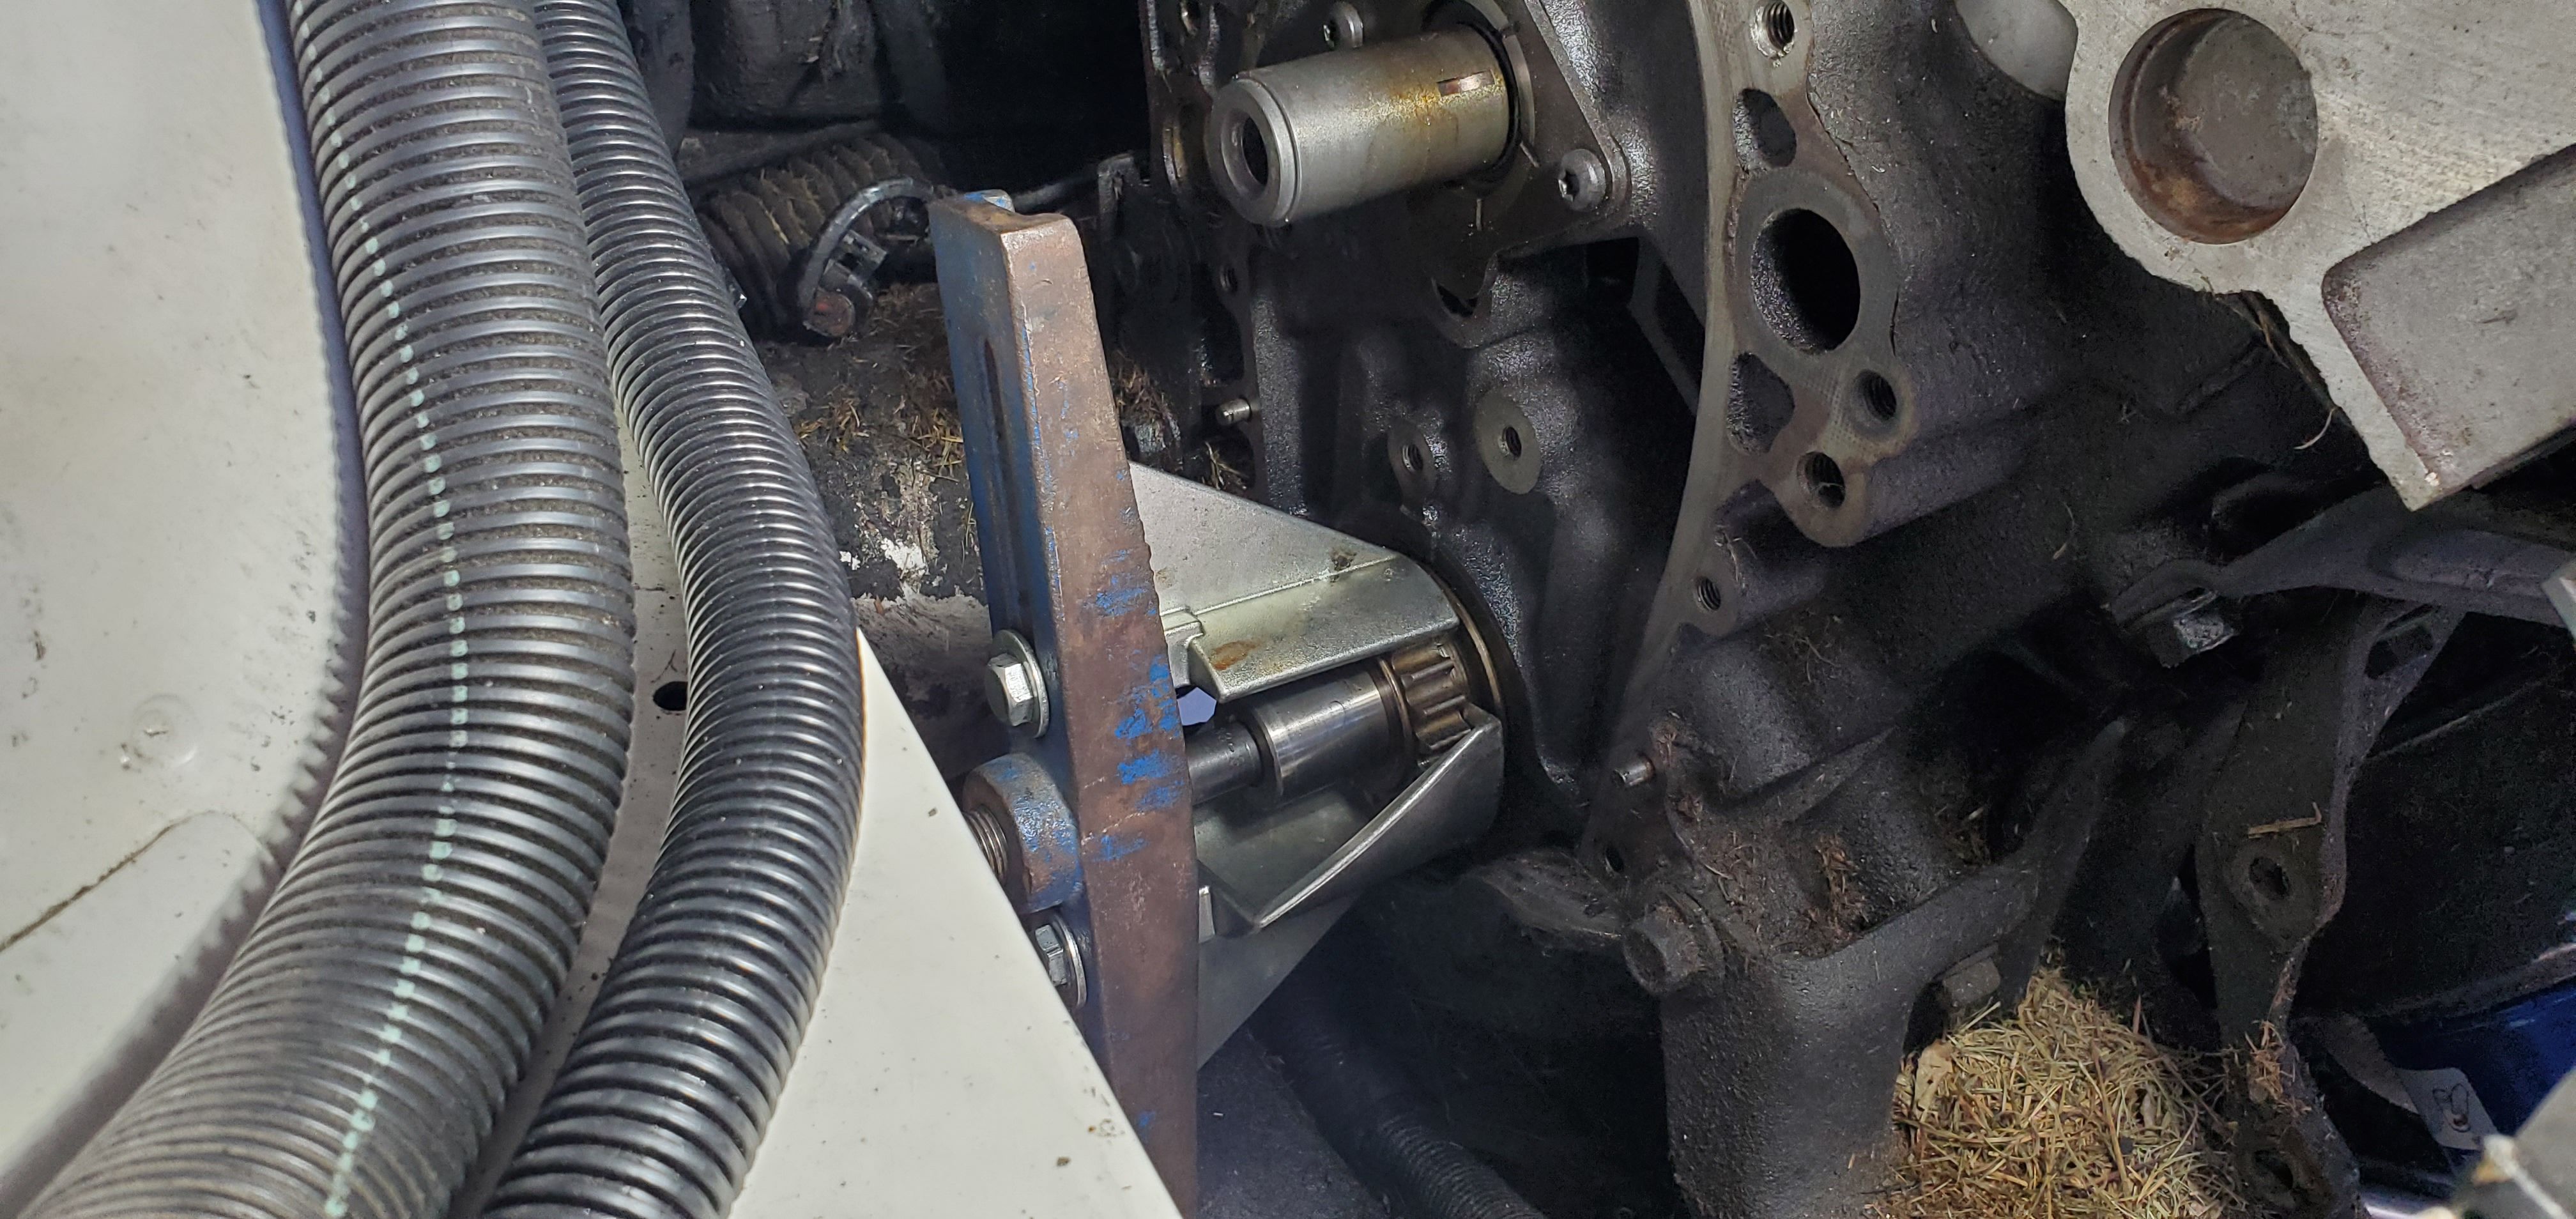
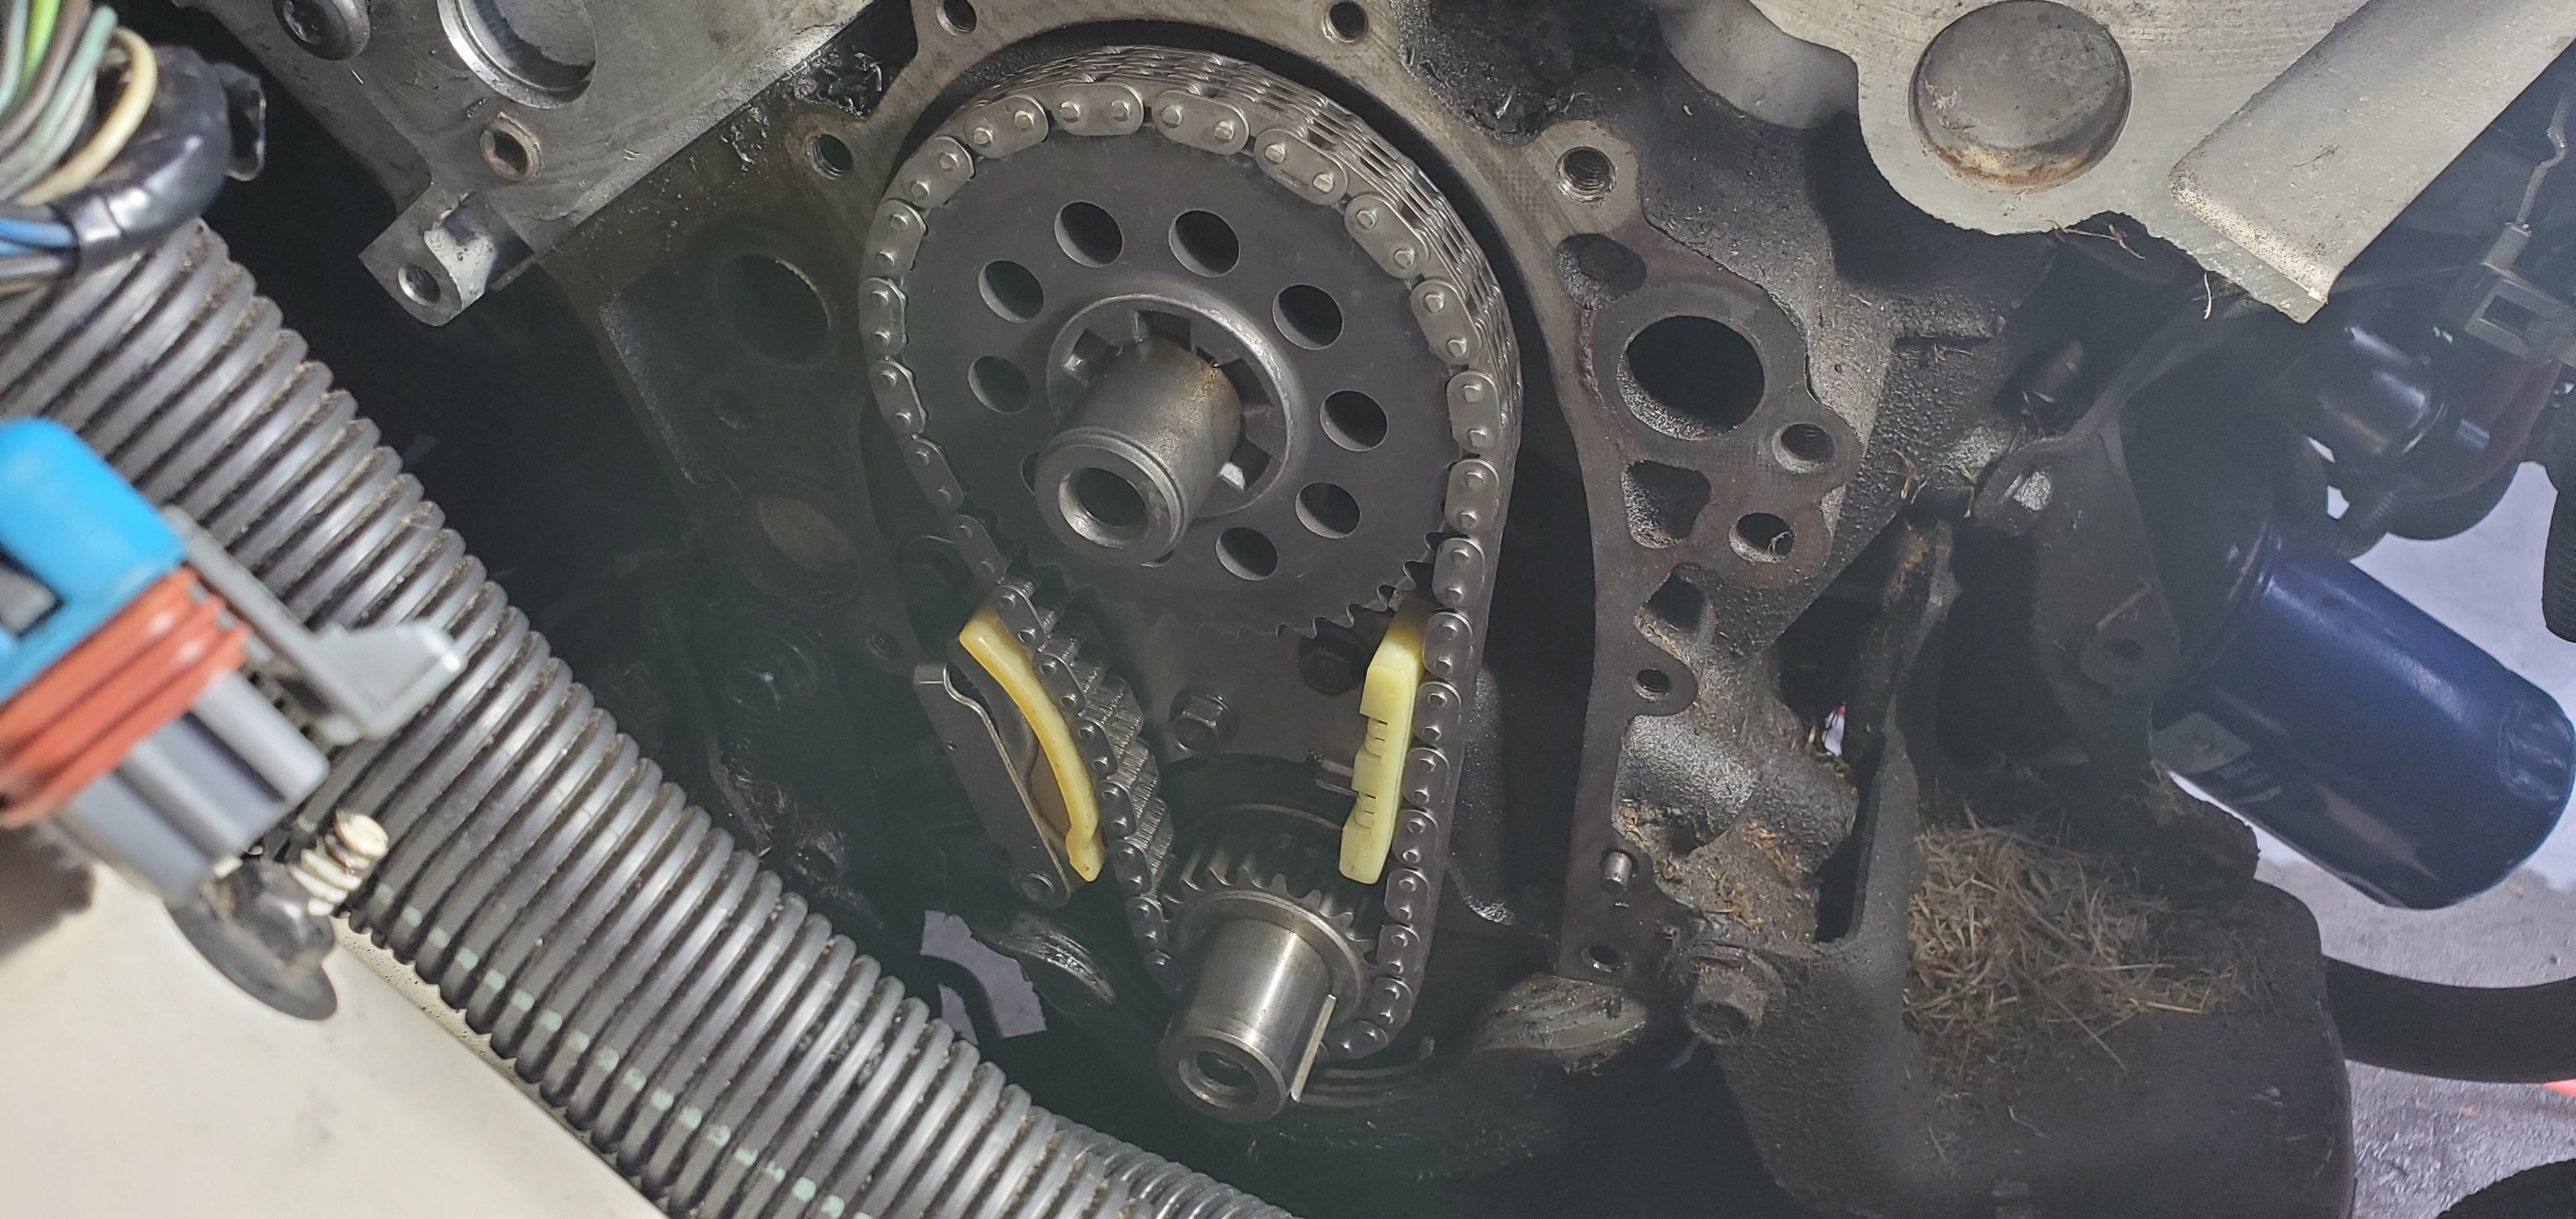
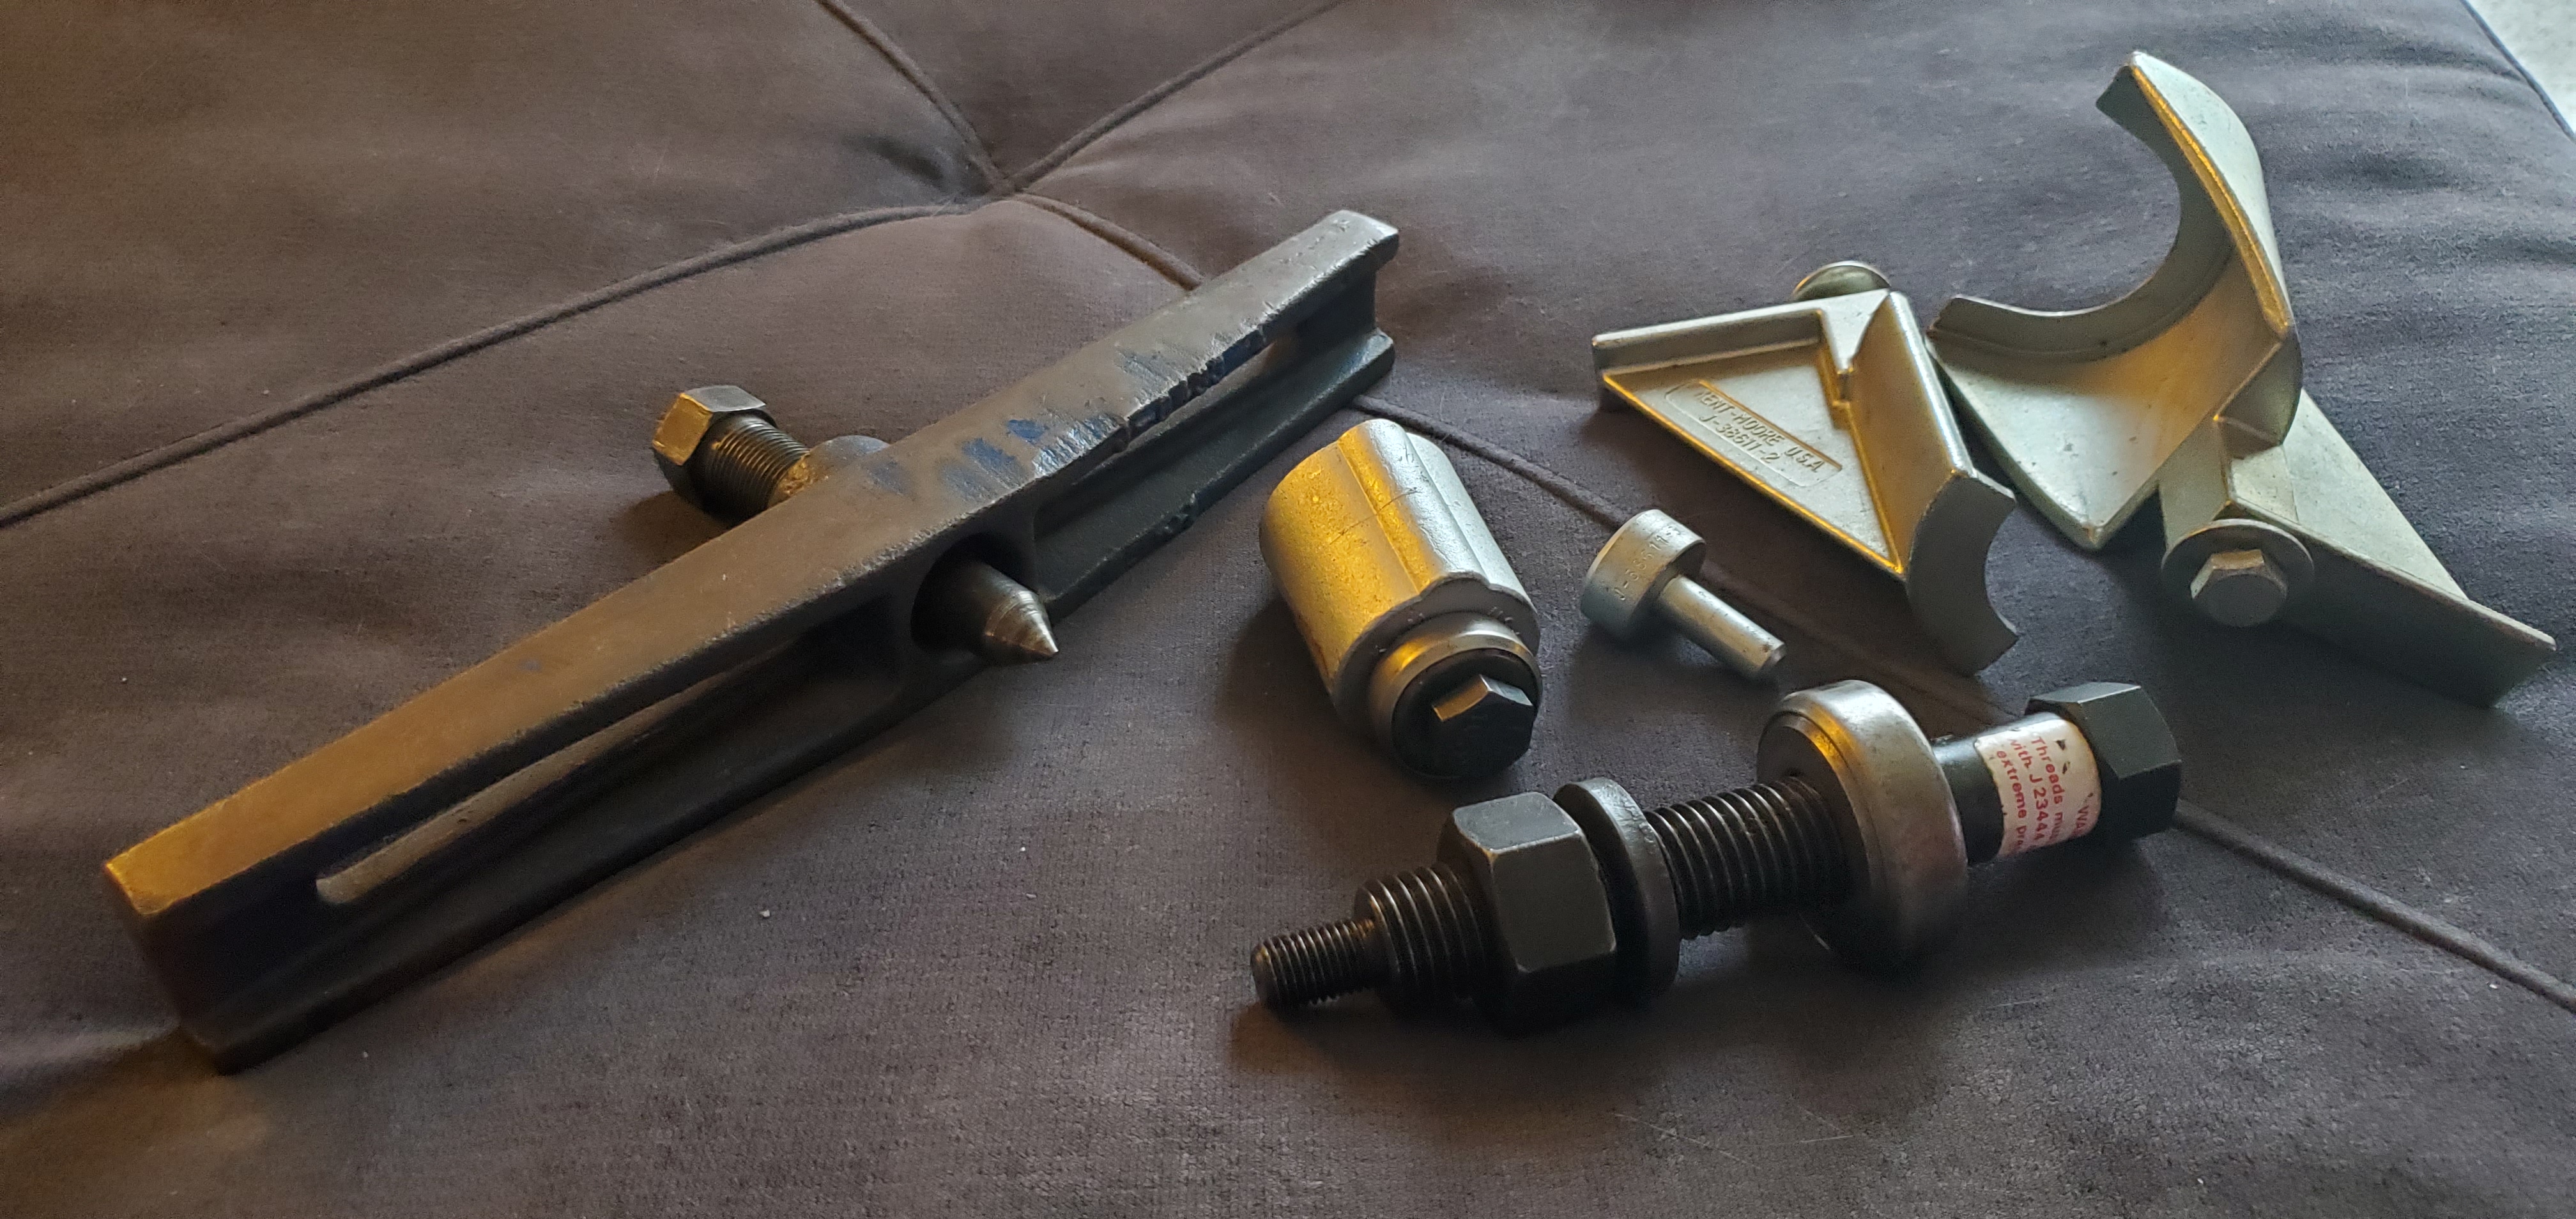
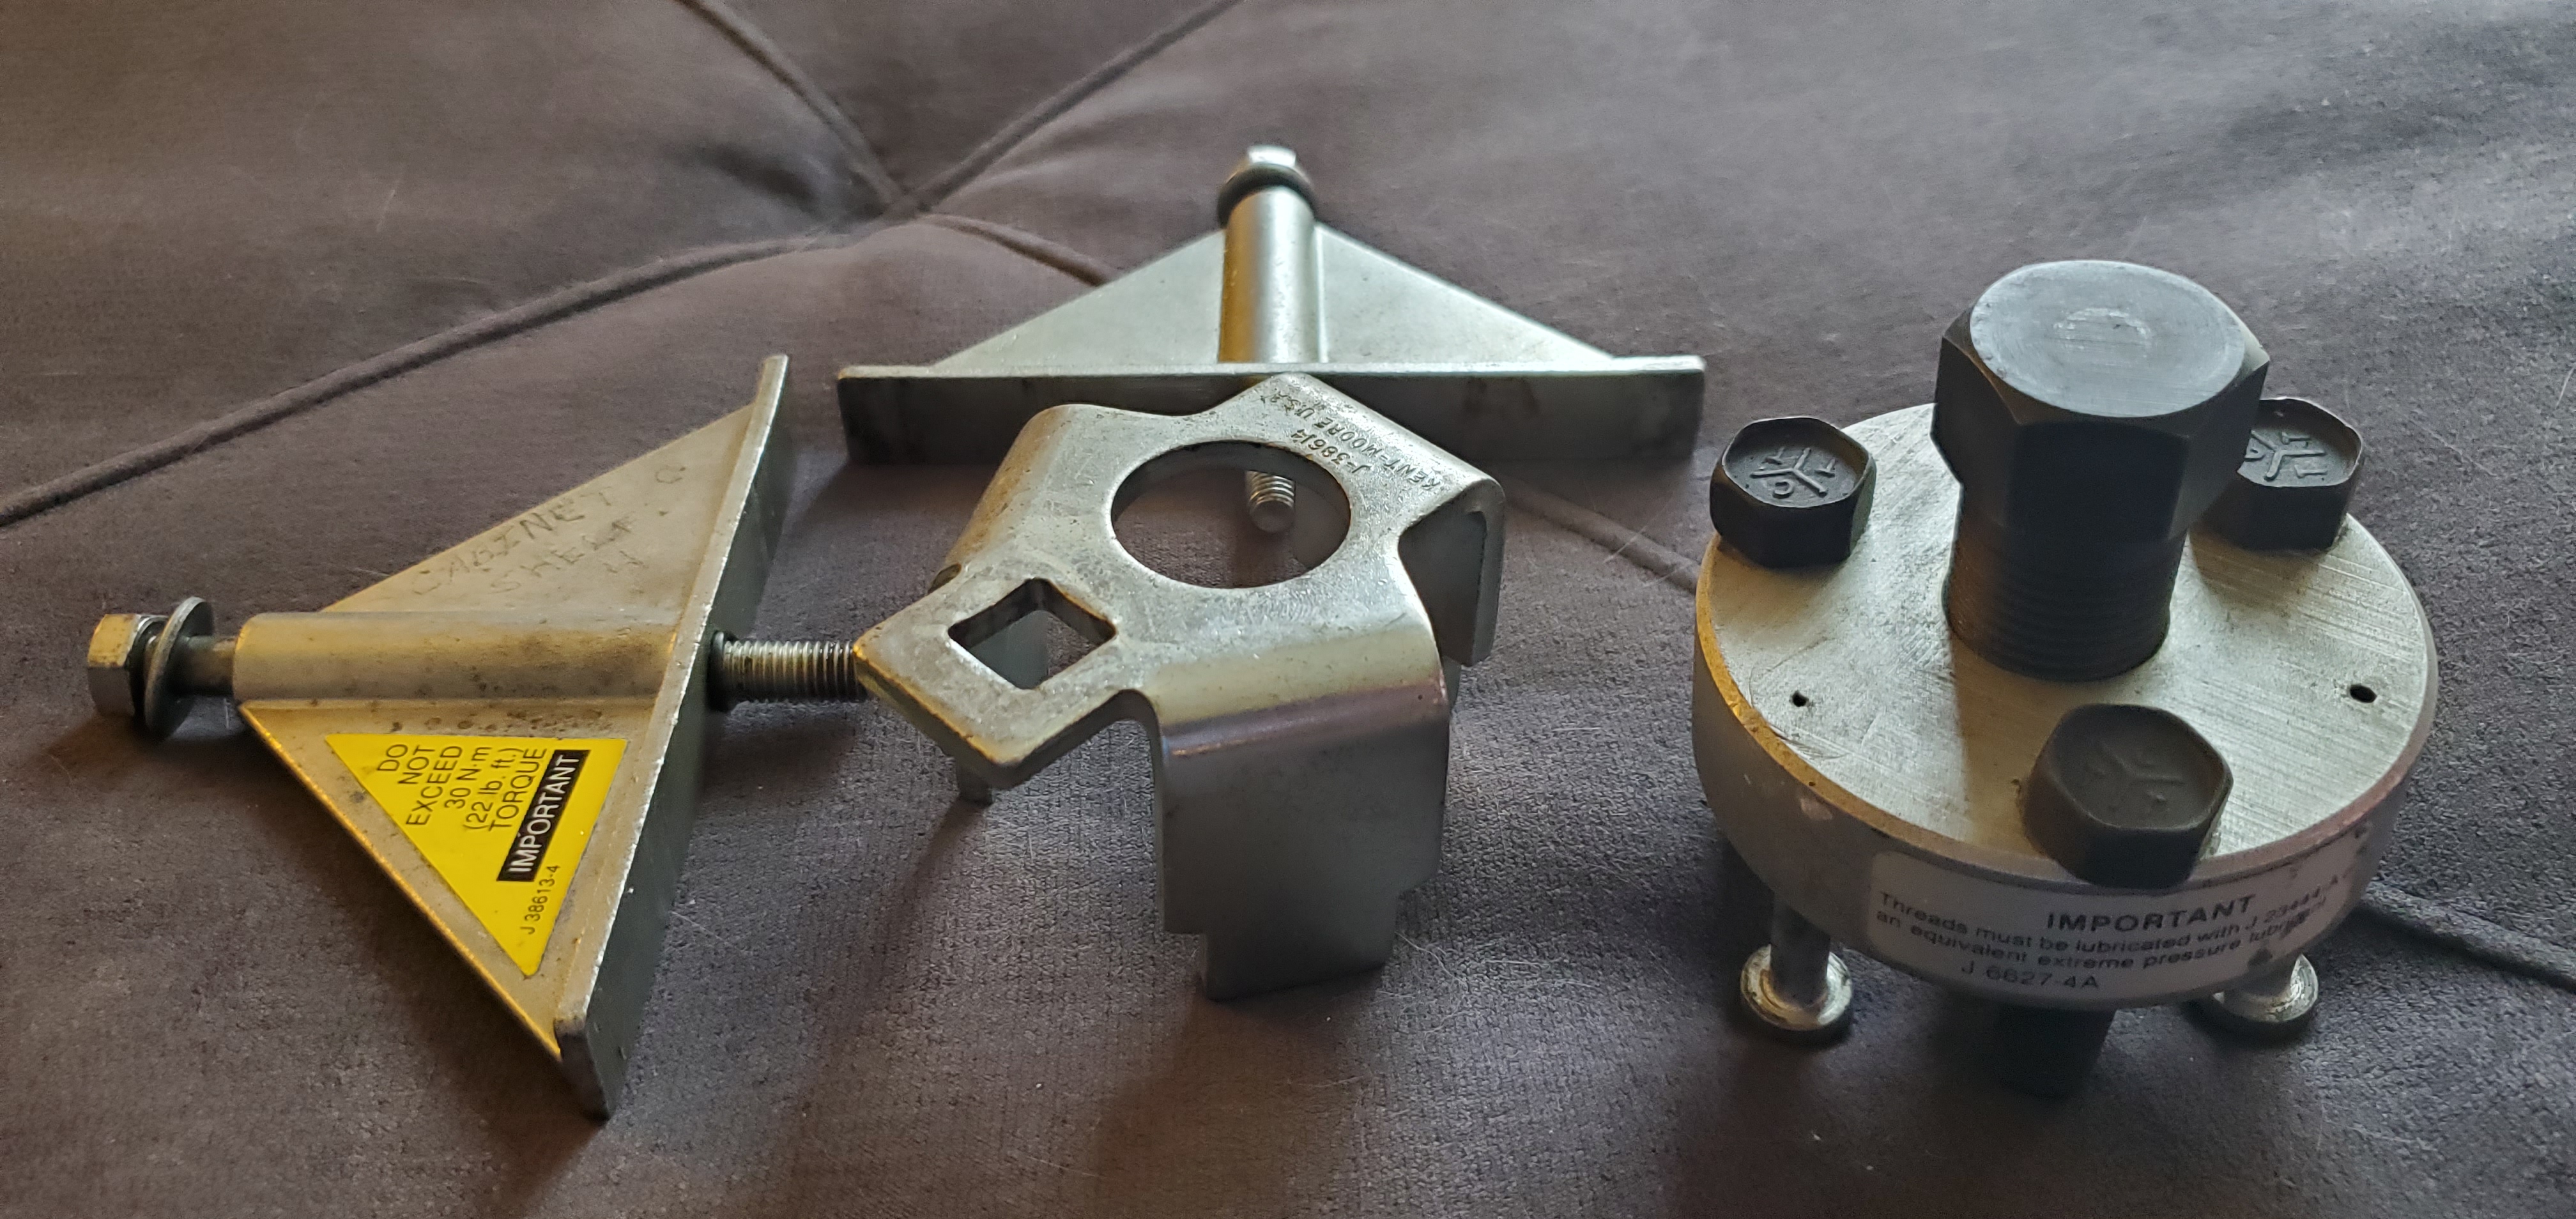
I also have that Kent-Moore kit and it's so handy. For the 91-93 LQ1's, the cam cog puller is a must as well. Starting in 94, GM switched to a lock washer and bolt system that doesn't require this tool. Both of my LQ1's are within that 91-93 year range. This tool right here, this puller, is an absolute blessing! After my local GM dealer said my original motor had a timing issue...and I knew the belt was good and timed correctly, I assumed it was the timing chain. This is a puller for the timing chain and sprockets. The chain and sprockets have to be pulled as one unit due to how they're designed like most timing chain systems. Because of the tight tolerances between the dampener/nose of the crankshaft and right side frame rail, a conventional puller to my knowledge won't fit in that area. I even rented the smallest puller they had a my local parts store and it was still way to big to even try and lock onto the sprockets. I found this bridge puller I think it's called years ago on Ebay. SO GLAD I BOUGHT IT!!!! The GM dealer wanted to either drop the engine cradle on the passenger side or if need be, drop the entire cradle and drivetrain out of my Olds International Cutlass for the repair. Total bill was going to be estimated between $5500-6500. This bridge puller allowed me to do the job myself and only costing me about $100 bucks. This includes the price of the puller, the chain/sprockets, and the guides. This kit also included the tool to drive the crankshaft sprocket and dampener back onto the crankshaft. The repair process and bridge puller being used. You can see the tight tolerances of where this tool needs to work and how beautifully it all fit together. Again, this specialty tool saved me THOUSANDS of dollars! New timing set in place.