All Activity
- Today
-

89 Oldsmobile Cutlass Supreme door armrests sticky and gooey
RareGMFan replied to GnatGoSplat's topic in Appearance/Car Care
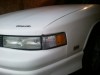
I think a lot of cars have this issue. The Lexus ES generation after mine is notorious for the dashboards (and often the door cards) turning into a sticky, crumbling mess. My generation had issues with the passenger dash air bag shrinking and warping, greatly widening the otherwise tight gap between the bag and the rest of the dash. Here's an example, though this isn't even as bad as they eventually get. I didn't learn about this until I finally starting to find a few in the junkyards where I noticed almost all of the dashes were like above or worse, and then noticed the top gap in mine ever so slightly getting wider. I started using a sunshade as soon as I noticed it, and knock on wood, it hasn't gotten any worse since. Still sucks because the rest of the interior is damn near mint.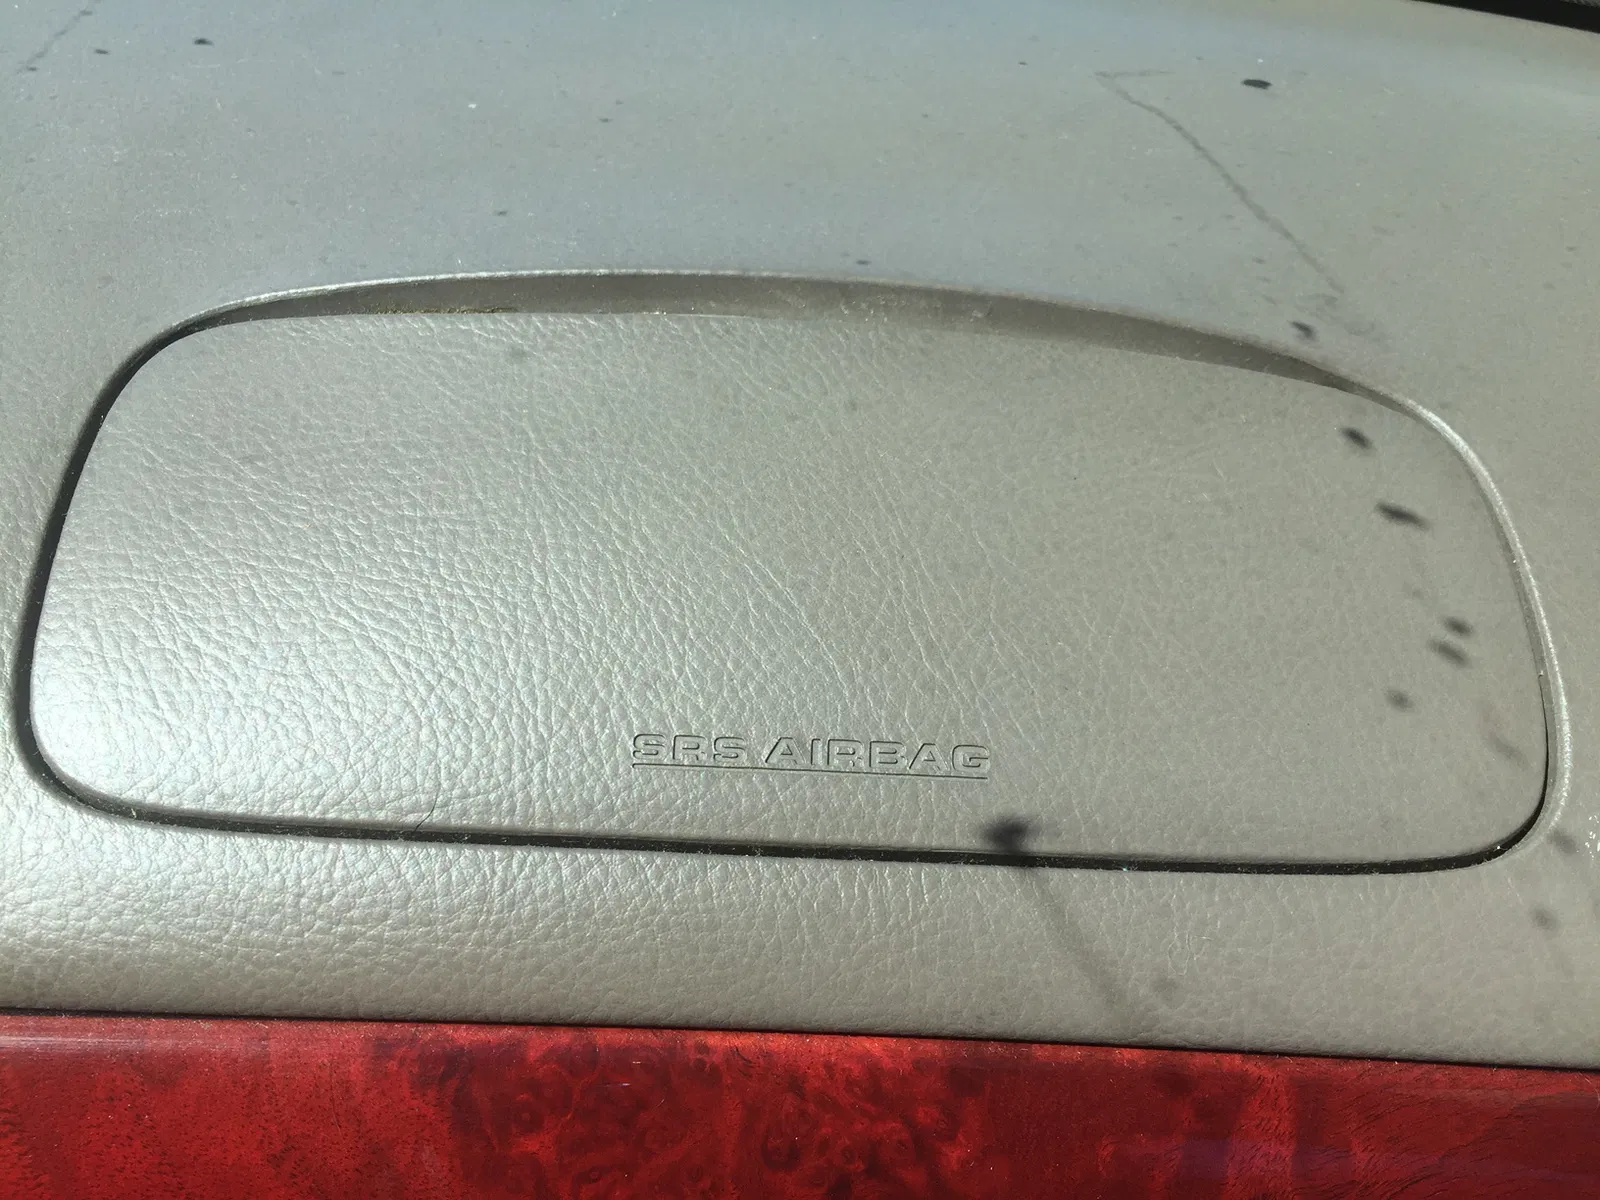
-

89 Oldsmobile Cutlass Supreme door armrests sticky and gooey
Black92GS replied to GnatGoSplat's topic in Appearance/Car Care
In all honesty….I don’t believe there is anything you could have done to prevent it. I believe the issue has more to do with the chemical composition of the material and its natural breakdown more than anything else. Likely some combination of the dyes and materials used, cleaning products and skin oils over the years that caused it. If you look at cars that have spent their entire lives in climate controlled storage, you can find some where the headliners have failed in the same manner and in similar time frames as those were exposed to the elements. The foam backing failed mainly due to time, rather than environmental conditions. I experienced something like this a number of years back at work. I was routing and securing cables using a pack of coloured cable ties. The pack was older, but unopened and was stored indoors. They all worked as intended, except for the green ones. Every single one would break apart with the slightest amount of tension applied. The translucent ones and the other colours were all fine. A few years later, we started seeing broken RJ45 jacks….but only the green ones again. Didn’t matter if the jacks were hidden all their lives or exposed to the sun and completely yellowed out….only the green jacks were prone to breaking with very little effort. It had nothing to do with them being green, but something about that particular colour led to them breaking down differently than the others. -
I appreciate it, it's a dupli-color can special too. One day I would love to be able to 3d print these or mill them from an aluminum block.
- Yesterday
-
By the way, the paint looks really excellent.
-
Thank You Needed a win, its been awhile.
-

92 Oldsmobile cutlass supreme A/C evaporator replacement
White93z34 replied to Ian's topic in General
wow! that thing was packed full of junk no wonder. -

92 Oldsmobile cutlass supreme A/C evaporator replacement
GnatGoSplat replied to Ian's topic in General
Thanks for posting an update! Now I know why newer cars have a cabin air filter! I wonder how bad mine is. -
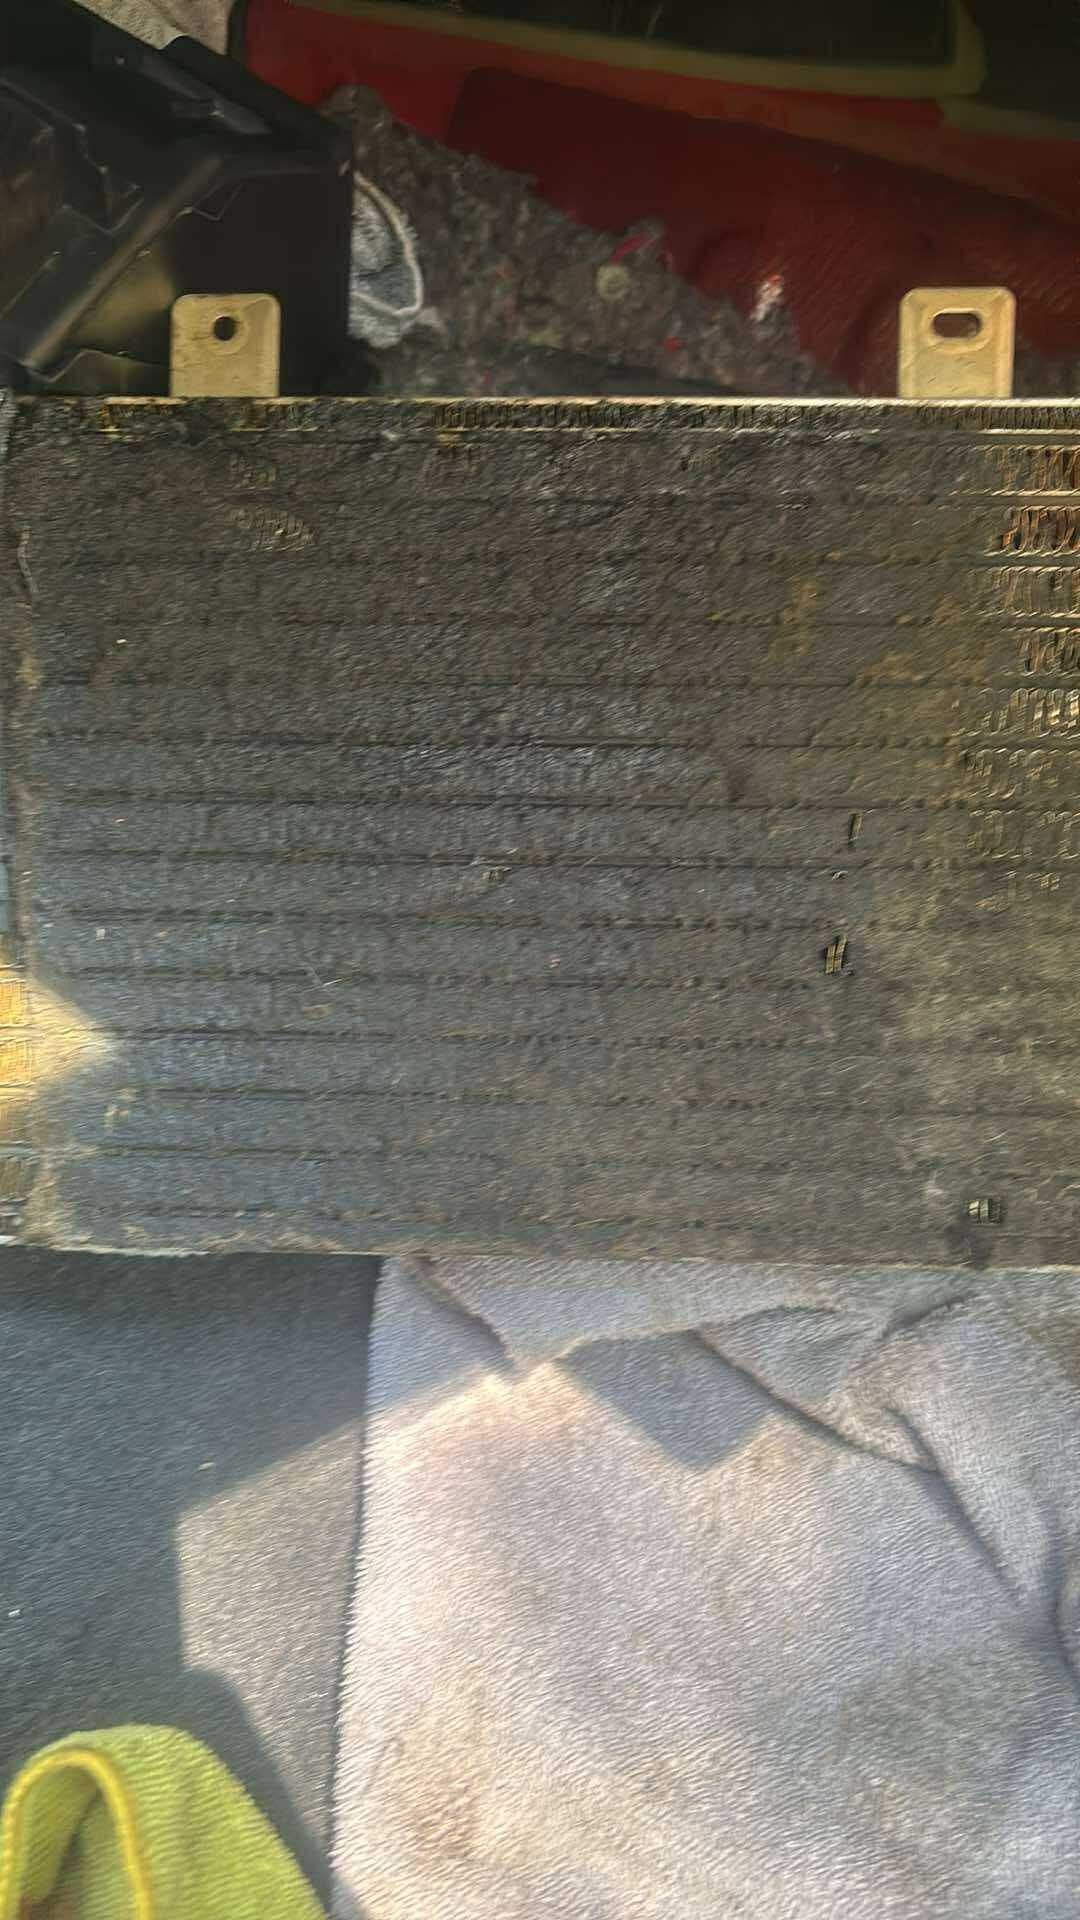
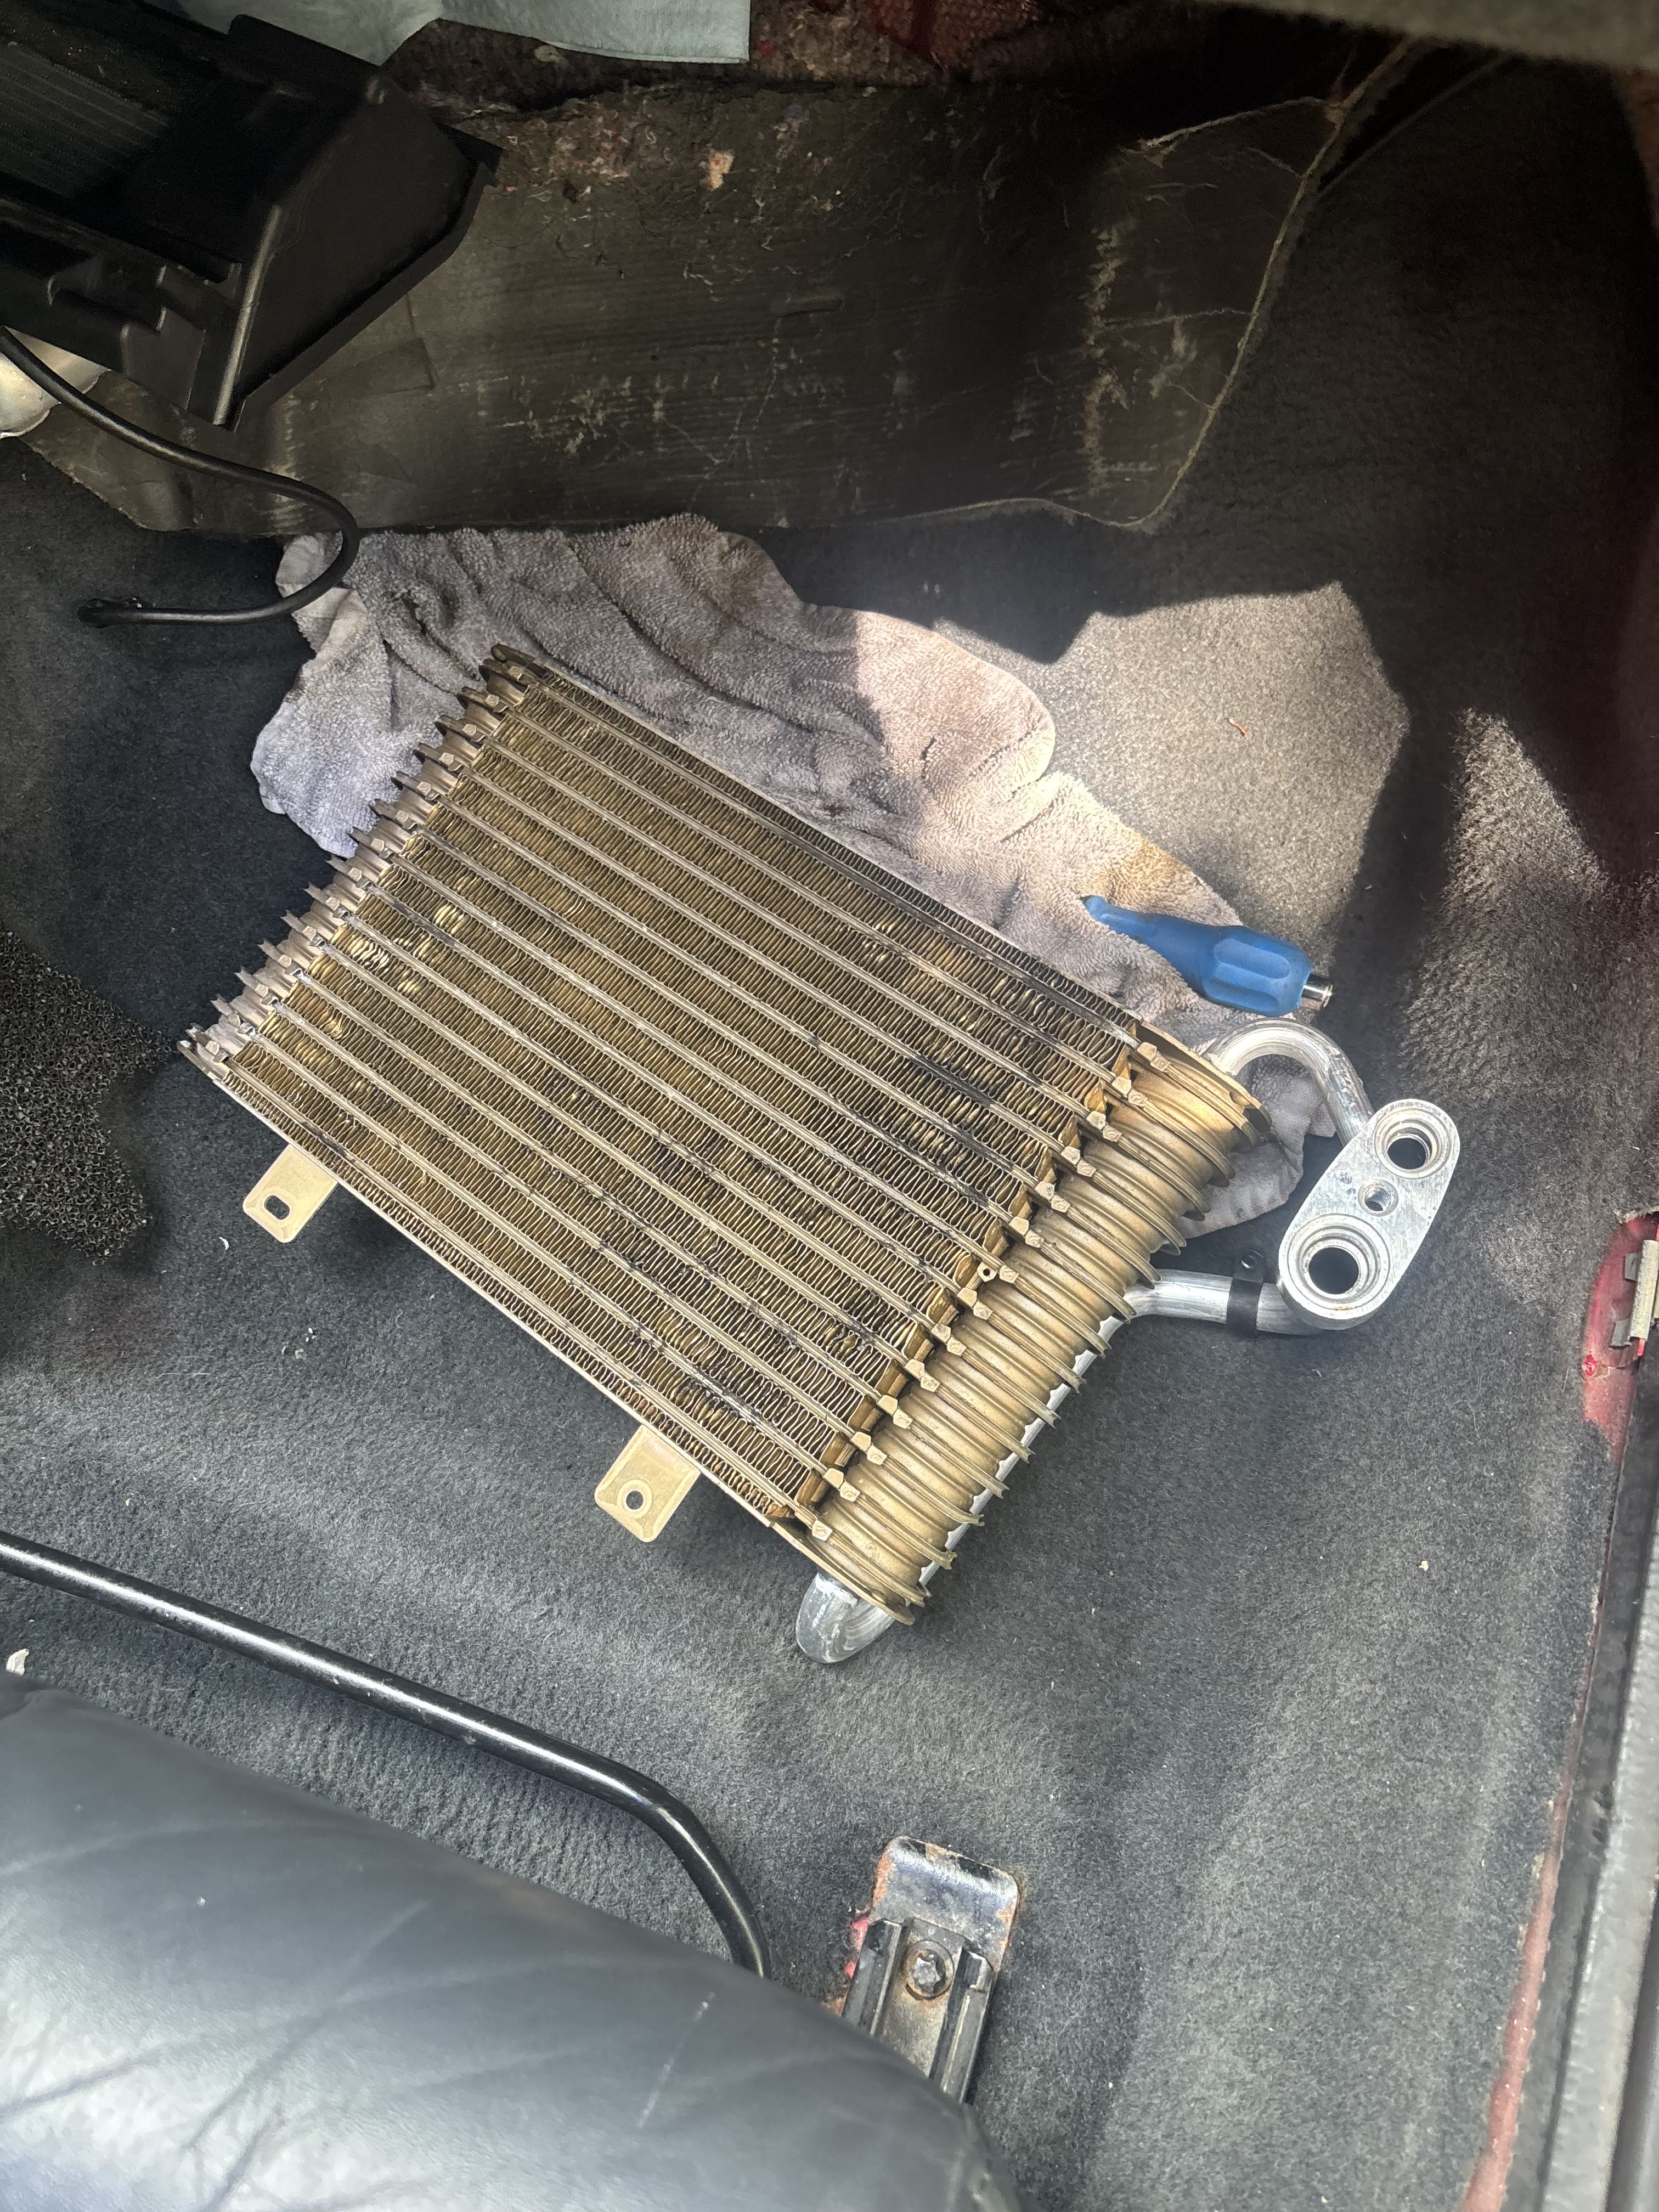
Thanks for the options but did not need it. since I have a recovery machine with R134a it was not a big deal to open the system and refill it. Yes it was previously converted. after recovering the system I removed the one bolt under the hood holding the lines to the evaporator. Also I removed the clamps for the heater hoses at the firewall. Making sure a pan is under where you remove the heater hoses so not to spill it on the ground. under the dash at the floor I removed both left and right kick panels and gave access to where the bottom of the heater box is. I removed the silver trim around the cluster and radio, unbolted the center stack with that vent, climate control, and pocket. Behind that is another carpeted pocket unbolted that which gave me access to the heater box.. Removed the first panel that direct the floor air flow. There seems to be some pipe that goes into the floor under the carpet no idea where it goes since the back doesn’t have air vents or under the seats lol removing that panel I can see the heater core two or 7 mm. This car seems to be made with 7 mm screw screws.LOL . I was able to pull the heater core to the left and that gave me access to the evaporator. Remove the two screws on the bottom and I was able to pull the evaporator into the car and let me tell you I’ve attached a picture of what it looks like before cleaning it and after cleaning it after reinstalling everything and putting a new O-ring on the AC lines, putting a vacuum on the system and allowing my machine to refill the system with the correct amountthe airflow out of my vents was like a new car and my AC finally blows ice cold. All in all I was only left with 27 mm screws. I have no idea where they’re from but everything is nice and tight and working great. Now I know this isn’t a tutorial with instructions step-by-step but this is just what I had to go through since I couldn’t find any information and didn’t wanna wait for my service manual to come in which yes I did order on eBay. i’ve attached a few pictures before and after. I did do a little bit more cleaning after the clean picture I’ve attached. It looks like a brand new unit now. I hope in the future if somebody has to go through this and doesn’t understand what I’ve typed then can always reach out to me with questions.
- Last week
-
Looks fantastic! You did good!
-
All that work and I ended up dropping and breaking that vent awhile back. Thanks to an extremely generous member here I have a replacement vent. I keep the pair inside packed in a box so I can`t break them without effort. Had an idea and went with it in securing the drip pans and screens. Using some things I had on hand I came up with some brackets that can be removed easily for cleaning or paint. I don't know if it helped or not, but I also used a small wire brush to clean out the posts and put a few drops of silicone lube in them before barely snugging up the mounting screws. Everything holds tight and secure when the hood is open and closed and looks good from the top, underneath maybe different but each side is mirrored to the other to the 1/16" with the exact same parts. It could look better with fabbed up metal stock instead, but the idea works and can be covered with some insulation in the future. It really doesnt look half bad with just the screens and pans, and Ive not even painted those yet. Seems like it could match the front grilles...
-
Thank you, and yea it doesn’t appear so! Was one of the biggest selling points!
-
Nice, thanks for that!
-
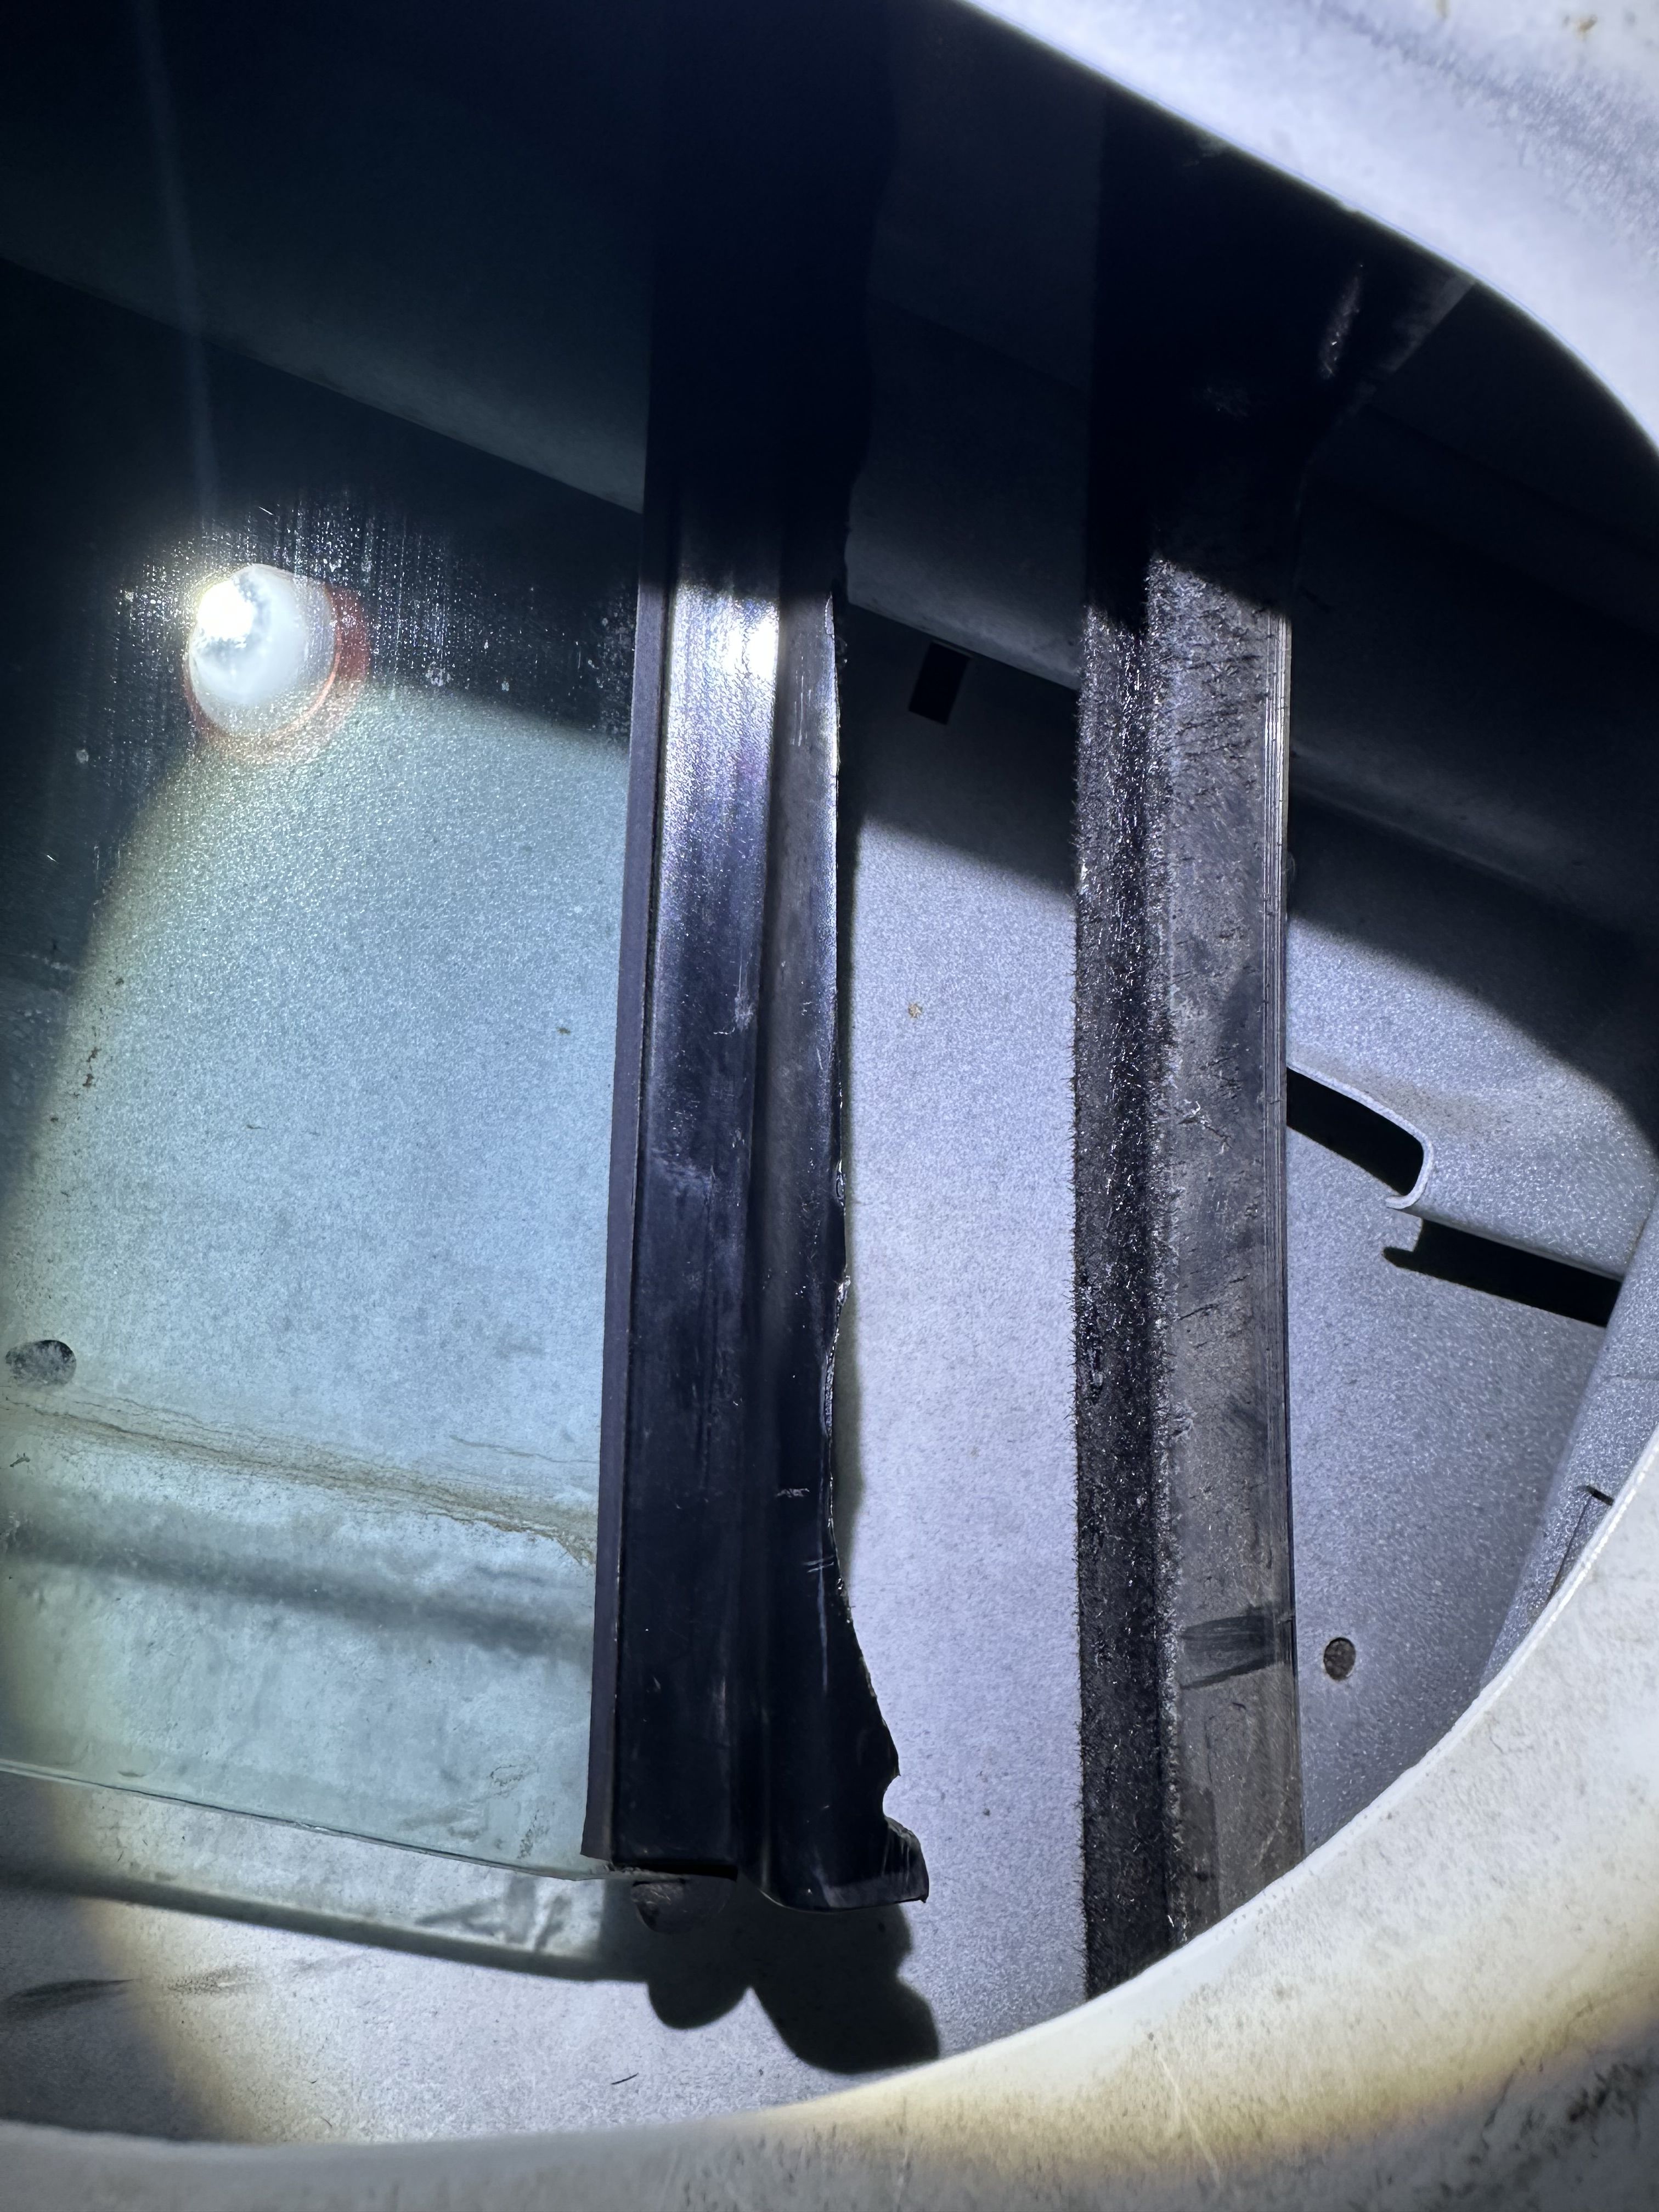
Oh ok I see the wheel in the channel now. That makes things a little simpler. But after looking into it a little more I’ve encountered another problem. One of the black guides for the glass is broken. Can these parts still be found or am I SOL?
-
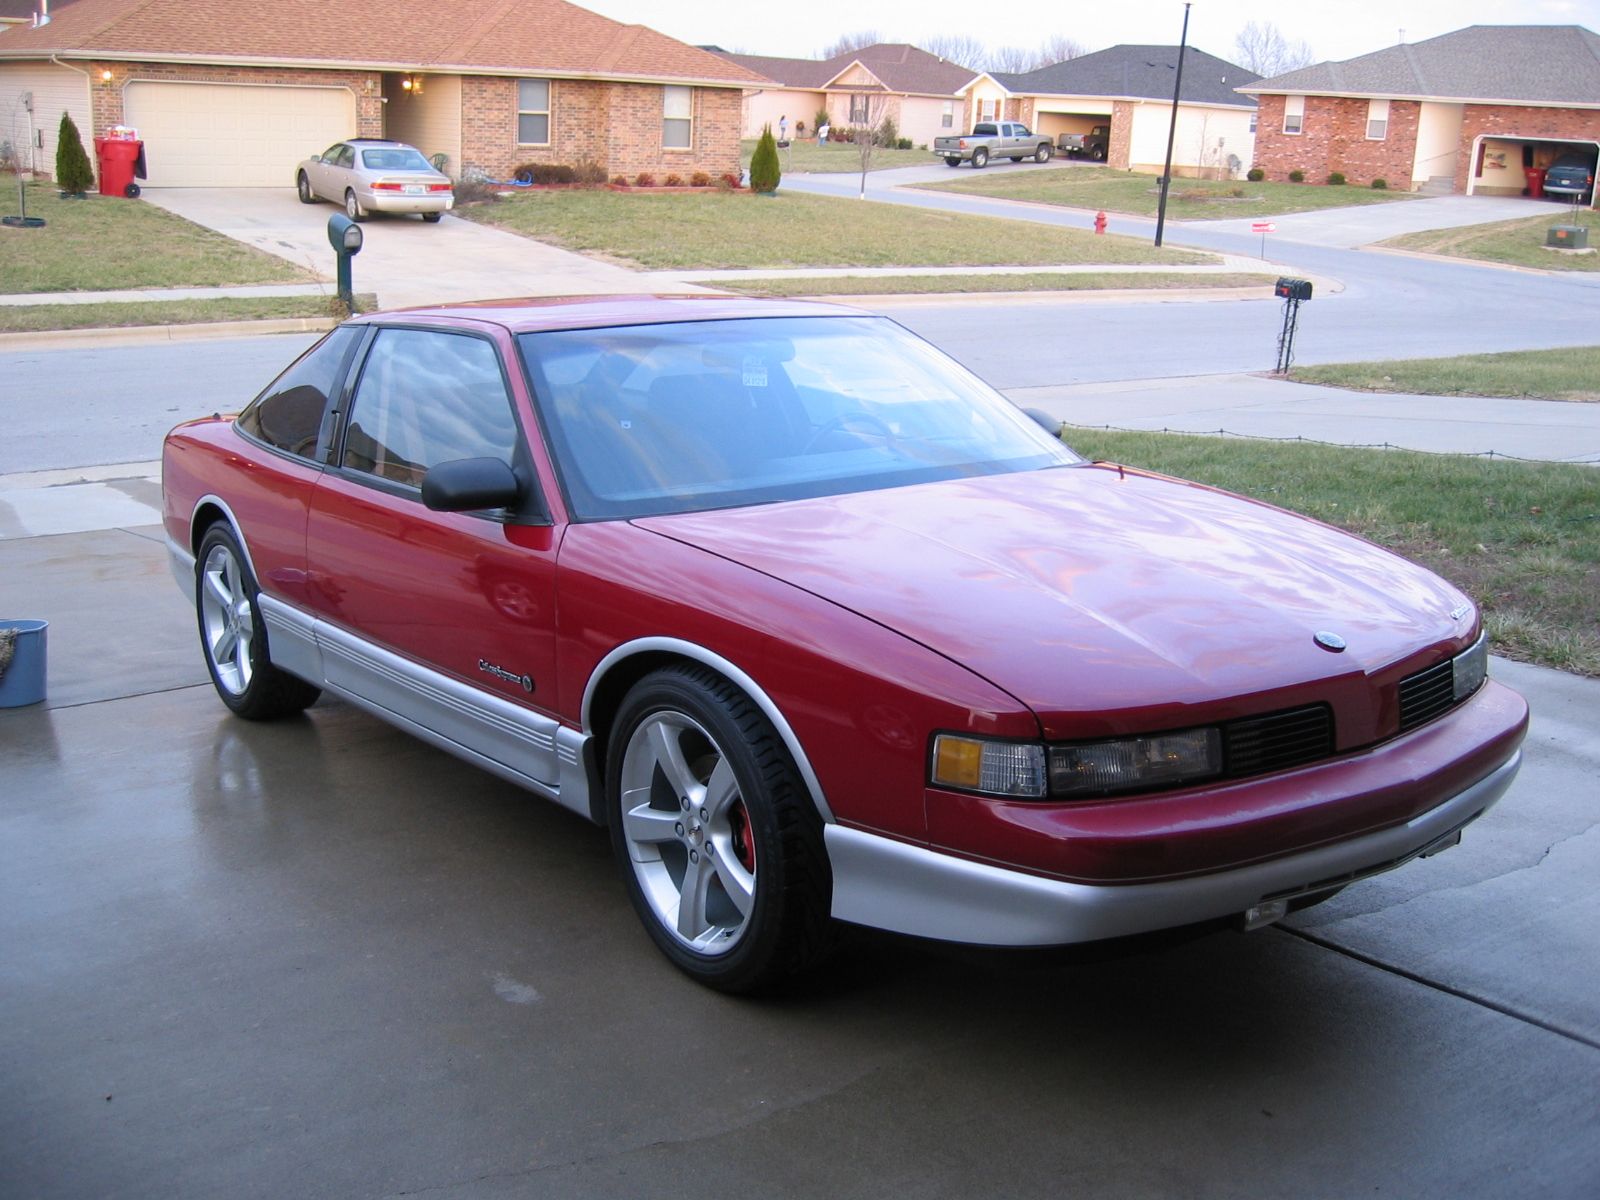
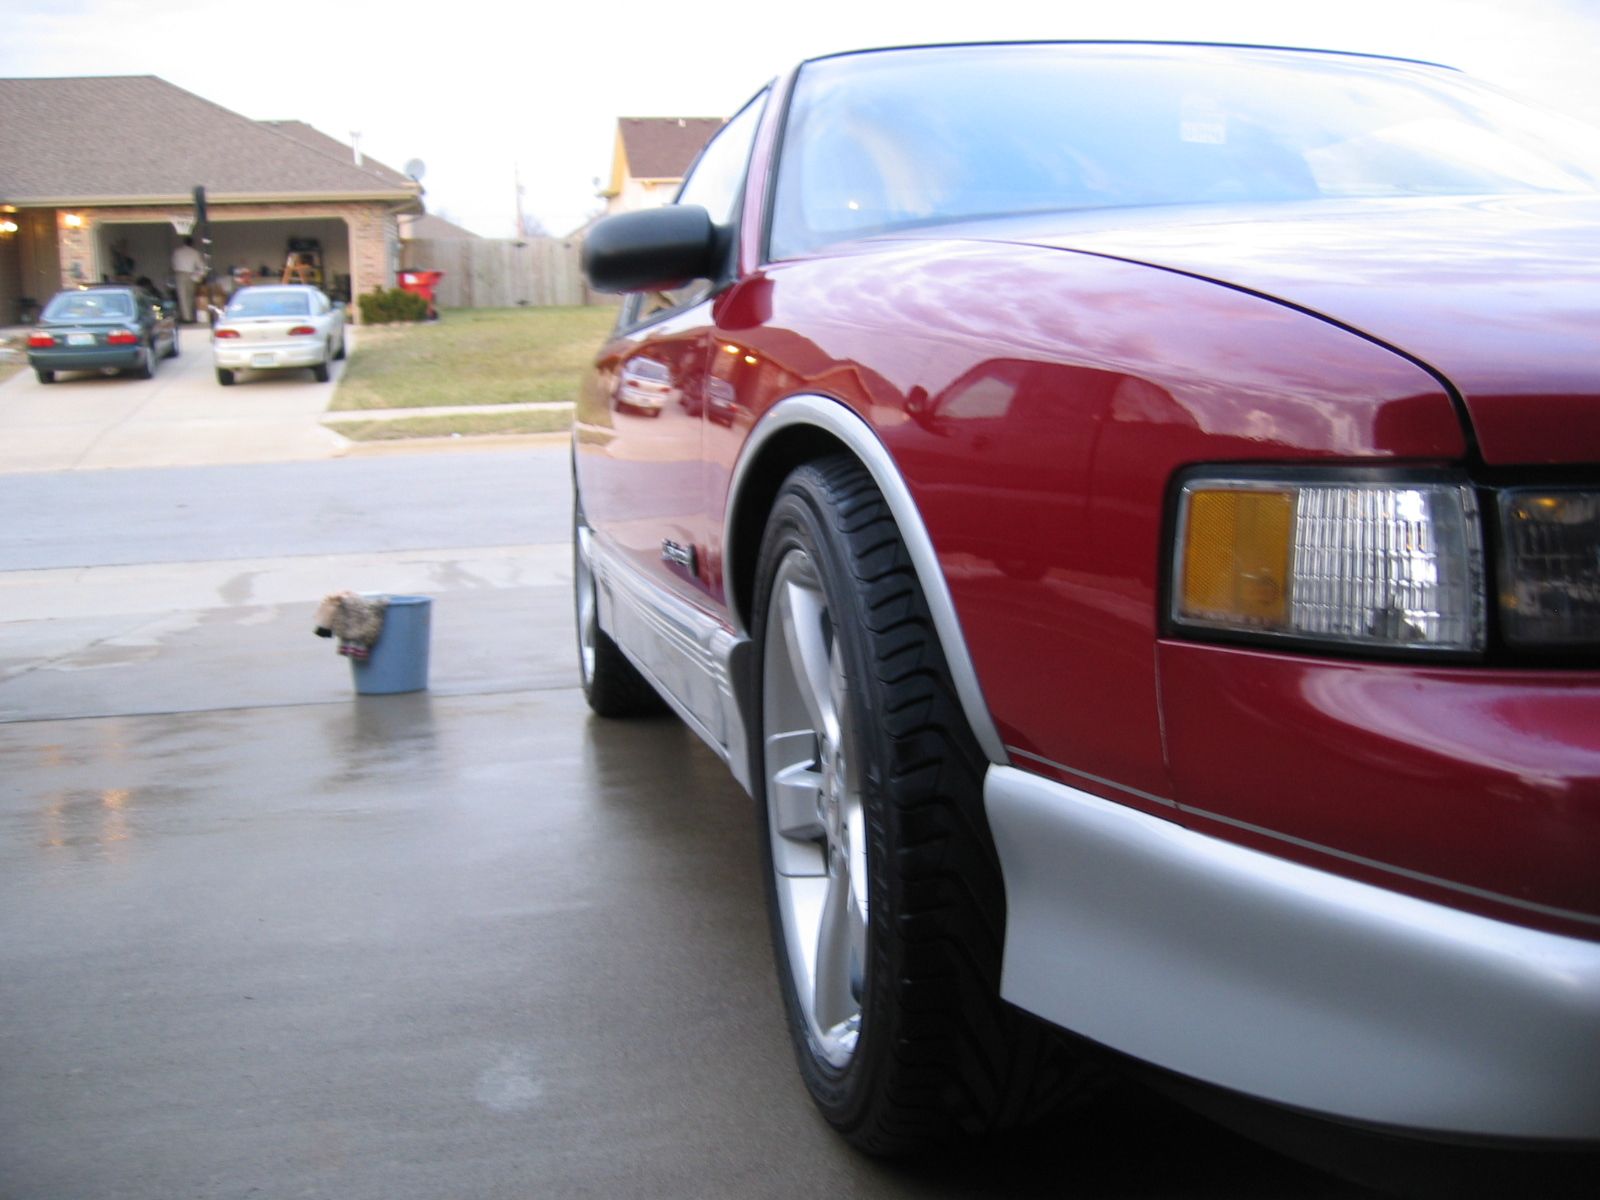
cutlass wheel fitment
GnatGoSplat replied to 97cutty's topic in Brakes/Suspension/Steering/Wheels/Tires
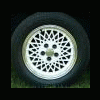
18x8 +42 with 5mm spacer = +37. Needed spacers to clear the front calipers, and I didn't want the rear to look more tucked than the front, so I put spacers on the rear just to match. Your tires would stick out 7mm more than mine if you go for 245-wide.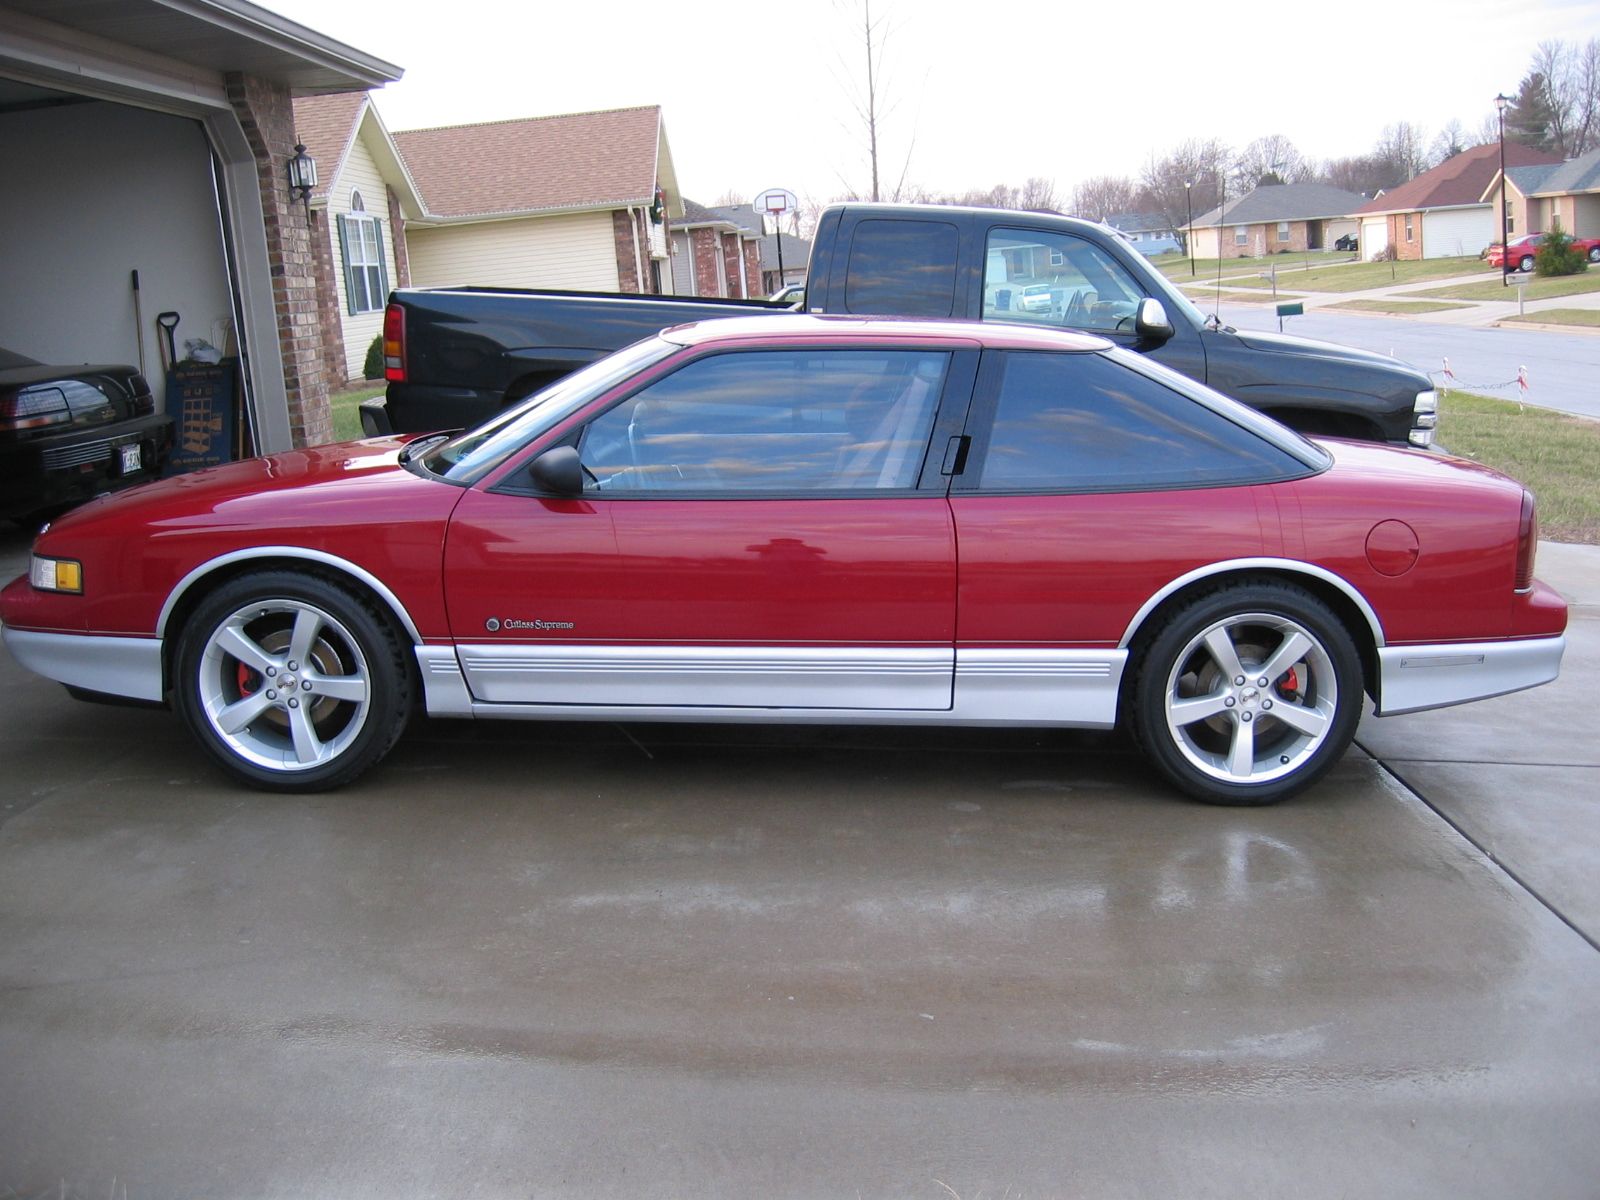
-
I've done this on an '88, you don't have to remove the glass. Just put something over the window frame and tape the glass up. The lift arm has a wheel that rolls horizontally in a channel. Once you've got the regulator loose, you can move the lift arm far enough to the side that the wheel will come out of the channel and the regulator will be completely loose in the door. Monte looks a little different. https://charm.li/Chevrolet/1995/Monte Carlo V6-204 3.4L DOHC VIN X SFI/Repair and Diagnosis/Windows and Glass/Windows/Window Regulator/Service and Repair/Window Regulator/Regulator/
-
89 Oldsmobile Cutlass Supreme door armrests sticky and gooey
GnatGoSplat replied to GnatGoSplat's topic in Appearance/Car Care
Discoloration never even occurred to me. I don't think it's discoloring in the Cutlass yet. Yeah, I strongly suspect heat also plays a big part. It's been garaged over 24-years, thought it did spend ~10 hours a day during the Spring/Summer/Fall out in full sun for 19 of those years. It was 100% outdoors for 8+ years before that. I don't know if that's enough cumulative UV to cause this kind of vinyl decomposition. My garage does get really hot in the summer though. About 10-degrees over ambient, 15-20 if I've driven any of the cars, as the hot engine makes the garage even hotter. I've seen rubber belts in VCRs and cassette decks literally turn to black goo when stored in a hot garage, and that kind of equipment almost never sees sunlight. Seriously thinking maybe I need to install a mini split in my garage. -
That's impressive for a MI car. It must have not have been driven in the winter.
-
I've never seen those not on a Buick/Oldsmobile. I assume it was a way to get a softer ride for the "luxury" brand cars
- Earlier
-
Interesting. I think it's an early W body thing and dependent on whether it's a sedan, coupe, or convertible, (Cutlass line of course). I think the newer cars maybe starting in 94 on...again, depending on body style, they just got a combination of those items. 55trucker would know I bet.
-
Yes, those figure 8 shaped springs cushioning the lateral links. My `94 3100 CS only has these aux. springs while my `95 LQ1 Vert and TGP only have a rear sway bar. I thought it was one or the other and the two parts were not installed together. They must help "soften" the handling in the back in a way to give a smoother feel, at least thats the impression I feel when driving the `94 CS and TGP.
-
Well it looks like the glass is even riveted to the lift arm which is why I was considering lifting the whole thing out. They really liked their rivets back then.
-
Thank you!
-
Thank you! I am part of the 5th generation group! But will have to take a look at adding the other one. It should make for a fun project for now!
-
Why worry about it? the only way that one can change the controlling of the fans is to reprogram the PCM.
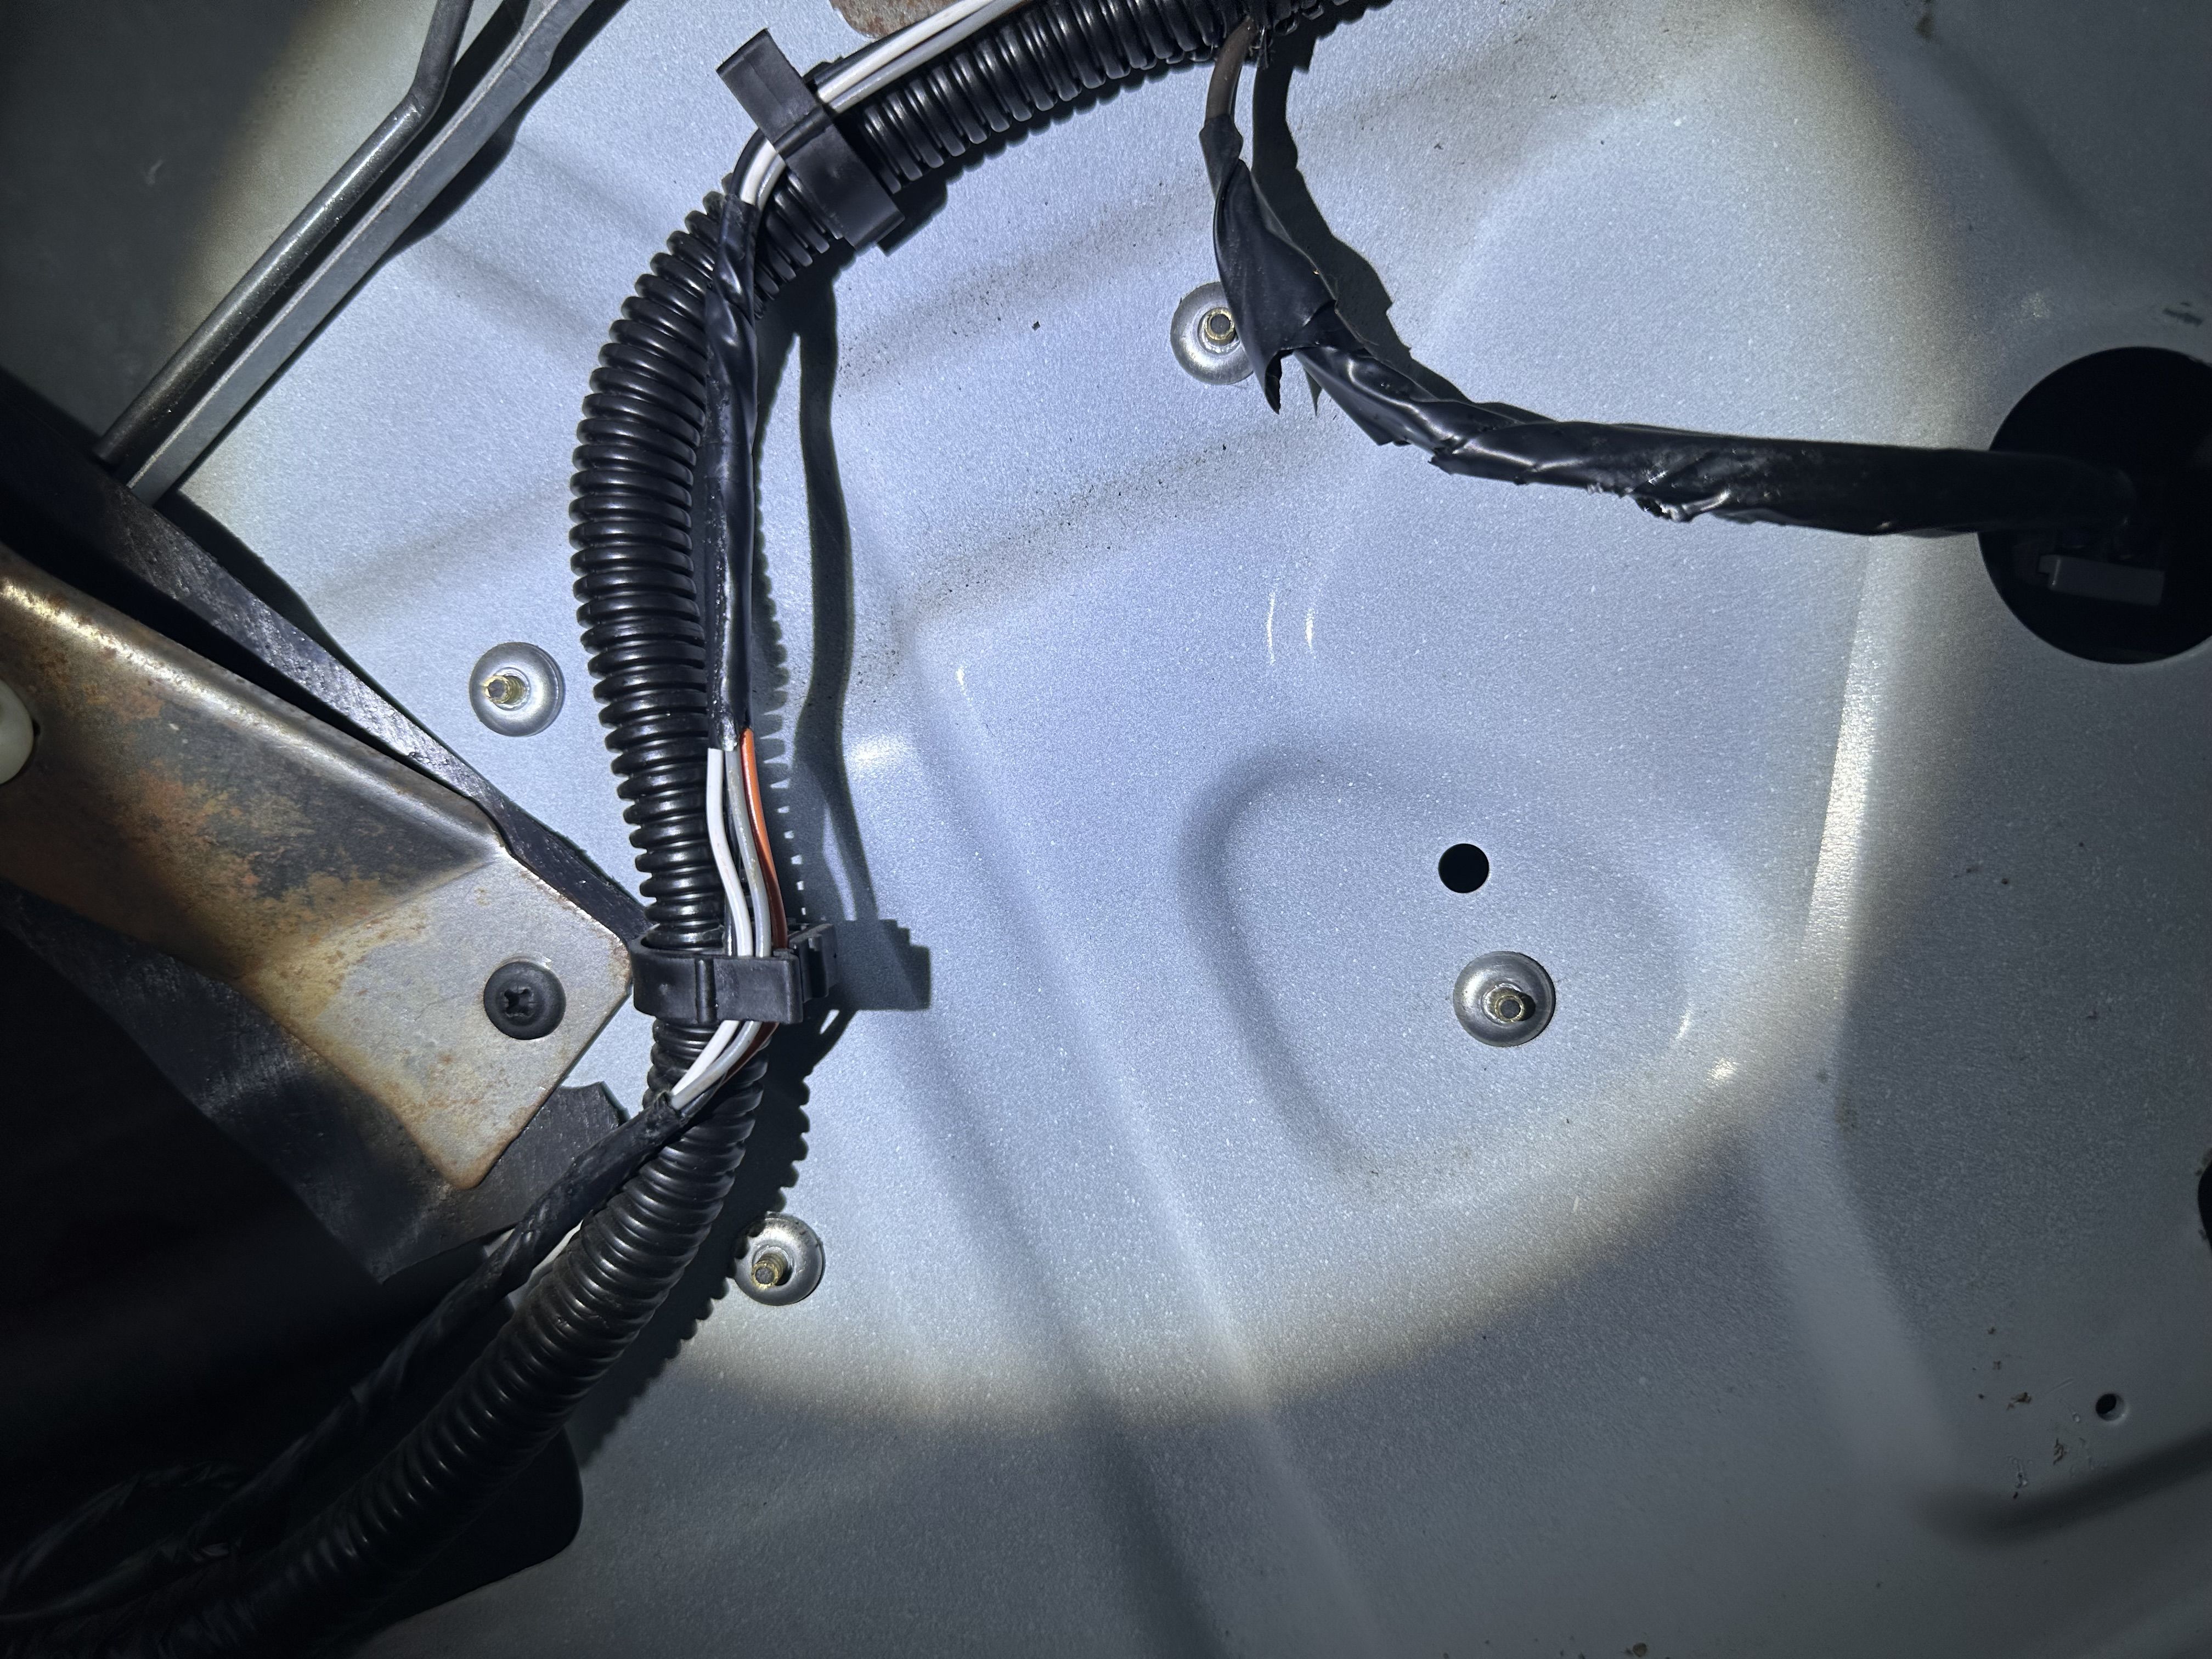
-
all wiring is connected. no one talks about free sensors and connectors. the question is in the logic of turning on the cooling fans.