All Activity
- Past hour
-

Need to know some info about replacing the strut cartridge?
89-W-Body-Regal replied to 89-W-Body-Regal's topic in Brakes/Suspension/Steering/Wheels/Tires
Which kit is this? Any brand names I can buy with everything I need? One kit i bought was kent moore that was originally used by GM Dealers when these cars were new. The tool service kit was missing tools so I had to buy some tools extra that weren't in the kit. When I didn't have luck removing the strut cartridges I sent it back. -
Need to know some info about replacing the strut cartridge?
89-W-Body-Regal replied to 89-W-Body-Regal's topic in Brakes/Suspension/Steering/Wheels/Tires
Which kit was that in and is that the nut from the cartridge that long tool fits over? -
Need to know some info about replacing the strut cartridge?
89-W-Body-Regal replied to 89-W-Body-Regal's topic in Brakes/Suspension/Steering/Wheels/Tires
I have this exact tool I bought off ebay with the nuts that tighten this down. Mine didn't fit because it was too tight. But you need to move the strut a little to the sides so this can fit down the strut tower ? -
Need to know some info about replacing the strut cartridge?
89-W-Body-Regal replied to 89-W-Body-Regal's topic in Brakes/Suspension/Steering/Wheels/Tires
Yes! that is the tool I was able to use as well. But I couldn't seem to fit the spanner nut down the strut tower hole because I didn't have any clearance to fit the nut socket in there. - Today
-
 architect reacted to a post in a topic:
Sitting 1995 Regal GS
architect reacted to a post in a topic:
Sitting 1995 Regal GS
-
primergray reacted to a post in a topic:
Sitting 1995 Regal GS
-
I don't remember having any shift interlock issues when my turn signal switch was bad...but I don't usually put it into gear less than a few seconds after startup and that was about 7 years ago.
-
primergray reacted to a post in a topic:
Sitting 1995 Regal GS
- Yesterday
-
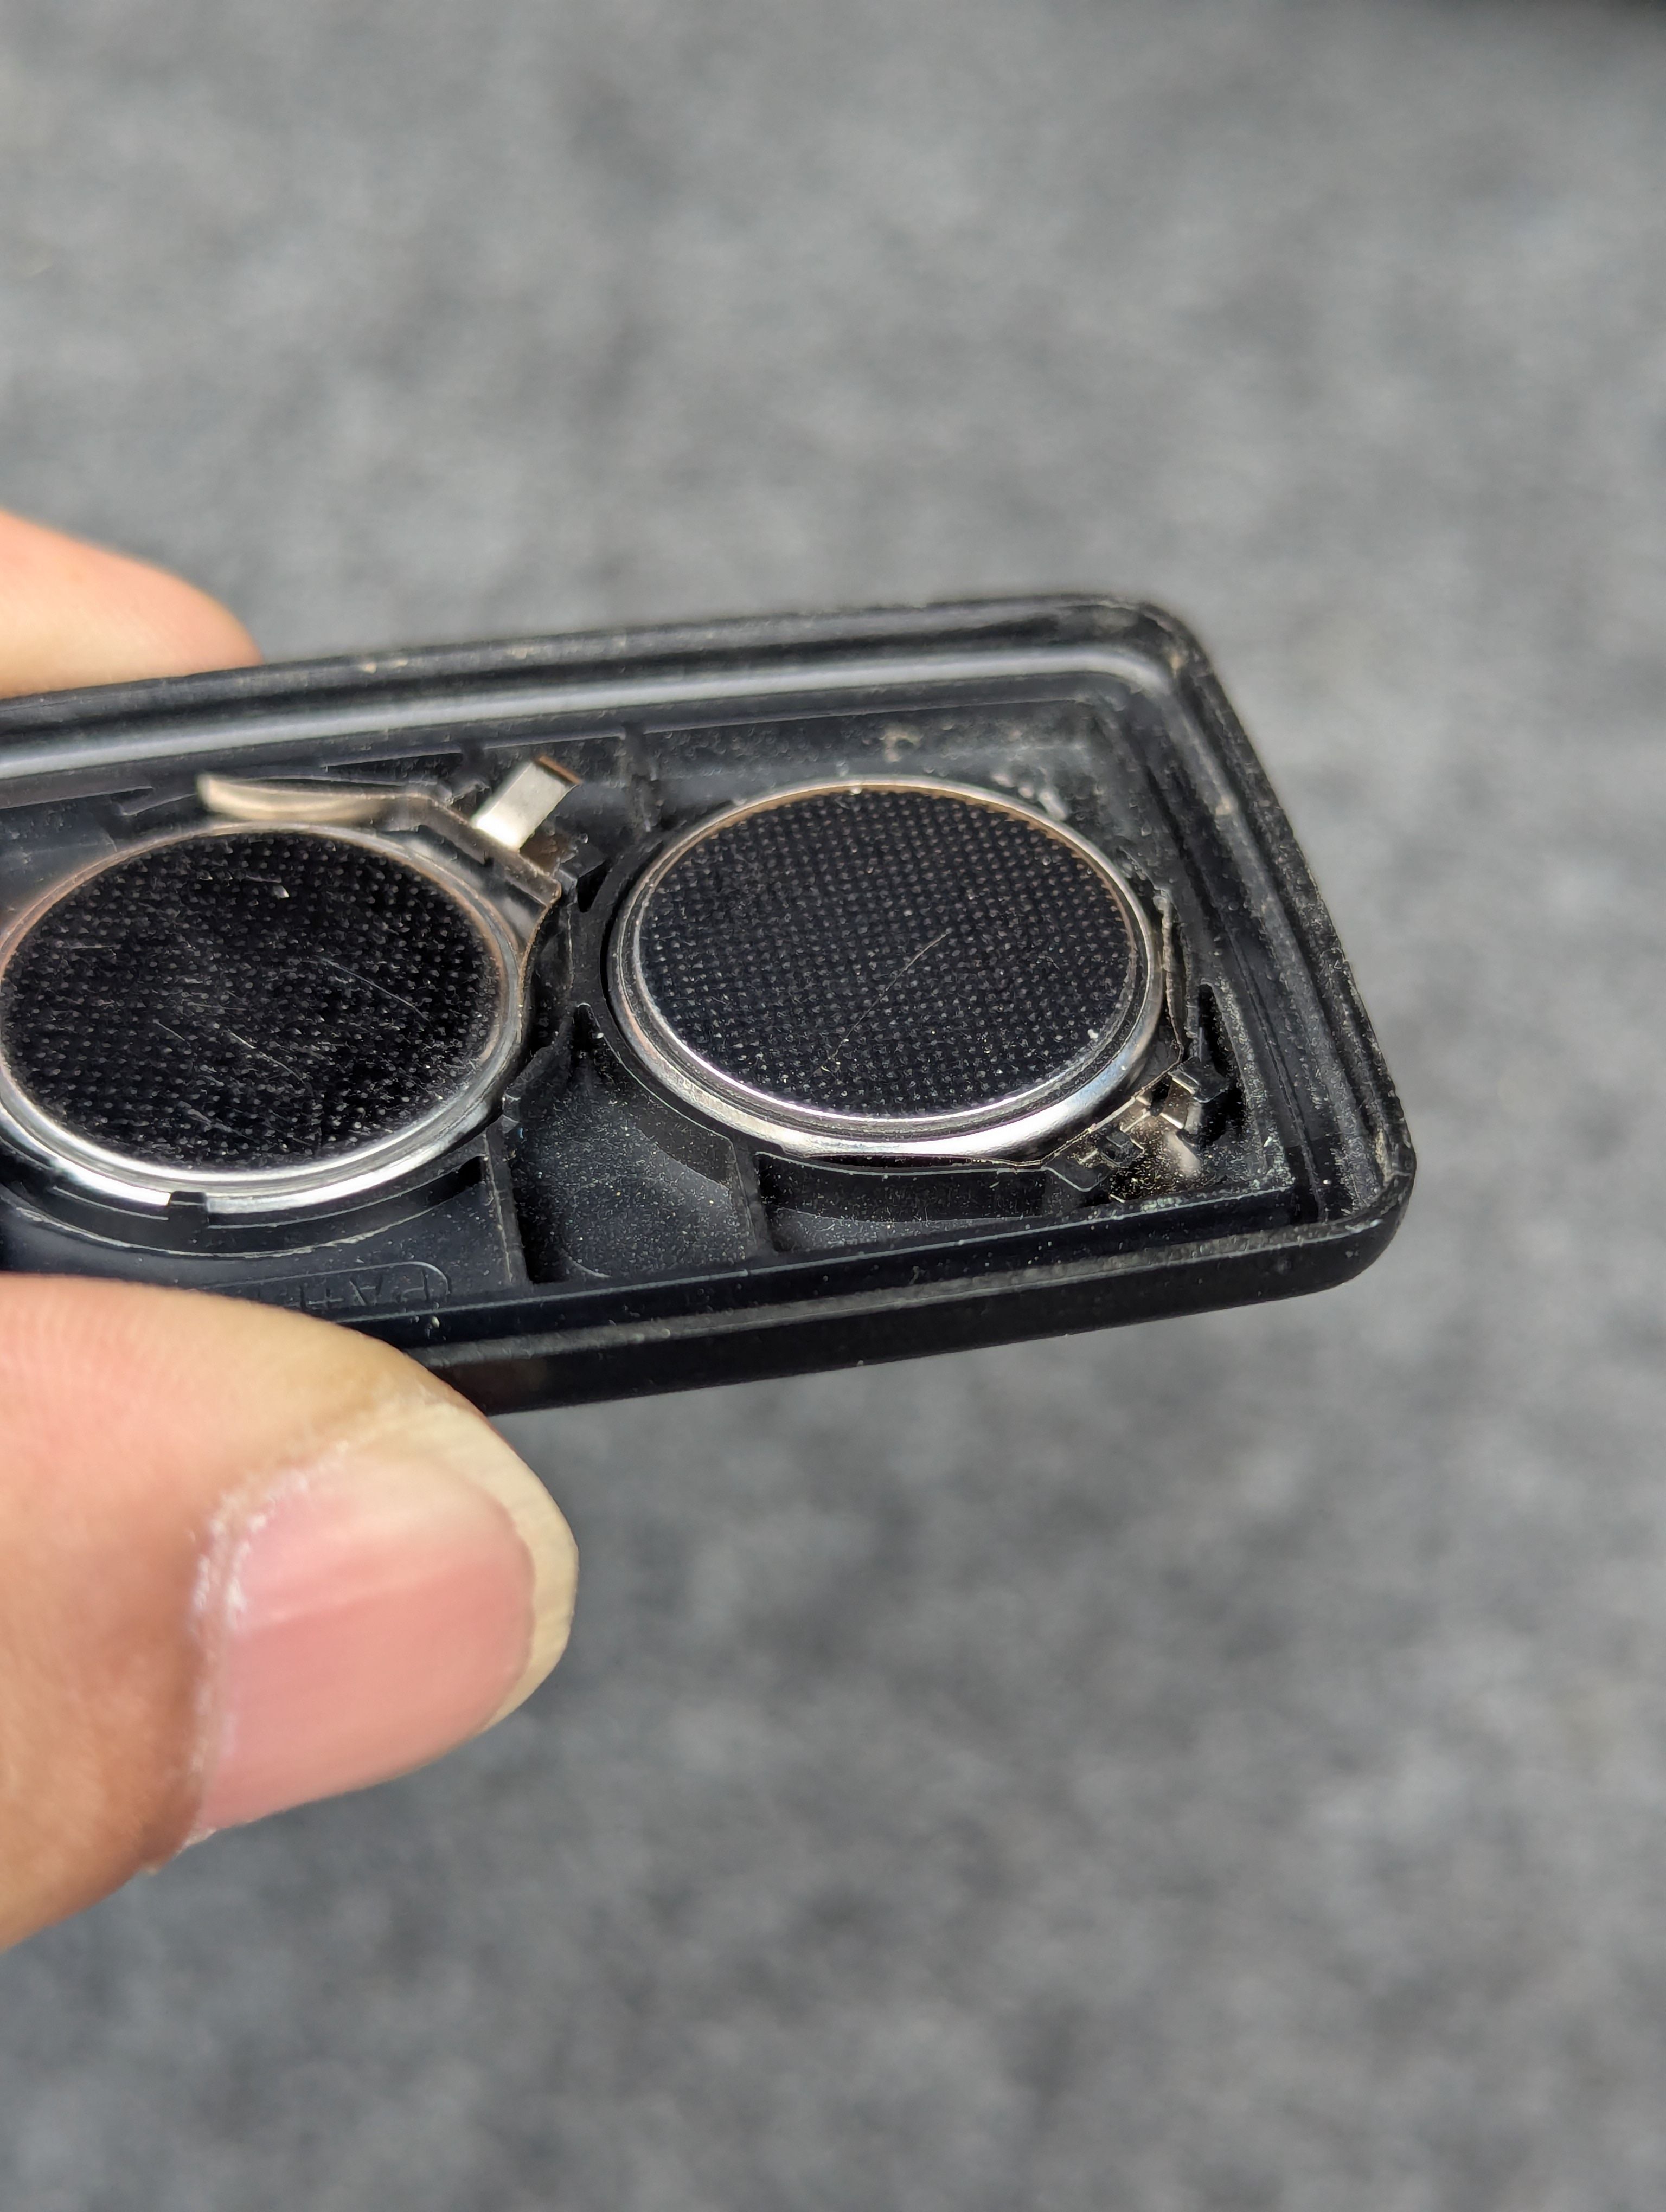
I noticed the metal tab was depressed on one of the batteries. Tab broke off as soon as I gently tried to pry it back upwards. Tab was barely hanging on. Does anyone know if these batteries run in parallel or series? If series then maybe this could the issue.
-
Locks cycling just means part of the receiver is okay. Doesn't necessarily mean it's receiving a signal correctly. I've had bad ones do that too. Although it's definitely easier to rule it in or out with multiple fobs.
-
Can't seem to reprogram my current fob. When in programming mode clicking any buttons on the fob do nothing. I'm definitely in programming mode because they locks activate when ground the b/w wires. New tested batteries in fob and the circuits look clean. Thoughts?
-
I grounded the black and white cable in the the trunk and the locks switched on and off so reciever is okay. Should have started with this test but learned something from ripping up the car. Now to figure if it's my fob or just gotta be programmed. Anyone have success with third party fobs?
-
 Corkscrew joined the community
 - Last week
-
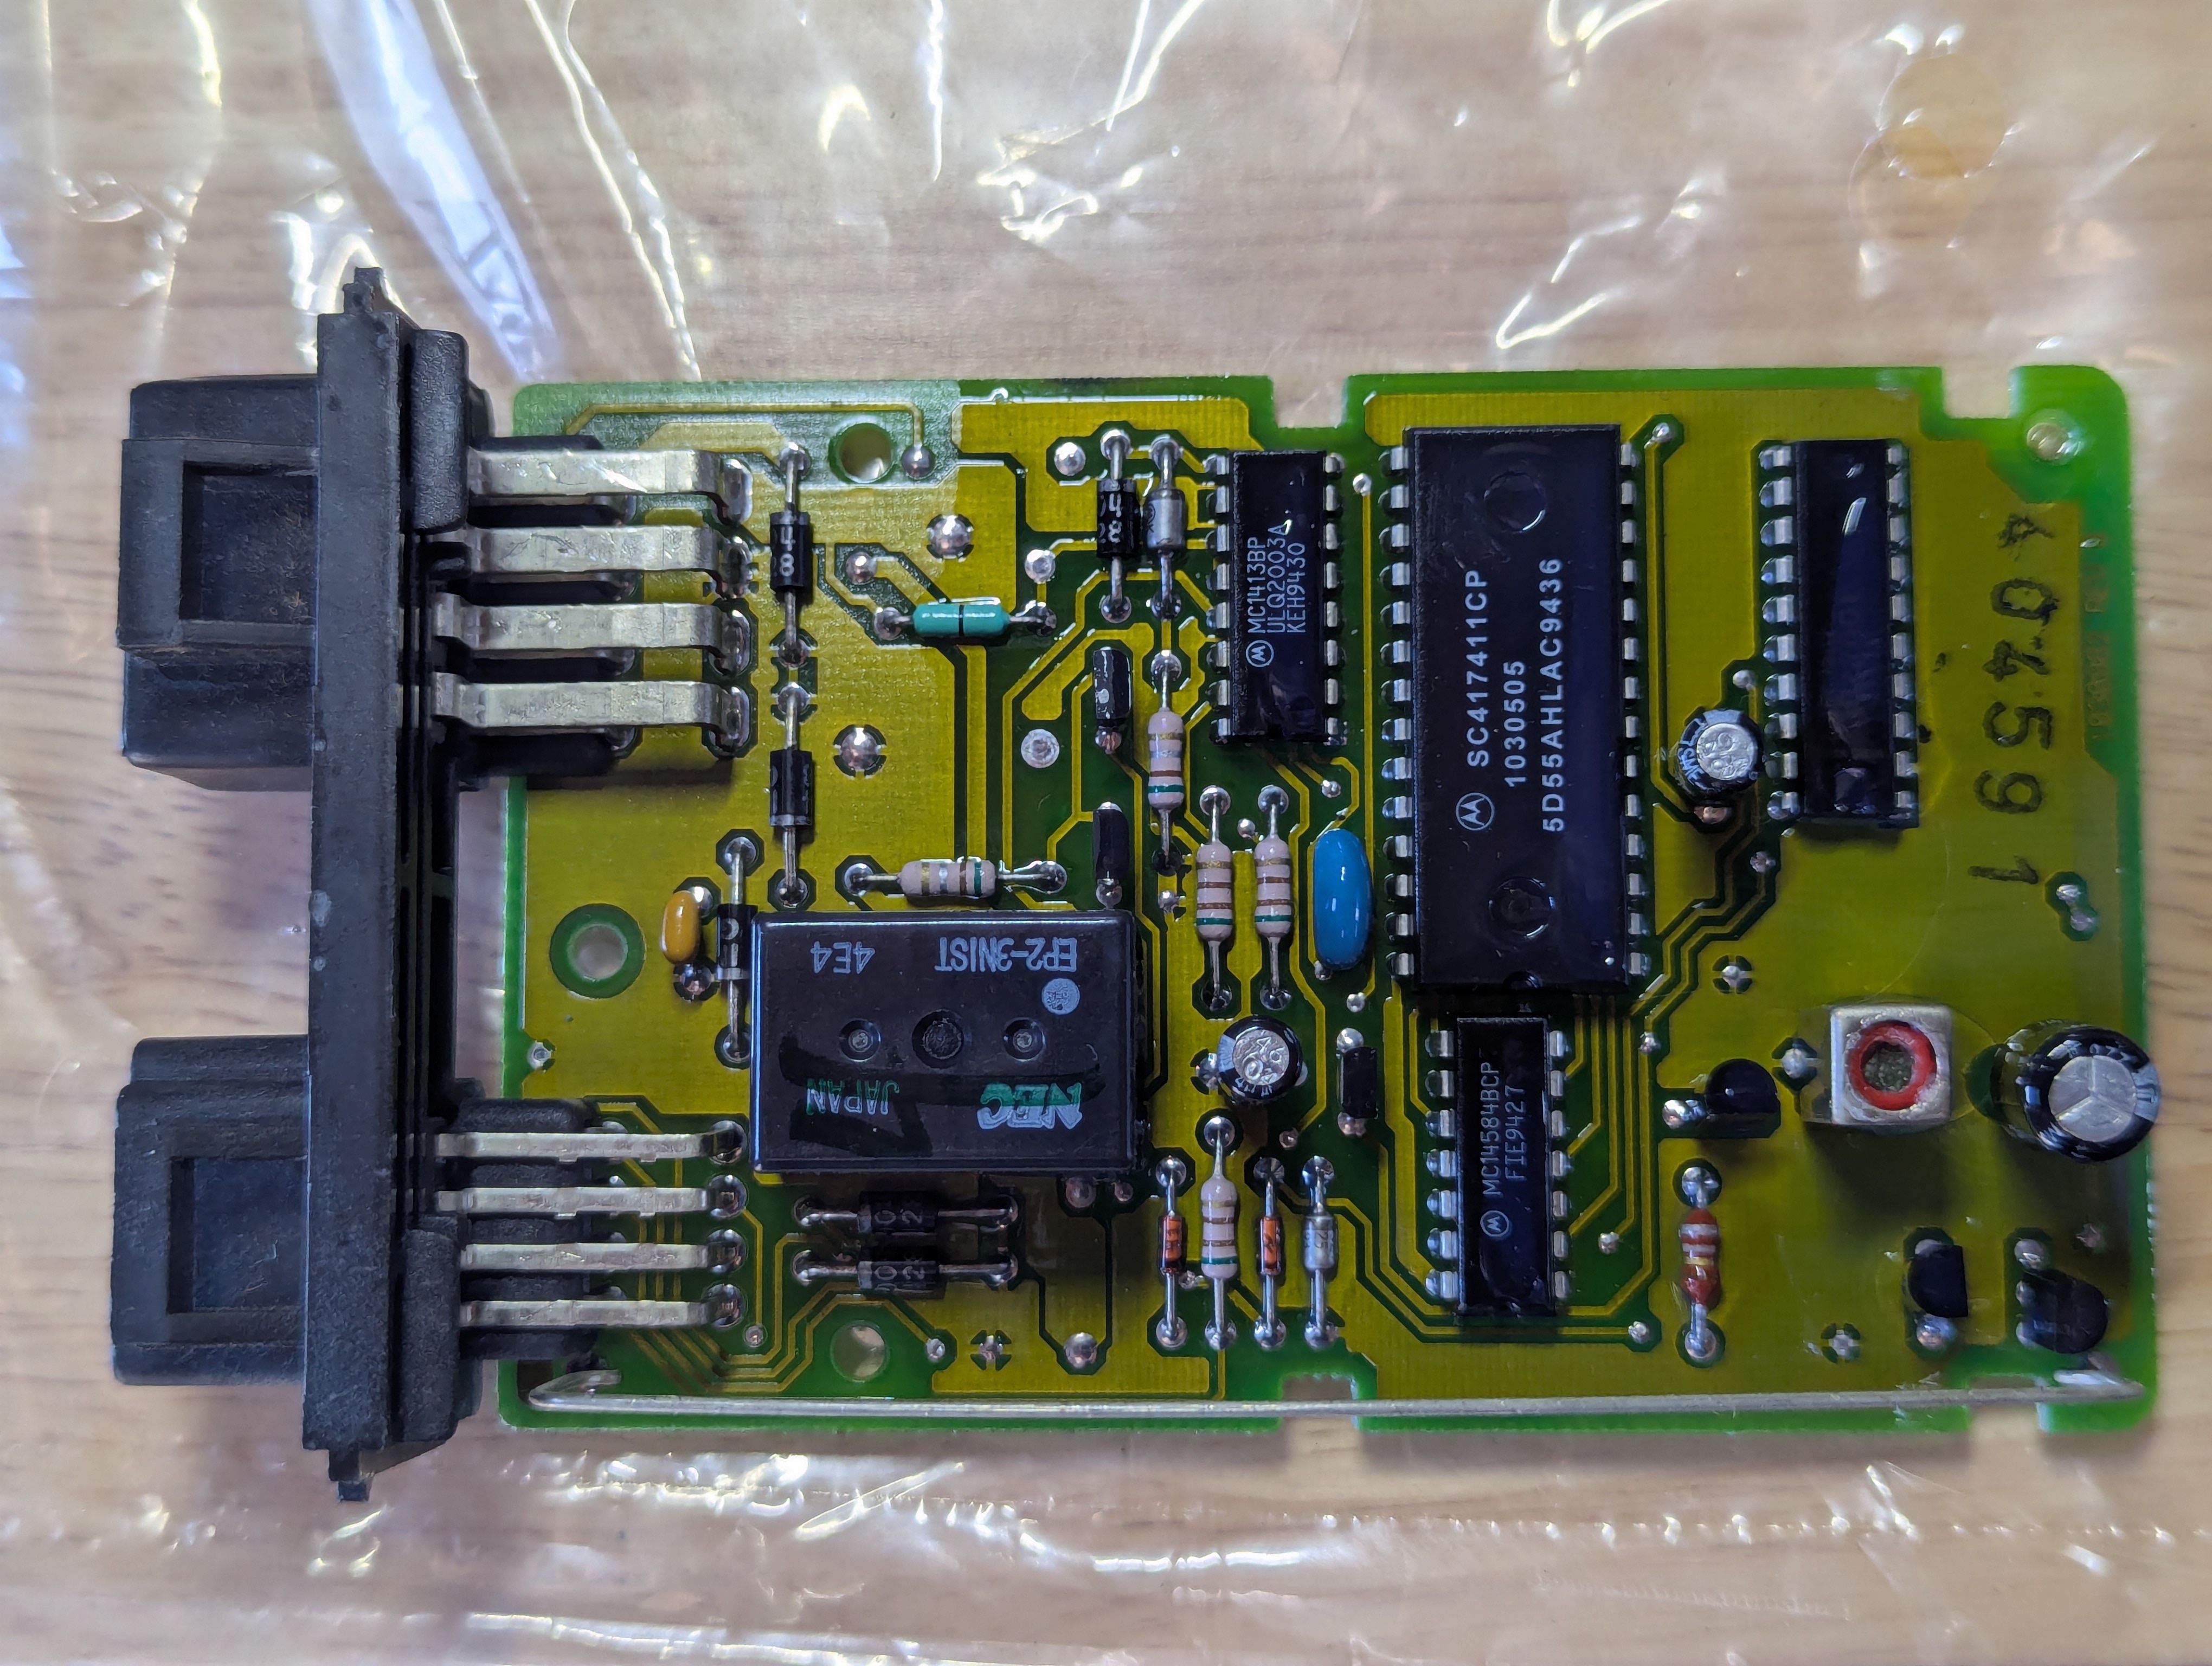
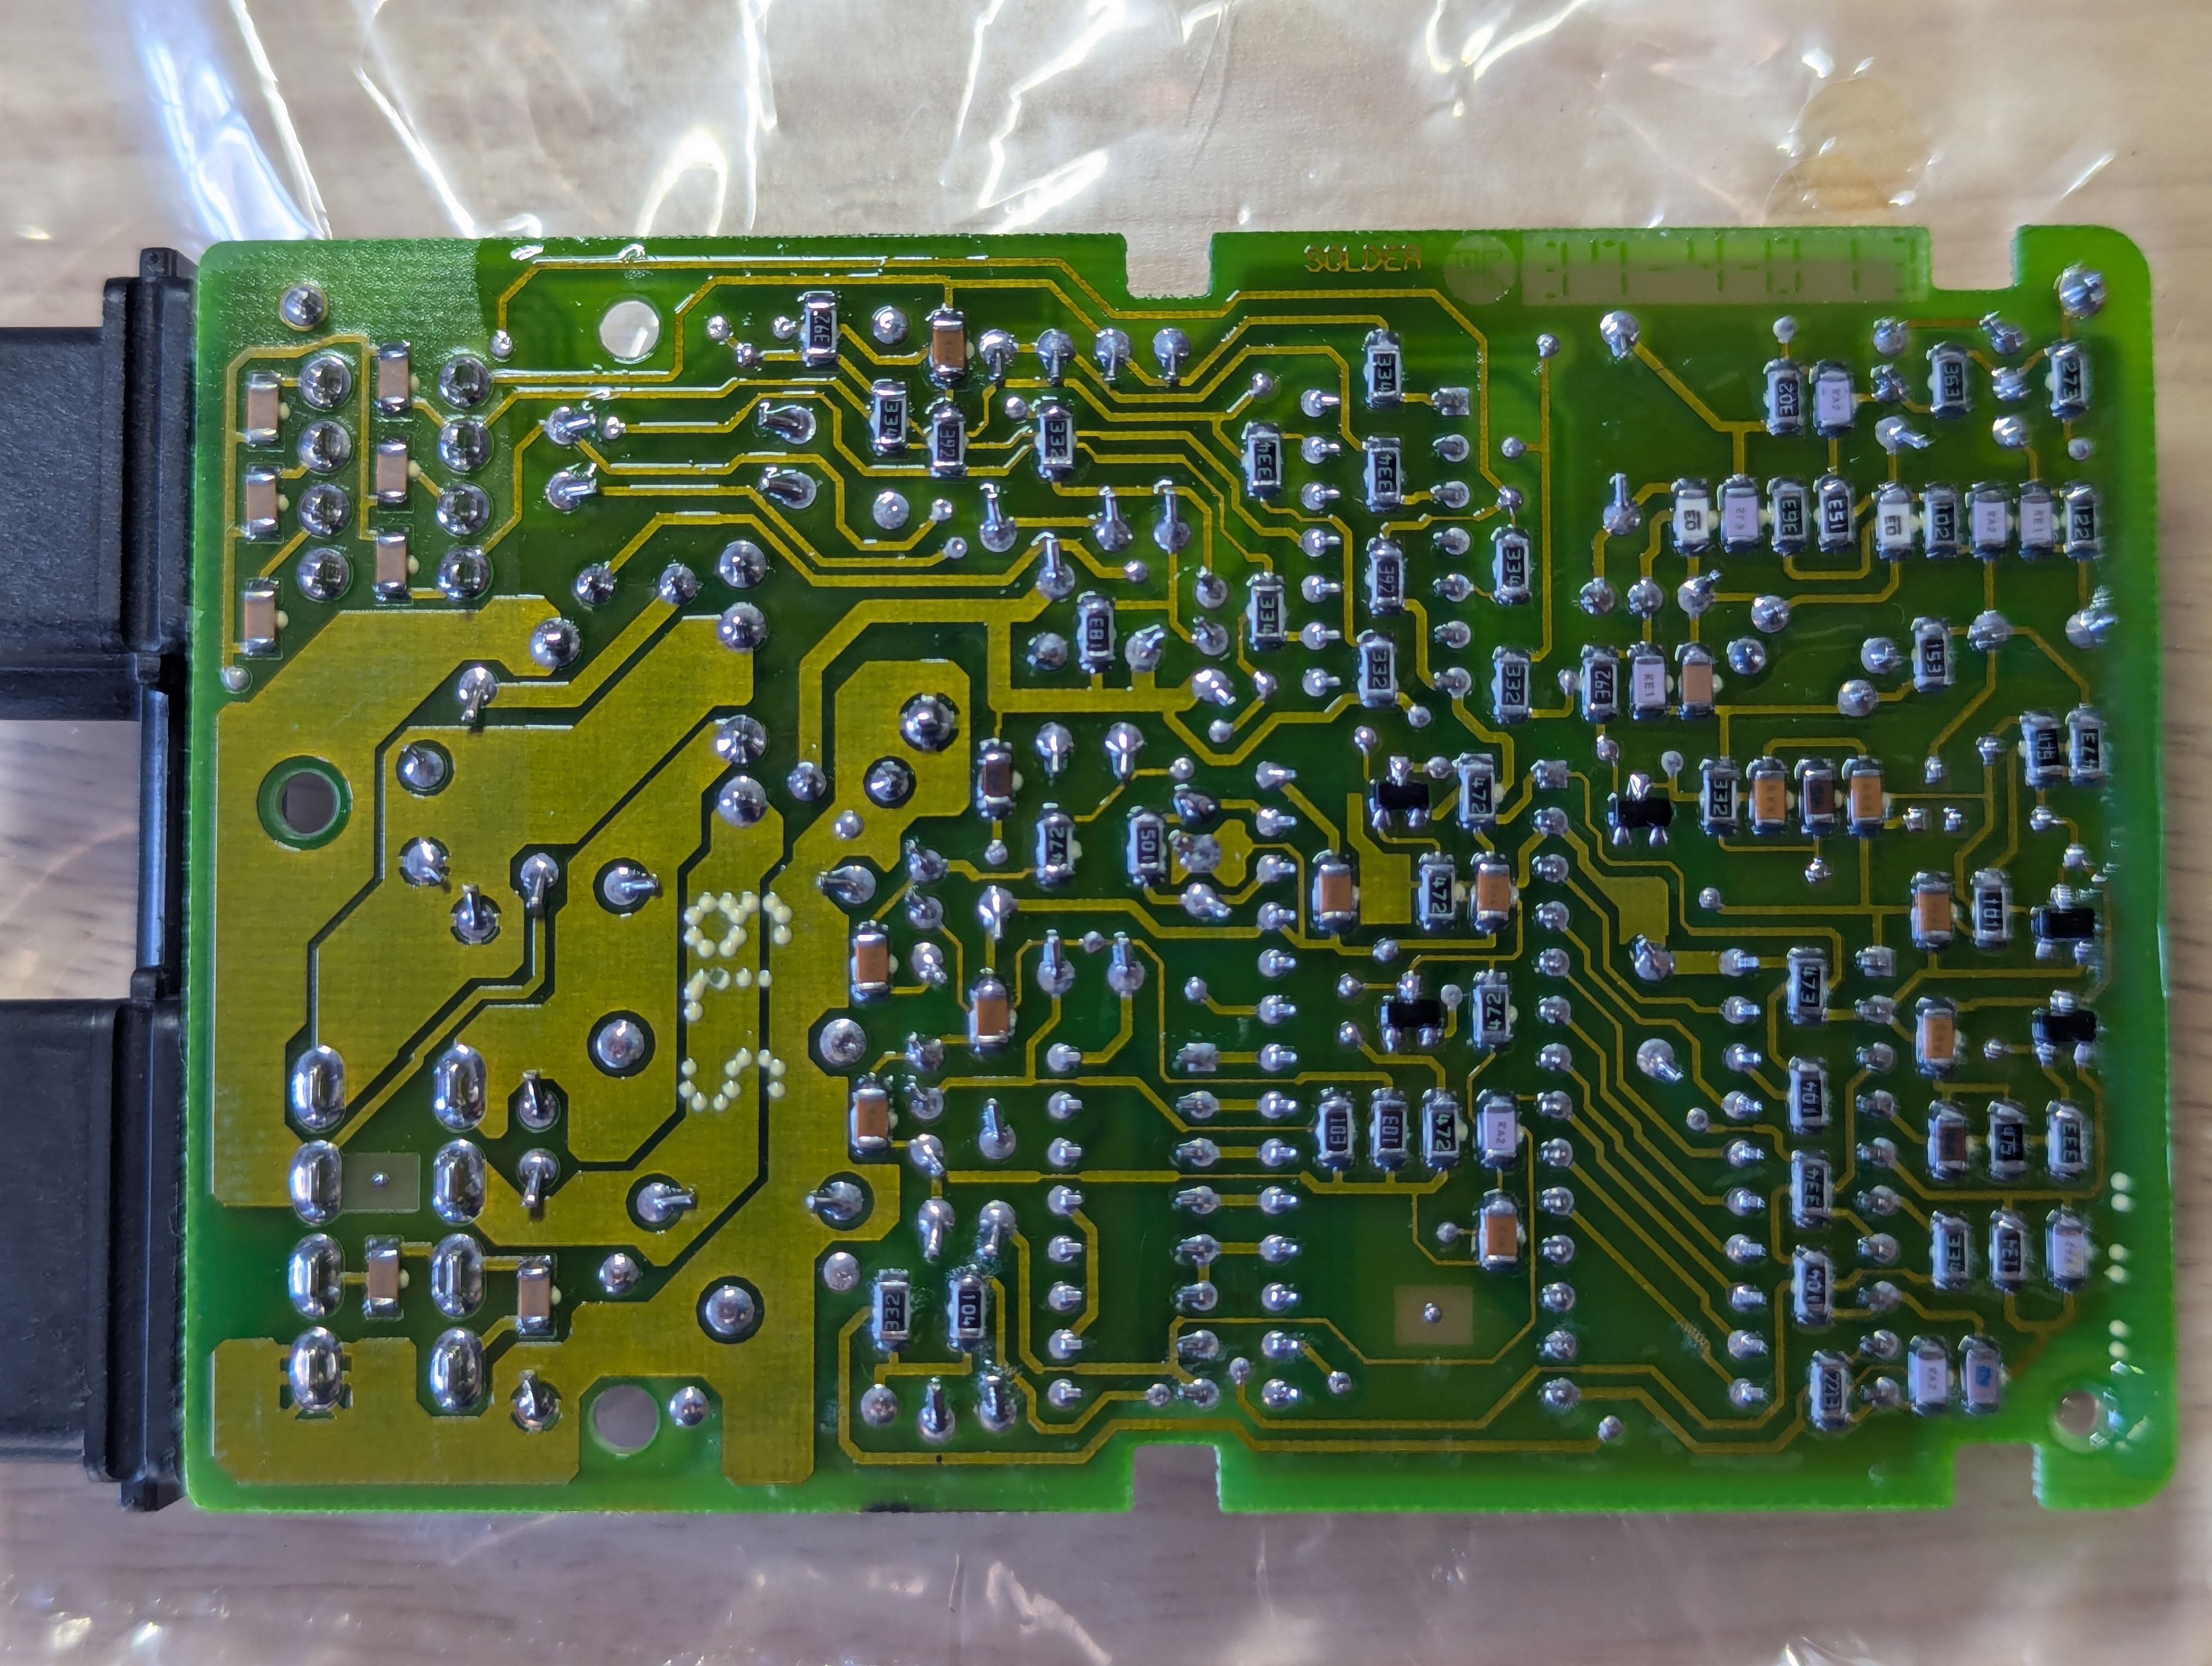
I've never been able to SEE the bad solder joints, and I think the glossy conformal coating would probably hide them if there were some. I've always just cleaned off the coating and resoldered the joints anyway. That's always worked. I think most people who have done it had the same experience.
-
The board looks pretty clean...can't see any damage at all and starting to doubt its this issue...?
-
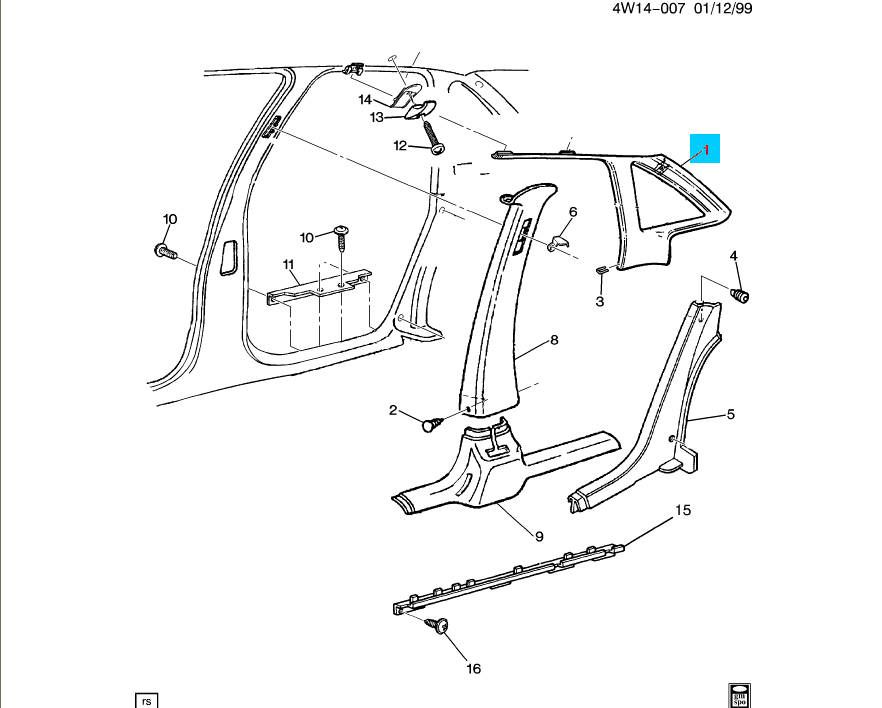
Thanks that diagram helps. Got my neighbor to help. Putting these photos up for anyone else that finds this thread. Two red clips at the top of door, one white xmas tree clip, and a clip on the inside of the car that requires you pull the panel forward to release.
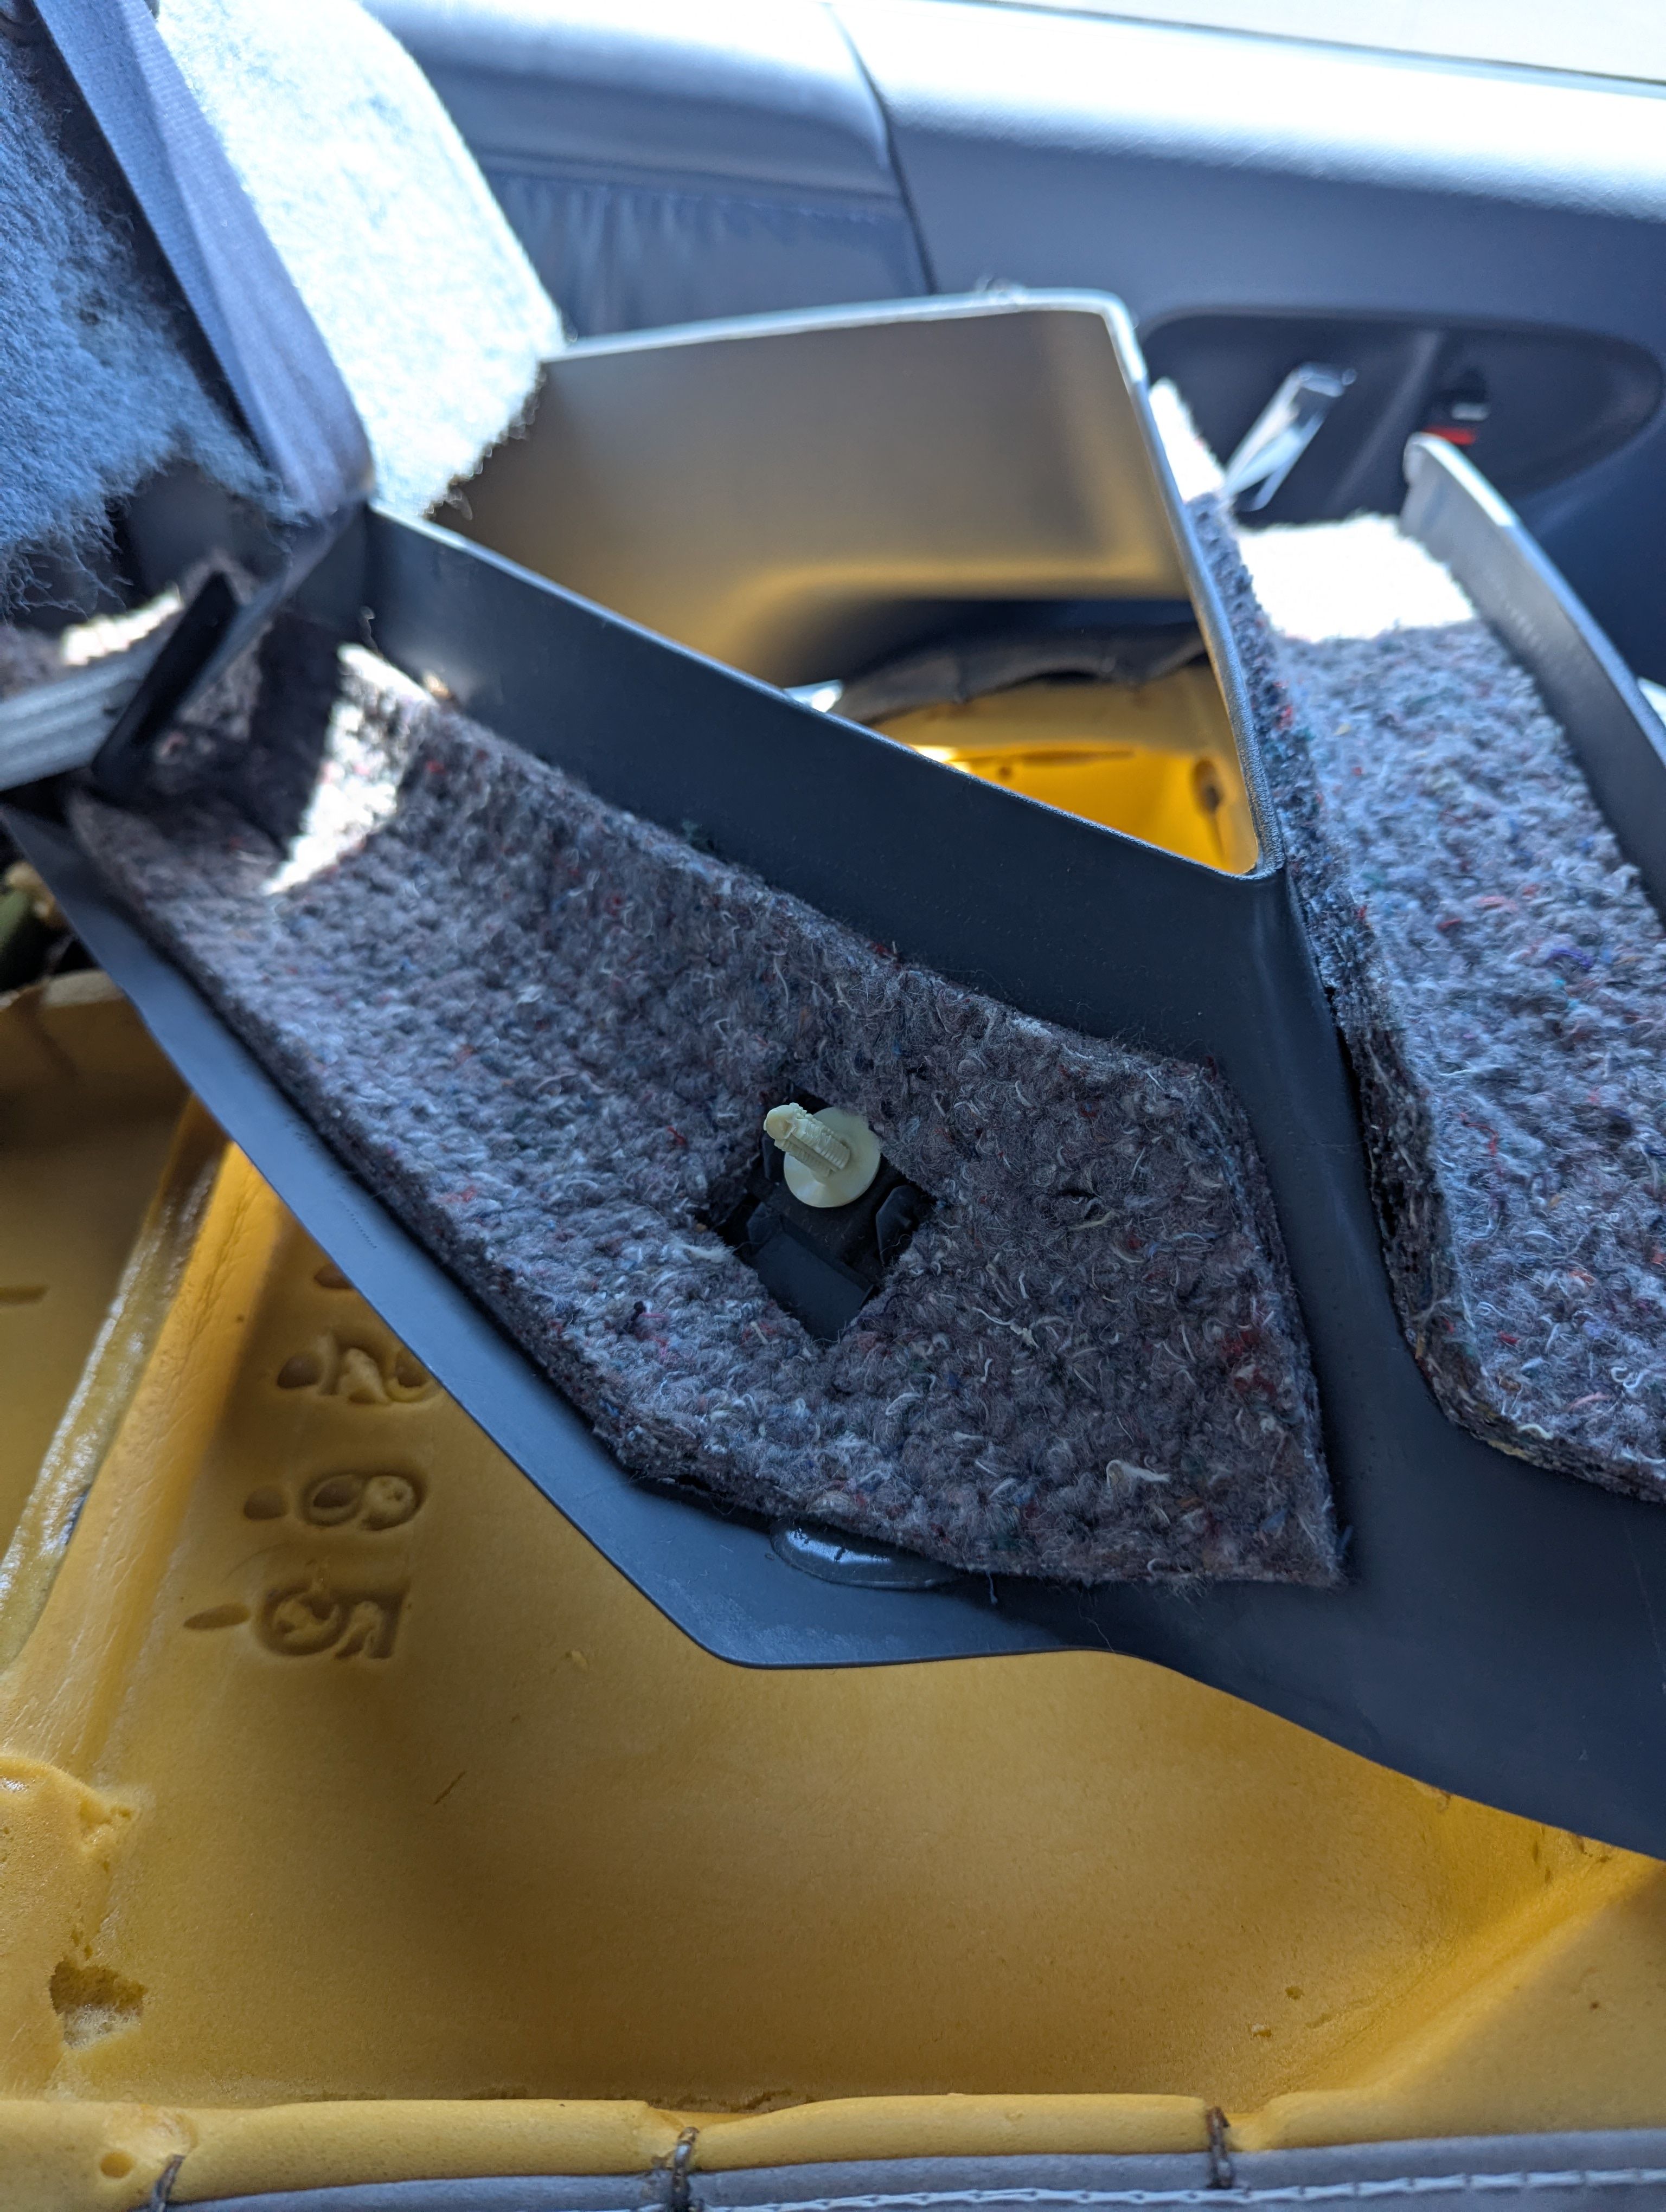
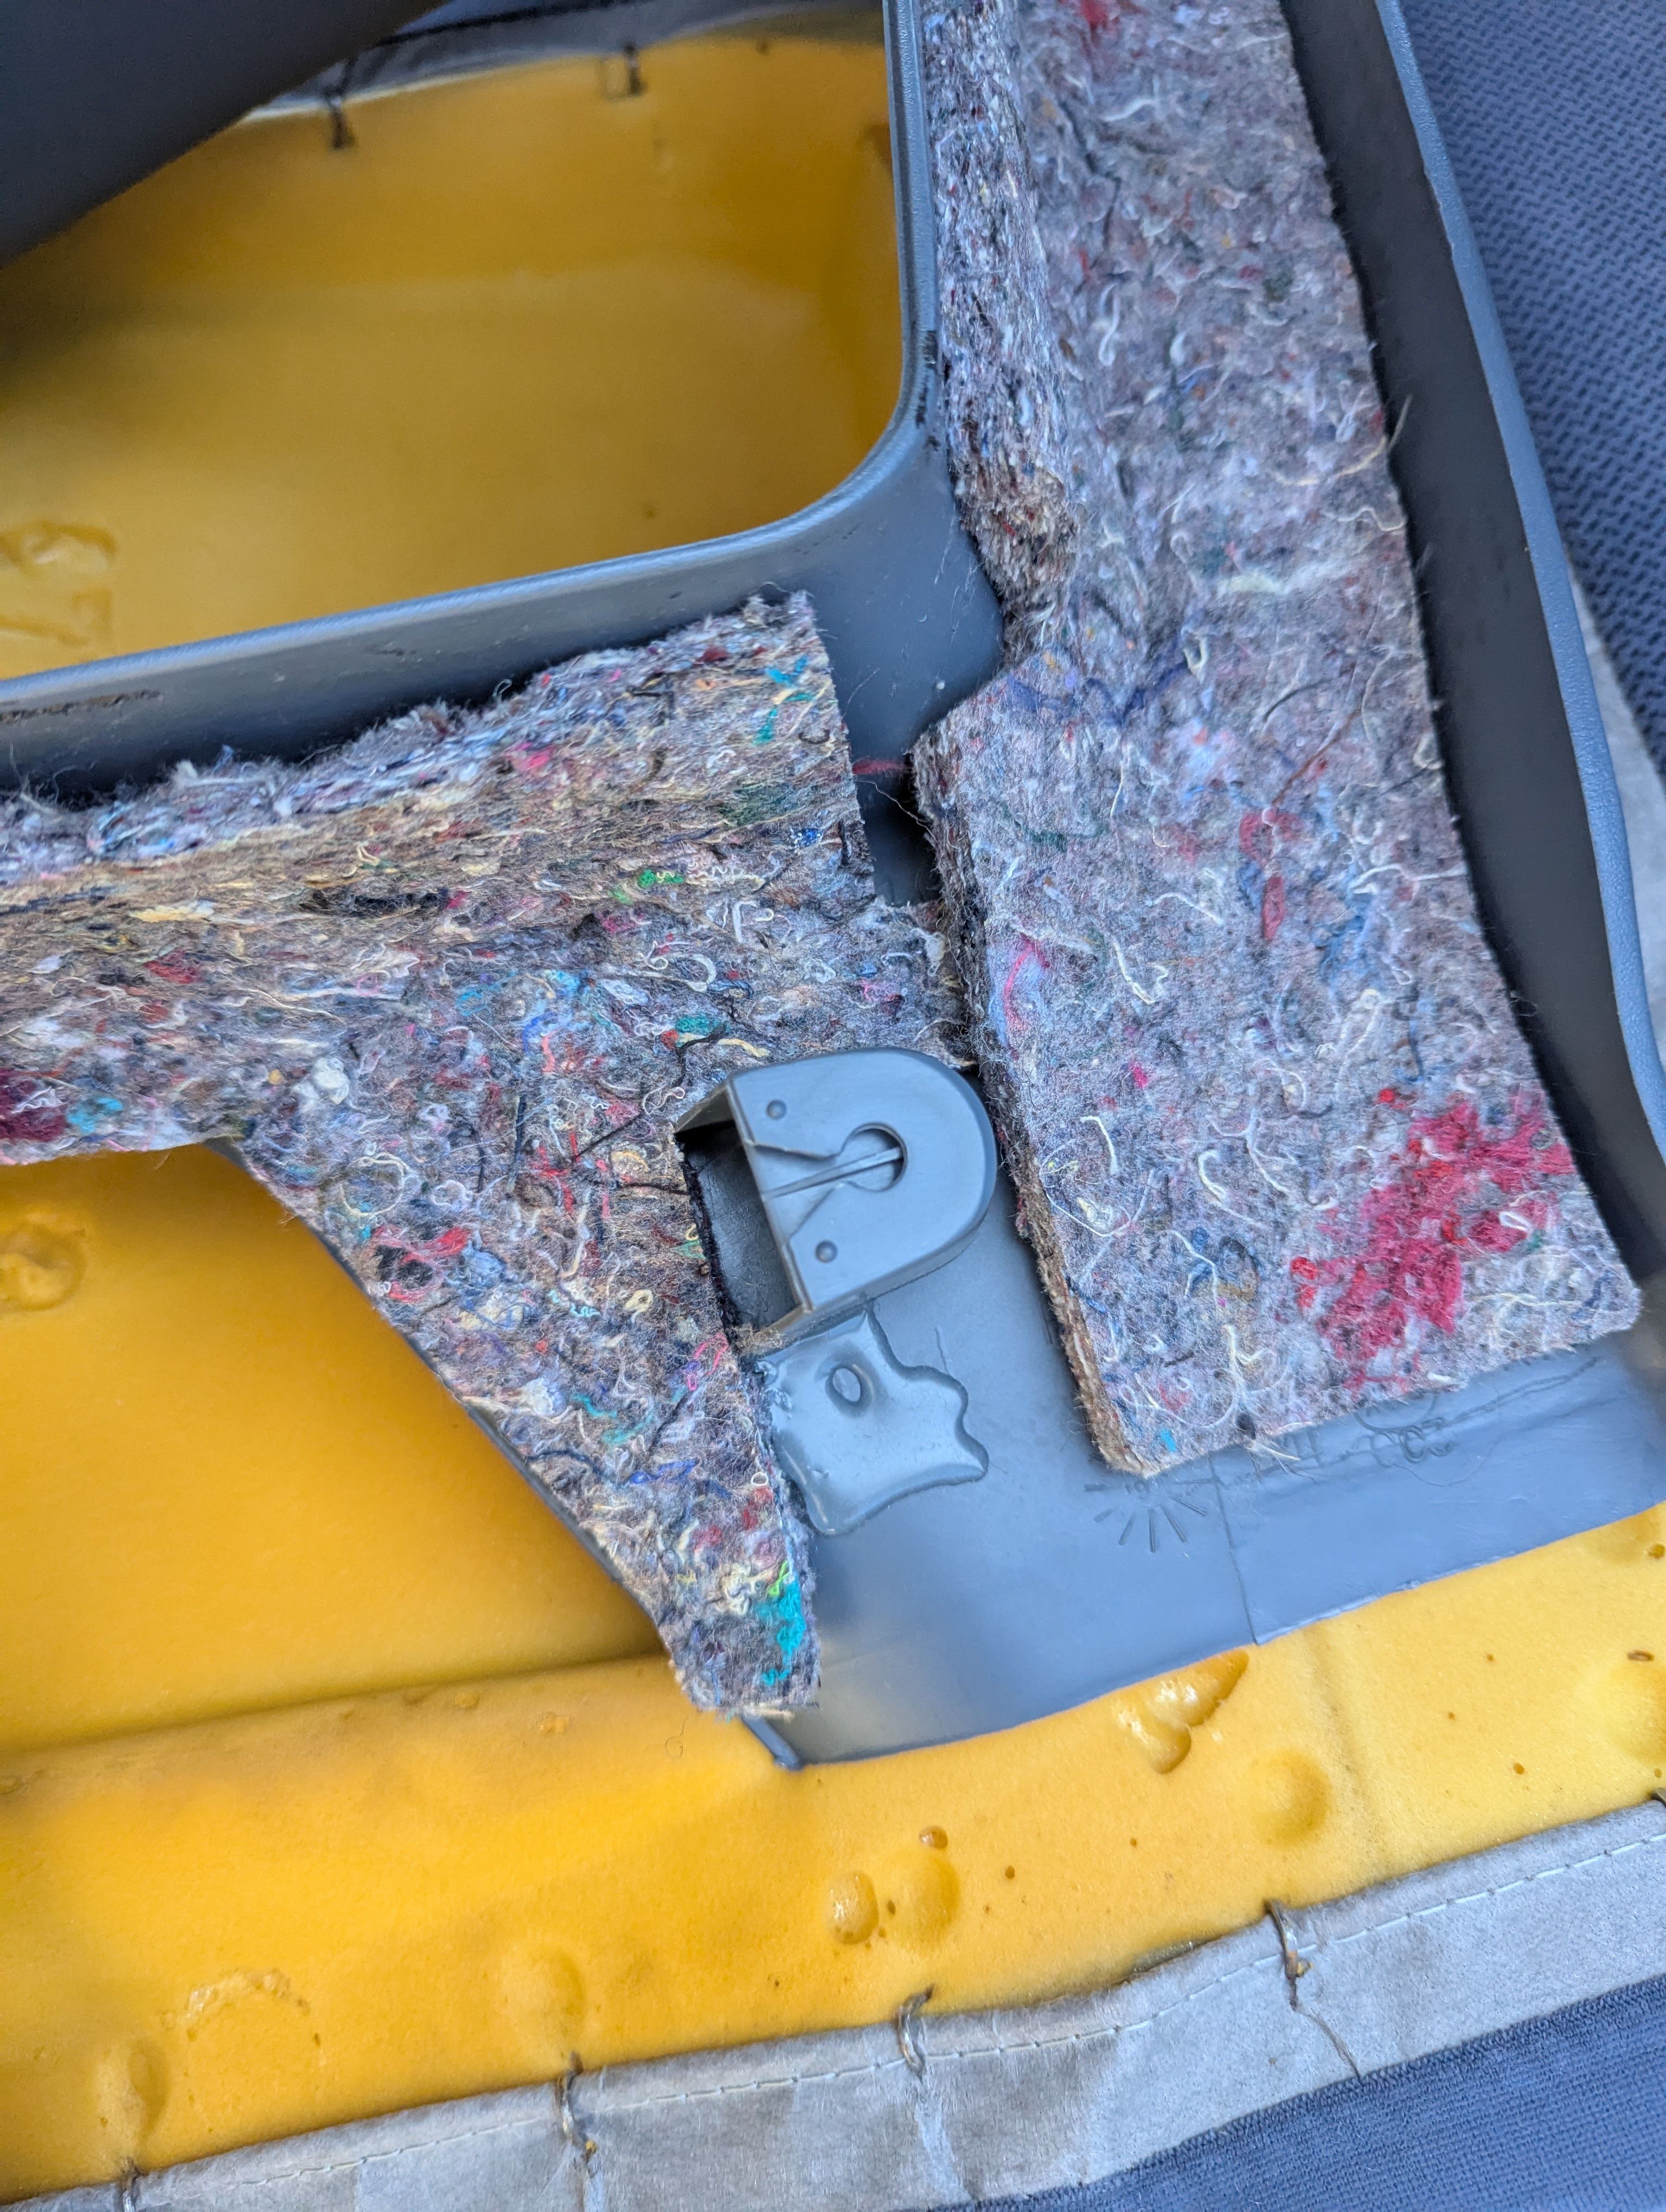

-
Yeah, I hate those one time use clips. I don't have the factory service manual, only parts catalogs, but there appear to be no fasteners for that part other than one staple (#3) towards the bottom. Not sure if that staple has to come out. It looks like the same annoying clip setup my Cutlass Supreme has along the top edge. If I recall the metal clip parts have sharp barbs and dig into the plastic, so some wear to the plastic happens every time you pull it. If the plastic tabs don't break off, they usually go back on and fit well enough, but it's not something you want to have to pull often. Looks like something near the top of the quarter glass and I'd guess that's an xmas tree type clip.
-
Thanks for the help. I got them off with a puller but couldn't do it without some damage. Hope they stay snug once I get 'em back in. I'm at the plastic trim around the glass now before I can lift the felt cover out. Any tricks with the trim? I don't see any fasenters so think I just need to pry off?
-
Unfortunately, they are indeed Xmas tree type. I used a standard trim panel puller to remove them. I was able to reuse mine after pulling, but it's possible they lost some strength after pulling.
-
Got the lower and upper seats off and see the plastic plugs holding down the upholdstery. Do I yank these out or is there a technique for 'em? Don't wanna ruin these! They appear to be the "xmas tree" style that goes in once. Not centre pinion to loosen or any form of spring action.
-
Need to know some info about replacing the strut cartridge?
ron350 replied to 89-W-Body-Regal's topic in Brakes/Suspension/Steering/Wheels/Tires
This tool acts as a handle that screws onto the threads on the end of the strut. Once installed you can move the strut around so you can center the strut in the hole. On my 96 the strut shaft wanted to move in the direction of the motor. I had to use pieces of wood wedged between the inner-fender and the strut spring to center the strut shaft so the removal tool would fit down the hole to the nut. Without this positioning tool i could not have changed my front struts. The guy in that video did not have this tool.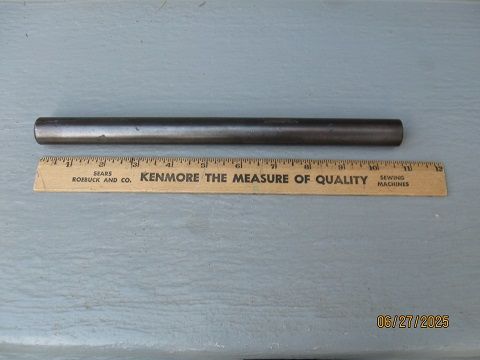
-
Need to know some info about replacing the strut cartridge?
ron350 replied to 89-W-Body-Regal's topic in Brakes/Suspension/Steering/Wheels/Tires
This tool in my kit was useless because it was too big to fit in the hole. Maybe this tool will work on your 98?
-
Need to know some info about replacing the strut cartridge?
55trucker replied to 89-W-Body-Regal's topic in Brakes/Suspension/Steering/Wheels/Tires
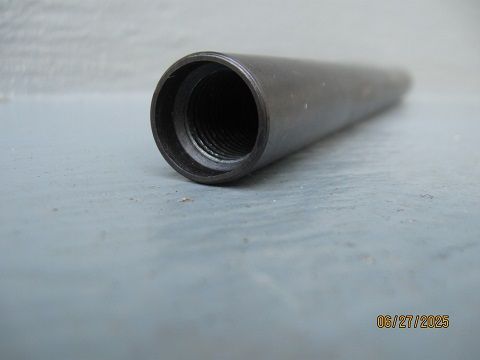
After removing all of the upper strut mount retaining paraphernalia one makes use of that deep extension, it goes right down over the extended shock piston, at the top end is a square 1/2" drive ratchet opening, one turns the ratchet counterclockwise to undo the retaining nut below on the top end of the knuckle. I've never made use of the short extension at all seeing as it will not clear the shock piston that would be extended (assuming the shock cartridge still has gas pressure inside). If you need to insert the spreader down the shock tower opening first to keep the shock cartridge in loose alignment so as to remove it & reinstall it. The spreader is that wide mouth gray device. The small socket adapter at the upper right is the adapter one uses to both remove & install the shock piston retaining nut, one slides the adapter down over the nut, the short arm is for a ratchet to turn the nut, the opening in the centre is for the #50 torx bit that slips into the female torx thread on the end of the piston shaft. One holds the torx bit still while one turns the ratchet, this prevents the piston from turning inside the shock housing. But note that most aftermarket shock cartridge replacements no longer use that torx thread, you may find that the new shock has an Allen head thread on the end of the shock piston. -
Need to know some info about replacing the strut cartridge?
ron350 replied to 89-W-Body-Regal's topic in Brakes/Suspension/Steering/Wheels/Tires
This thread needs more pictures. The round business end of the 10 inch long tool is 2-1/4 inches in diameter. You can see from the picture that the factory nut is slightly wider at about 2-3/8 inches. So if the factory strut retainer nut can fit down the shaft (hole) so can the tool in my picture.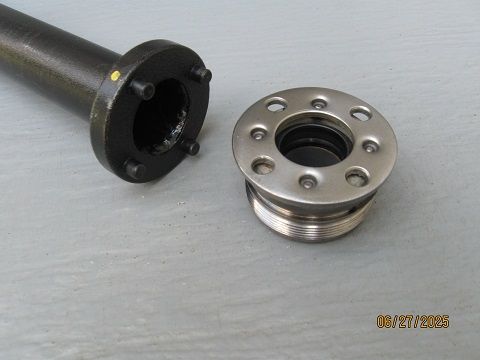
-
Need to know some info about replacing the strut cartridge?
89-W-Body-Regal replied to 89-W-Body-Regal's topic in Brakes/Suspension/Steering/Wheels/Tires
I did watch the video and seen it. But on my regal there isn’t enough access to fit down that tool to loosen the cartridge nut. That’s why I am going to show everyone a video in here of it as I do it. I can do everything until that part when it comes to putting the tool down the strut tower to remove that nut I can’t fit it in there. -
Need to know some info about replacing the strut cartridge?
ron350 replied to 89-W-Body-Regal's topic in Brakes/Suspension/Steering/Wheels/Tires
The guy in the video in post #3 is using the same 10 inch long tool with the 4 roubd pins sticking out the buisness end. You should be seeing the same parts as shown in the video unless your 98 is different. -
Need to know some info about replacing the strut cartridge?
89-W-Body-Regal replied to 89-W-Body-Regal's topic in Brakes/Suspension/Steering/Wheels/Tires
-
Need to know some info about replacing the strut cartridge?
ron350 replied to 89-W-Body-Regal's topic in Brakes/Suspension/Steering/Wheels/Tires
This is the same kit i have and you need the strut retainer tool on the far left. That tool is 10 inches long and can reach deep enough to do the job. You can find these kits on ebay for less than $100 if you wait and watch for them.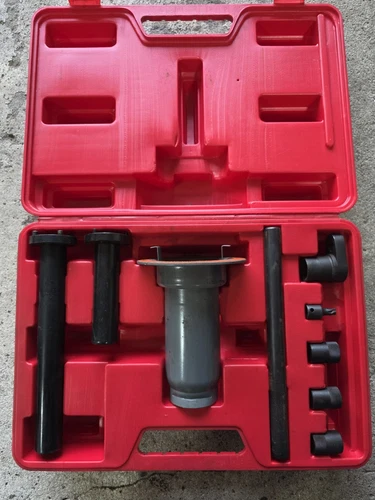
-
Need to know some info about replacing the strut cartridge?
89-W-Body-Regal replied to 89-W-Body-Regal's topic in Brakes/Suspension/Steering/Wheels/Tires
according to my Buick shop manual everything I needed is in here, I know some tools are missing in this kit. When you can let me know which tool you’re referring too.