|
Alright, to stand out from the car, some owners throw on some flashy stickers and claim that their ride looks the best... now, I'm knocking having pride for the ride, but when it comes to exterior enhancements, I go for thing a little less noticable to the regular average driver. Clear rear tailights are a great way to personalize your W-Body.... however, I want to stress that these directions are for the 1988 - 1996 Grand Prix rear taillights. Before I proceed, I or the writer of this Tech Tip take NO RESPONSIBILTY for careless acts of others; do this procedure on your own terms.
Materials:
- RTV silicone
- white or clear ceiling light lense
- colored light bulbs or permanent marker
* directions to modify one (1) tail-light, repeat process to complete pair *
1.) Remove either side tail-light (6 - 8 bolts per side in trunck behind carpet).
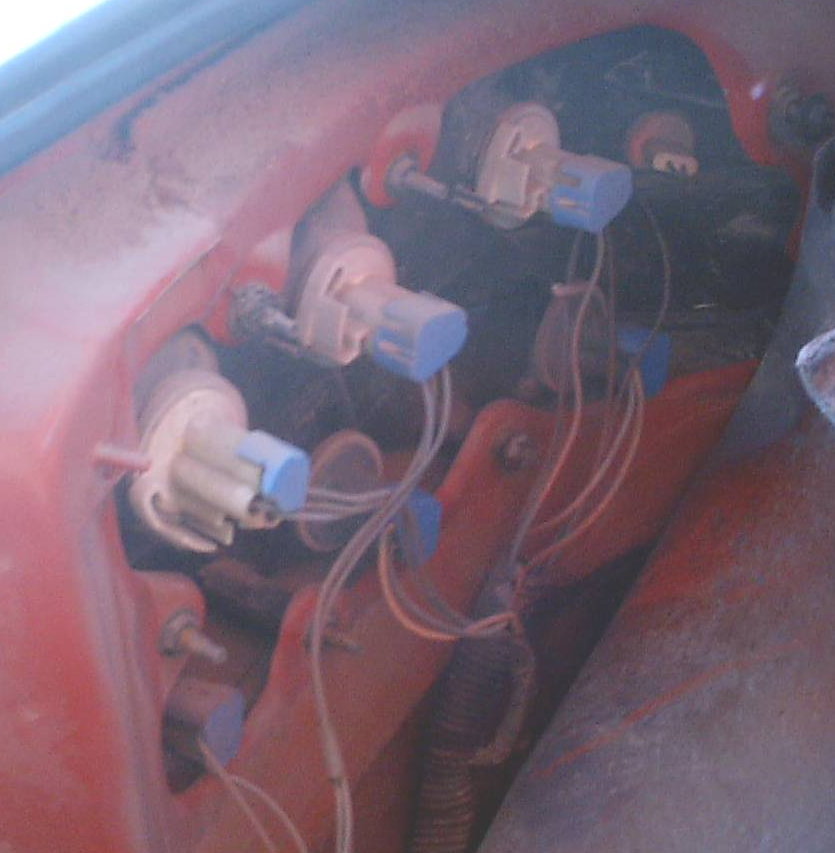
2.) Remove light bulb(s) from assembly; recommend that you mark where they return to.
3.) The rear tail-lights are seperated into three (3) major parts; the blinker / stop lenses (red lense, amber lense, clear lense), the clear outside lense on top, and the rear housing itself. The clear outer lense have clips and are glued from the factory, carfully seperate them with a flat screwdriver. ** BE CARFULL on seperation, a heat gun can be used to help loosen the glue. Don't use excessive force since the tail-light could crack or break due to age. **
Once the rear taillight is removed, it's recommended to document / tag the wiring harness set the during re-installation bulbs are correctly put back in their selected slots.
4.) Clean the housing and the top covering clear lense good making sure all the factory glue is removed.
5.) At this time, it may be recommend to paint the inside of the back housing with silver aerosal paint. This helps with reflectivity of the light bulbs. Shoot with paint and set-aside to fully dry.
6.) At this step a choice can be made, you can either a) use the red and amber lens as a template for a new clear lens (recommended) or b) have the option of having the light bulbs show by themselves. If the a new clear lense is wanted, use the red and amber lenses as templates on ceiling light lens to cut out. Once cut and test fitted, apply small beads of silicone to the top covering clear lense.
7.) Aftering the drying of paint and silicone of the clear lense (if installed) use some RTV silicone re-attach the clear lense to the back housing and sit aside to dry. Avoid using excessive beads of silicone and make sure not to glue close the breathing vents on the housing.
8.) Once dry, align and re-install tail-light on car. Install appropriate colored light bulbs in wiring harness, and install wiring harness to tail-light.
9.) Re-install carpet fasteners and close trunk.
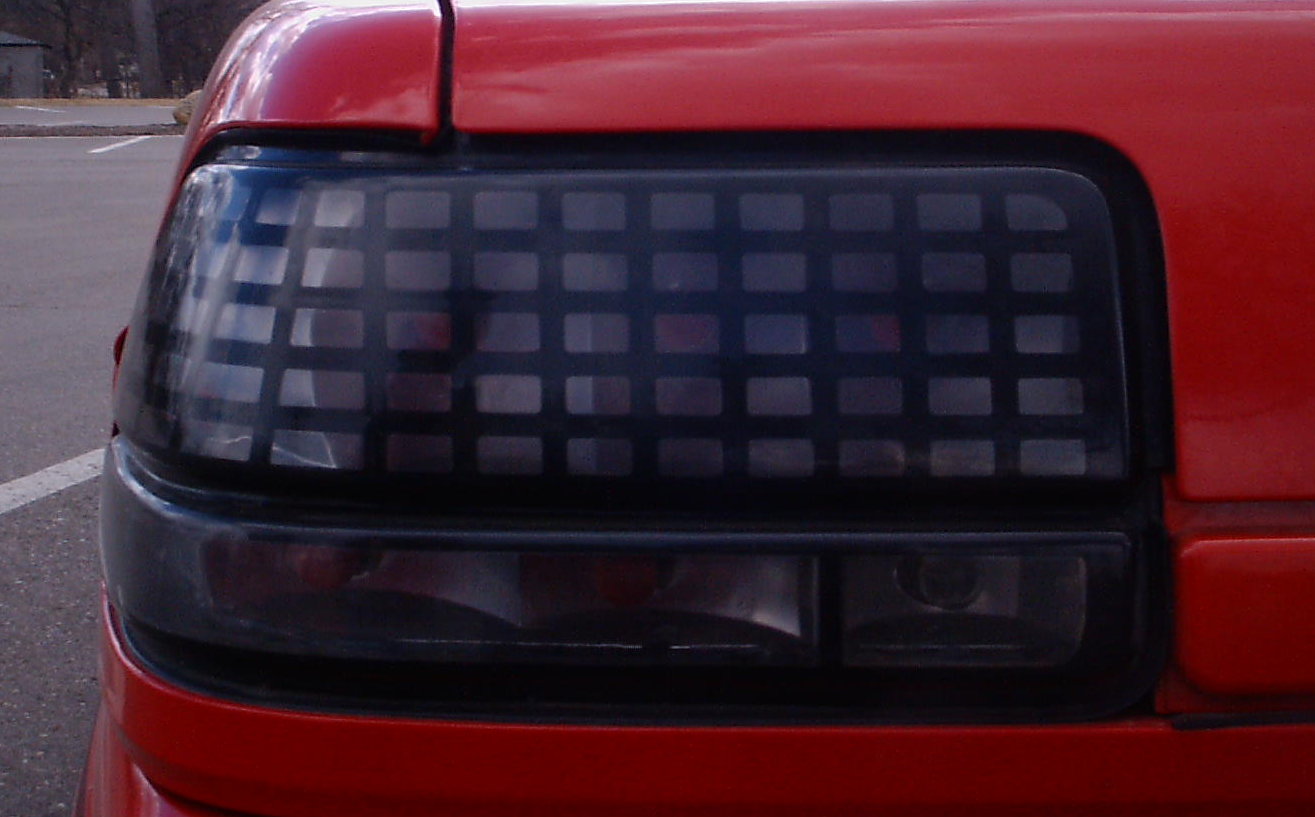
Shown is the completed cleared rear taillights on a 1991 Pontiac Grand Prix. This particular owner didn't install a clear ceiling lense which will directly show the bulbs, and therefore not able disperse the light. It's recommend to use the ceiling lense to increase overall visability to other drivers to provide better safety to you and your vehicle.
- Average Time: 30 - 60 minutes to disassemble taillight
1 hour to create new lense (optional)
3 - 4 hours for glue
12 - 24 hours for paint (optional)
- Scheduled Maintenance: none - personal customization
- Price of Materials: ceiling light lense ~ $2.00
permanent marker ~ $0.75
or colored mini bulb ~ $3.00
- Writed by Kody Kringen
- Edited by Erik Melander
|