|
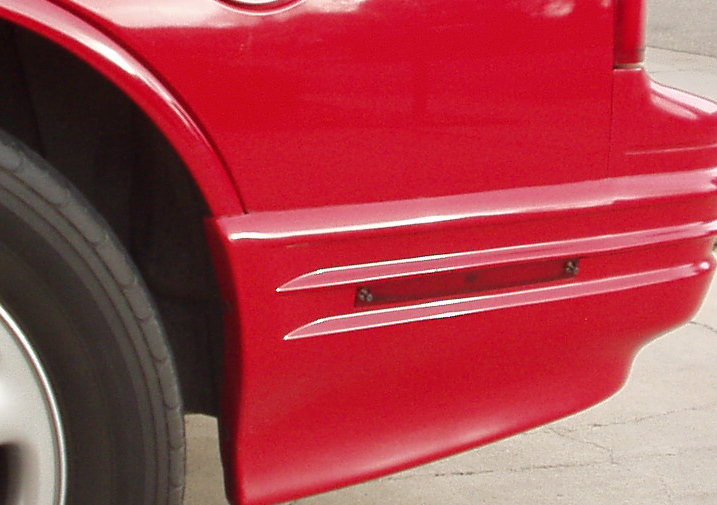
Alright, to stand out from the car, some owners throw on some flashy stickers and claim that their ride looks the best... now, I'm knocking having pride for the ride, but when it comes to exterior enhancements, I go for thing a little less noticable to the regular average driver. Clear side rear - markers are a great way to personalize your W-Body.... however, I want to be clear that these directions are for the 1988 - 1994+ Cutlass markers. You can apply the ideas and procedures to the Grand Prix / Lumina makrers; if anyone creates a set, e-mail to get your directions posted. But, before I proceed, I take NO RESPONSIBILTY for careless acts of others; do this procedure on your own terms.
Materials:
- plexi glass (1/8" thick)
- white or clear ceiling light lense
- Testors plastic model glue
- colored mini bulb or permanent marker
* directions to make one (1) marker, repeat process to make pair *
1.) I personally located some replacement side-markers from another Cutlass (in a yard) just in case the project went south; perhaps a good idea to do if you feel so-so about doing this project.
2.) My original plan was to pull off the red clear lense and make a new covering. But, since the two pieces of the markers are molded together, I obliterated them trying to rip em' apart. So, the first step is to cut off the cylinder (that holds the light bulb) right at the end of where it connects for the rest of the lense. Set aside for later.
3.) Next, cut the plexi-glass ('PG') into two 1" x 9.75" pieces (take measurement to double check, that's the numbers I got).
4.) Take one of the cut PG's and drill a 1/2" hole in the center / centerline. Then line up one of you original markers (why I found another pair at a yard to use as referance) to trace holes on the ends of the PG. Drill out those two hole on the ends with a 3/16" bit.
5.) Take the other piece of cut PG, drill out the center hole like in step 4; again trace for the end holes but instead drill out will 3/8" bit. The bigger hole will be the countersink for the bolt that hold in the marker.
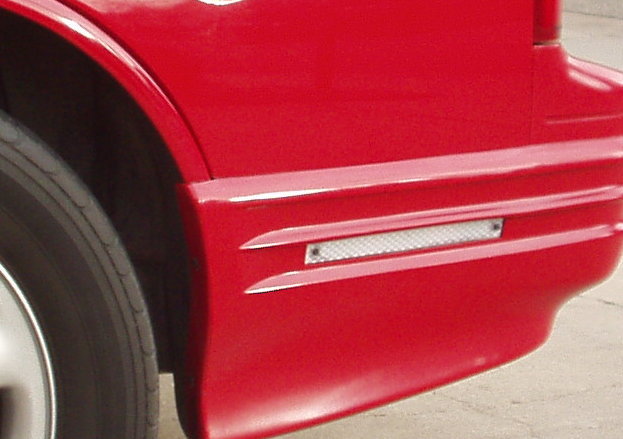
6.) Cut one piece of the ceiling light lense ('LL') to 1" x 9.75". Glue that cut LL to the PG with the 3/8" holes; set aside. Glue the bulb cylinder from step 1, to the PG from step 4; set aside, let both both dry.
7.) Once hard, take the LL/PG and drill through, from the back side, through the LL with the 3/8" bit. MAKE SURE that the LL is against something you can drill into, if not, the LL will crack and shatter whille drilling through it.
8.) Glue together the LL/PG and the PG/cylinder so that the LL is outword and set aside. The LL should be on top, then the two pieces of PG together and then the bulb cylinder. Set aside to dry.
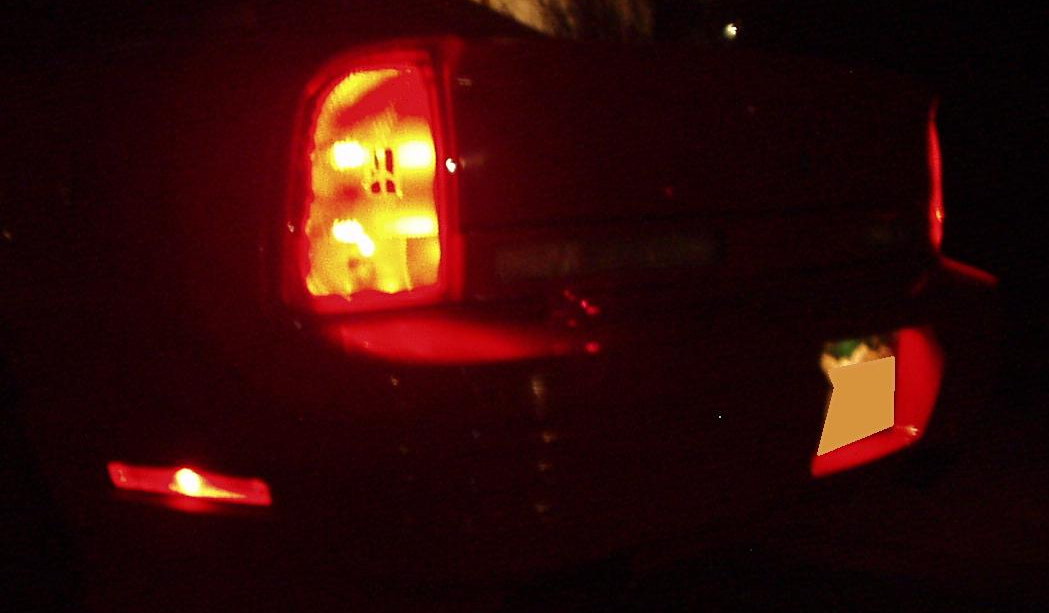
9.) Find desired colored light bulb, or use permenent marker to color bulb. Remove stock side-markers and install custom markers with color bulb.
10.) Take some photos' and show the rest of us!
I wish you Cutlass owners the best of luck. E-mail me for any qustions, concerns, or comments. I'm willing to bet there are other ways of doing this project, but I felt what I did is complete and professional. Oh, and I won't be taking orders to make side markers... I'm just a guy running a website, nothing more nothing less.
- Average Time: 1 - 2 hours to produce parts / couple hours for glue
- Scheduled Maintenance: none - personal customization
- Price of Materials: plexi glass ~ $6.00
ceiling light lense ~ $2.00
Testors glue ~ $1.50
permanent marker ~ $0.75
or colored mini bulb ~ $3.00
- Written by Erik Melander
|