|
Changing the 1996 - 1997+ DOHC spark plugs is a little different then changing the older 1991- 1994 DOHC models. And off course, it is completely different then changing an Over Head Valve (OHV) engine. But it is actually a very simple process, and I hope this helps some people out in the long run.
1.) Start with a completely cold engine. Removing the plugs while the engine is hot will ruin the heads.
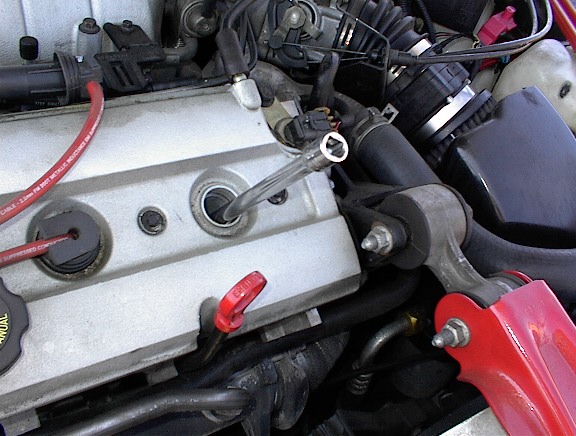
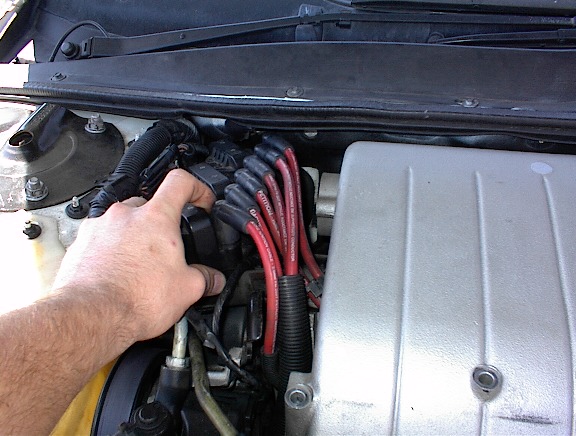
2.) Doing the front 3 is very simple. Clean around the spark plug boot before you remove it. We dont want anything to fall down into the head while the plug is removed. But take a long extension with a spark plug socket loosen the spark plug. I always remove and install the plugs with my hands, try to be careful. You do not want to strip the heads out. After the plug are loose, use the spark plug wire boot to put out the plug. Reverse process to place new ones into the engine.
3.) With the front three changed over, now the fun begins. On the 1996 - 1997+ you can do one of two things: either unbolt the font engine mount and rock the engine to gain access like the 1991 - 1995 DOHC's (using a crow-bar in the lifting eye) OR remove the intake plenum in order to change the rears. By pulling the intake plenum you can change out old vacuum hoses (if needed). It's not a hard so dont worry; it is a really simple process. For removing the intake: remove the 7x 10mm bolts; these are the mounting bolts for the intake plenum. Four are located on top of the plenum right above the 3.4L DOHC cover, and three smaller ones are under the cover.
4.) Remove the 2x 8mm mounting bolts. These are next to the 3x 10mm, and bolt two vacums to the plenum. Once removed, just move the vacum pumps out of the way.
5.) Remove the EGR valve pipe to plenum connection bolts. There are three of them, they are located on the right side of the engine as you face it. The EGR valve pipe is the extension pipe that connects to the throttlebody. Again use the 10mm socket set, and a small driver for this. I would remove the bottom, the side one, then the top one. It works best keeping the least amount of pressure on the bottom and side one (which can be a pain to get to).
6.) Once the EGR valve pipe is removed, reach down and unplug the PCV valve connection on the plenum.
7.) Now you must unmount the ignition coil packs from the plenum. This requires removing two bolts (mine are 8mm and a 10mm mounting it to the plenum). The first mounting location is on the front of the coil packs; its right near the power steering pump and lines. The second (possible a third, mine does have the ability to have this, but I didnt buy the car new) is on the side near the ignition coil module.
8.) Once this is done you can remove the plenum now; but I would be very careful while doing this. Once the plenum is removed, before you start working I recommend putting a towel over the lower intake ports. If you drop something down there, you have just created lots more work for yourself.
9.) Now you can easily do the rears just like the fronts. Install is opposite of the removal. I would replace the two gaskets, it will save you from intake manifold leaks in the future, and they only cost around $7 - $15 from GM for both of them, GM Gasket #24504025 (intake to plenum), and GM Gasket #24504034 (EGR valve to plenum). Once done, dont forget to make the PCV valve connection, and check for gasket leaks. I keep a good supply of these gaskets in, they tear VERY easy, especially the EGR valve to plenum gasket, take special care around that one. While I am talking about the EGR valve, it is also best to install the top bolt first, this takes the pressure off the others making it much easier to install them.
- Average Time: 1.5 - 2 hours
- Scheduled Maintenance: every 60K miles, but some recommend every 30K miles
- Written by Steven Cromer
- Edited by Erik Melander
|